
As the New Year approaches, many of us draw up resolutions for healthier habits, better organization, or a cleaner home. But have you thought about your home appliances? Integrating a few smart habits into your routine can prevent unexpected breakdowns, lower your utility bills, and ensure your house runs smoothly all year long.
This comprehensive home appliance maintenance checklist outlines 7 essential tasks to tackle as you head into the New Year. Before you begin any hands-on tasks, True Appliance Repair can match you with a local appliance pro if you ever encounter a problem that requires an expert. Otherwise, grab your tools, remember to prioritize safety, and let's get your home ready for the months ahead.
1. Vacuum Your Refrigerator Condenser Coils
Your refrigerator is one of the hardest-working appliances in your home, running constantly to keep your food fresh. Over time, the condenser coils—usually located at the bottom behind a toe grill or on the back of the unit—collect dust, pet hair, and kitchen grime. When coils are dirty, the compressor has to work much harder to cool the fridge, which wastes energy and shortens the appliance's lifespan.
Safety first: Always unplug your refrigerator from the wall outlet before attempting to clean the coils.
How to do it:
- Carefully pull the refrigerator away from the wall to access the back, or remove the bottom front grill.
- Use a vacuum cleaner equipped with a narrow hose or brush attachment to gently remove dust and debris from the coils.
- For tight spaces, use a specialized coil brush to loosen stubborn dirt before vacuuming it up.
- Once clean, push the refrigerator back into place, ensuring you leave a few inches of space for proper airflow, and plug it back in.
Performing this simple task every six months can significantly improve your fridge's efficiency. For a deeper dive into this process, check out our guide on cleaning refrigerator coils.
2. Clear Your Dryer Vent and Lint Screen
A clogged dryer vent is more than just an energy-waster; it is also a major fire hazard. While you likely know to clean the lint screen after every load, lint still manages to bypass the screen and build up inside the dryer's internal ducts and the exterior vent line.
Safety first: Unplug your dryer from the electrical outlet. If you have a gas dryer, ensure you know where the gas shut-off valve is located, and do not pull on the gas line.
How to do it:
- Take out the lint screen and use a small vacuum attachment to clean out the slot where the screen sits.
- Go to the back of the dryer and disconnect the large, flexible duct from the wall and the machine.
- Use a vacuum or a specialized dryer vent cleaning brush kit to gently remove built-up lint from both ends of the duct and the wall vent.
- Check the exterior vent outside your home to ensure the flaps open and close freely and are clear of debris or nests.
By clearing your dryer vent annually, your clothes will dry faster, saving you time and electricity. If your dryer is still struggling to get clothes dry after this maintenance, it may be time to consult a dryer repair service.
3. Flush and Clean Your Dishwasher Filter
If you have noticed that your dishes are coming out of the dishwasher with water spots or stuck-on food, the culprit is likely a clogged filter. Modern dishwashers have a removable filter at the bottom of the tub that traps food particles. When it becomes clogged, dirty water recirculates during the cycle, leaving your dishes less than clean.
Safety first: Ensure the dishwasher cycle is completely finished and the machine is turned off before opening it up to clean the filter.
How to do it:
- Open the dishwasher and remove the bottom rack.
- Locate the cylindrical filter in the floor of the tub. It usually removes with a quarter-turn counter-clockwise.
- Take the filter to your kitchen sink and rinse it under warm, running water. Use a soft-bristled brush (like an old toothbrush) and mild dish soap to gently scrub away any grease or trapped debris. Do not use wire brushes or harsh abrasives.
- While the filter is out, look into the area where it sits and gently remove any visible food chunks or debris.
- Reinstall the filter and lock it back into place.
- For a final New Year refresh, place a cup of white vinegar in a dishwasher-safe bowl on the top rack and run a normal, hot cycle with no other dishes. This will help remove hard water deposits and soap scum.
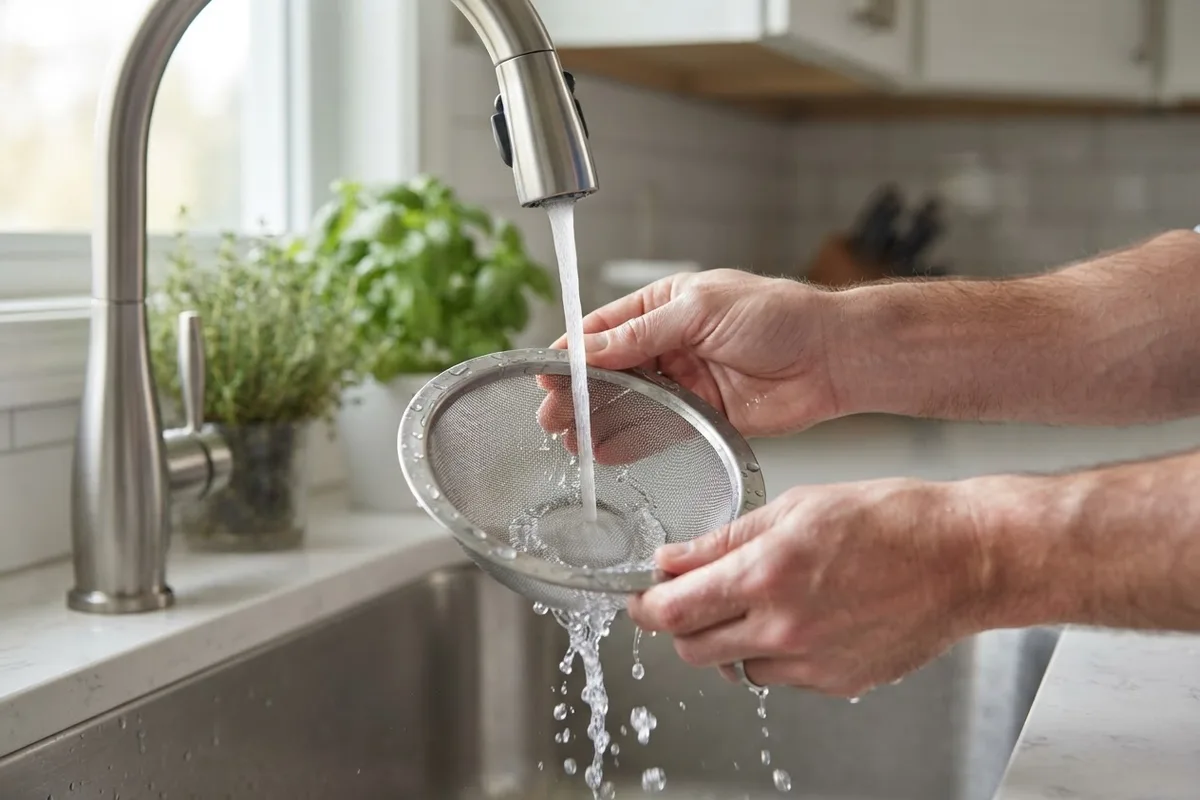 Regularly cleaning your dishwasher filter every month ensures your dishes come out sparkling. If you encounter leaks or drainage issues even after cleaning the filter, you may need to look into professional dishwasher repair services.
4. Inspect and Replace Washing Machine Hoses
A burst washing machine hose can flood your laundry room in minutes, causing thousands of dollars in water damage. As part of your New Year home appliance maintenance routine, it is crucial to inspect these hoses for signs of wear and tear.
Safety first: Before inspecting, locate your washing machine's water shut-off valves (usually behind the machine) and turn them off.
How to do it:
- Pull the washing machine away from the wall so you can see where the hoses connect to the machine and the wall valves.
- Look closely at both the hot and cold water hoses. Check for any cracks, bulges, blisters, or signs of leaks around the connections.
- Feel the hoses to see if they have become brittle or excessively stiff.
- Even if they look fine, experts recommend replacing standard rubber hoses every three to five years. Consider upgrading to reinforced, braided stainless steel hoses, which are much more durable and resistant to bursting.
If you do need to replace them, remember to hand-tighten the connections first, then give them a quarter-turn with pliers. Do not over-tighten, as this can damage the rubber washers. Always turn the water back on slowly and check for leaks before pushing the machine back into place.
5. Clean and Freshen the Garbage Disposal
Your garbage disposal takes a beating over the holidays, often dealing with more food scraps than usual. Over time, food residue can build up on the blades and inside the grinding chamber, leading to unpleasant odors and sluggish draining.
Safety first: Never, ever put your hands or fingers inside a garbage disposal. Before doing any hands-on maintenance, turn off the power to the disposal at your home's main breaker panel or unplug it under the sink.
How to do it:
- With the power safely off, use a flashlight to look down the drain. If you see any large, trapped objects (like a piece of bone or a dropped spoon), use long-handled tongs or pliers to carefully remove them.
- To clean and remove odors, pour half a cup of baking soda down the disposal, followed by a full cup of white vinegar. The mixture will fizz and foam. Let it sit for about ten minutes.
- Turn the water on and restore power. Run hot water down the drain for a minute to flush out the mixture.
- To sharpen the blades and clean the grinding chamber, toss a handful of ice cubes and a few slices of lemon or orange peel into the disposal. Turn on the disposal and run cold water until the ice and peels are completely ground up.
The ice cubes help scrape away sludge from the blades, while the citrus peels leave a fresh scent. Performing this task monthly will keep your kitchen smelling great all year long.
6. Test Your Oven Temperature Accuracy
Have you noticed that your holiday roasts took longer to cook than expected, or your cookies are burning on the bottom? Your oven's thermostat might be out of calibration. Testing your oven's accuracy is a great task for the New Year, ensuring that all your future meals are cooked perfectly.
Safety first: Be careful when working around a hot oven. Wear heat-resistant oven mitts when checking the temperature.
How to do it:
- Purchase a cheap, standalone oven thermometer.
- Place the thermometer on the center rack of your oven, right in the middle where it is easily visible through the oven window.
- Close the oven door and set the oven to bake at 350°F (175°C).
- Wait for the oven to indicate it has finished preheating. Once it does, wait another 15 to 20 minutes to ensure the temperature has fully stabilized.
- Look through the oven window and read the temperature on the standalone thermometer.
If the thermometer reads between 335°F and 365°F, your oven is generally within an acceptable range, as oven temperatures naturally fluctuate during a cycle. However, if it is off by more than 25 degrees, you may need to calibrate your oven. Check your owner's manual for specific instructions on how to calibrate your model, or consider reaching out to an oven and stove repair service.
7. Reset and Clean Your Microwave
Microwaves easily accumulate food splatters, grease, and odors, especially after heavy holiday use. Fortunately, cleaning them is incredibly easy and does not require harsh chemicals.
Safety first: Always unplug the microwave before doing any wipe-down maintenance involving wet cloths near electrical components.
How to do it:
- In a microwave-safe bowl, mix one cup of water with a few tablespoons of vinegar or several fresh lemon slices.
- Place the bowl in the center of the microwave and close the door.
- Microwave on high for three to five minutes, or until the water boils and the window vigorously steams up.
- Do not open the door immediately; let the steam sit inside the microwave for another five to ten minutes. The steam will loosen stuck-on food and grease.
- Carefully remove the bowl (it will be hot, so use oven mitts) and the turntable plate.
- Use a damp sponge or microfiber cloth to easily wipe away the loosened grime from the interior walls, ceiling, and door.
- Wash the turntable plate in warm, soapy water, dry it, and place it back inside.
This simple, natural hack removes odors and keeps your microwave looking and functioning like new for the year ahead.
Quick Reference Appliance Maintenance Table
To help you stay organized, here is a quick summary of the home appliance maintenance tasks mentioned above, along with how often you should perform them:
| Appliance | Maintenance Task | Frequency | Estimated DIY Time |
|---|---|---|---|
| Refrigerator | Vacuum condenser coils | Every 6 months | 15 minutes |
| Dryer | Clean lint screen and vent duct | Screen: Every load; Vent: Annually | 20 minutes |
| Dishwasher | Clean filter and run vinegar cycle | Monthly | 10 minutes |
| Washing Machine | Inspect water supply hoses | Every 6 months (replace every 3-5 years) | 5 minutes |
| Garbage Disposal | Refresh with baking soda and citrus | Monthly | 10 minutes |
| Oven | Test temperature accuracy | Every 6 months | 30 minutes |
| Microwave | Steam clean with lemon and water | Monthly | 10 minutes |
When to Call a Pro
While this home appliance maintenance checklist focuses on safe, DIY-friendly tasks, it is important to know your limits. Safety should always be your top priority. If you encounter complex electrical panel issues, sealed refrigeration system problems, or gas line concerns, you must stop immediately and call a professional. Working on these systems without proper training can be dangerous and may lead to further damage.
If you find a problem during your maintenance check—such as a persistent leak, an appliance that won't turn on, or an oven that simply won't heat up—True Appliance Repair can match you with a local appliance pro to diagnose and solve the problem safely. A typical appliance repair visit in the US broadly ranges from $100 to $400 depending on the appliance and the specific issue, though pricing always varies by area and model. Don't hesitate to reach out to a professional when a job goes beyond basic maintenance.
FAQ
How often should I perform home appliance maintenance?
Most home appliances require a quick check-up every 1 to 6 months. For example, washing machine hoses should be inspected every 6 months, while your dishwasher filter needs monthly cleaning. Creating a seasonal home appliance maintenance checklist can help you stay on track and ensure your appliances last as long as possible.
What are the signs my home appliances are starting to fail?
Common warning signs include unusual noises (such as grinding, buzzing, or squeaking), inconsistent temperatures, frequent cycling, and minor water leaks. If your refrigerator isn't cooling properly or your dryer takes two cycles to dry clothes, it's time to investigate. Ignoring these signs can lead to total failure and more expensive repairs down the road.
Can regular appliance maintenance really save money on energy bills?
Yes, regular home appliance maintenance significantly improves energy efficiency. For instance, cleaning your refrigerator coils allows the compressor to run less frequently, saving electricity. Similarly, clearing your dryer vent improves airflow, allowing your clothes to dry much faster. Over a year, a well-maintained appliance can save you hundreds of dollars in utility bills and prevent the need for premature replacements.