
Key Takeaways
Maintaining a pristine oven ensures better cooking results and extends the life of your kitchen appliance. Follow these fundamental best practices for ongoing performance.
- Perform deep cleanings every three to six months based on usage levels.
- Use natural ingredients like baking soda and vinegar for effective grime removal.
- Always disconnect power or gas sources before starting any deep cleaning task.
- Rotate oven racks during soaking to ensure even coverage in a sink.
- Utilize protective liners or trays to minimize spills during daily cooking sessions.
Preparing for a deep clean
Gathering necessary tools and supplies
Before you begin the process of learning how to clean an oven, verify you have the right materials on hand. Having these items ready minimizes the time you spend working near the appliance and allows for a more efficient process.
- A soft-bristle non-scratch scouring sponge
- White household vinegar in a spray bottle
- High-quality baking soda for scrubbing
- Sturdy rubber gloves to protect your hands
- A microfiber cloth for final polishing
Keeping these simple materials nearby simplifies the entire workflow.
Safety considerations for electrical and gas ovens
Safety is the primary concern whenever you interact with heavy kitchen equipment. If you possess an electric range, ensure the power is completely disconnected at the breaker box before introducing moisture. For gas units, take caution around the pilot light or igniter assembly to ensure it remains dry and undamaged. If you suspect any electrical or mechanical damage during your routine maintenance, contacting True Appliance Repair provides access to experienced professionals who can inspect the system for reliable, efficient operation.
Removing loose debris and food residue
Start your maintenance by clearing out anything that could turn into smoke later. Gently sweep away loose crumbs and burnt particles from the bottom of the cavity. Use a vacuum hose attachment or a dry cloth to finalize this step. Ensure the interior surfaces are completely free of loose particulate matter before applying any cleaning agents or liquids, as this will help prevent accidental stains or unnecessary buildup during the wet cleaning stage.
Cleaning the oven interior
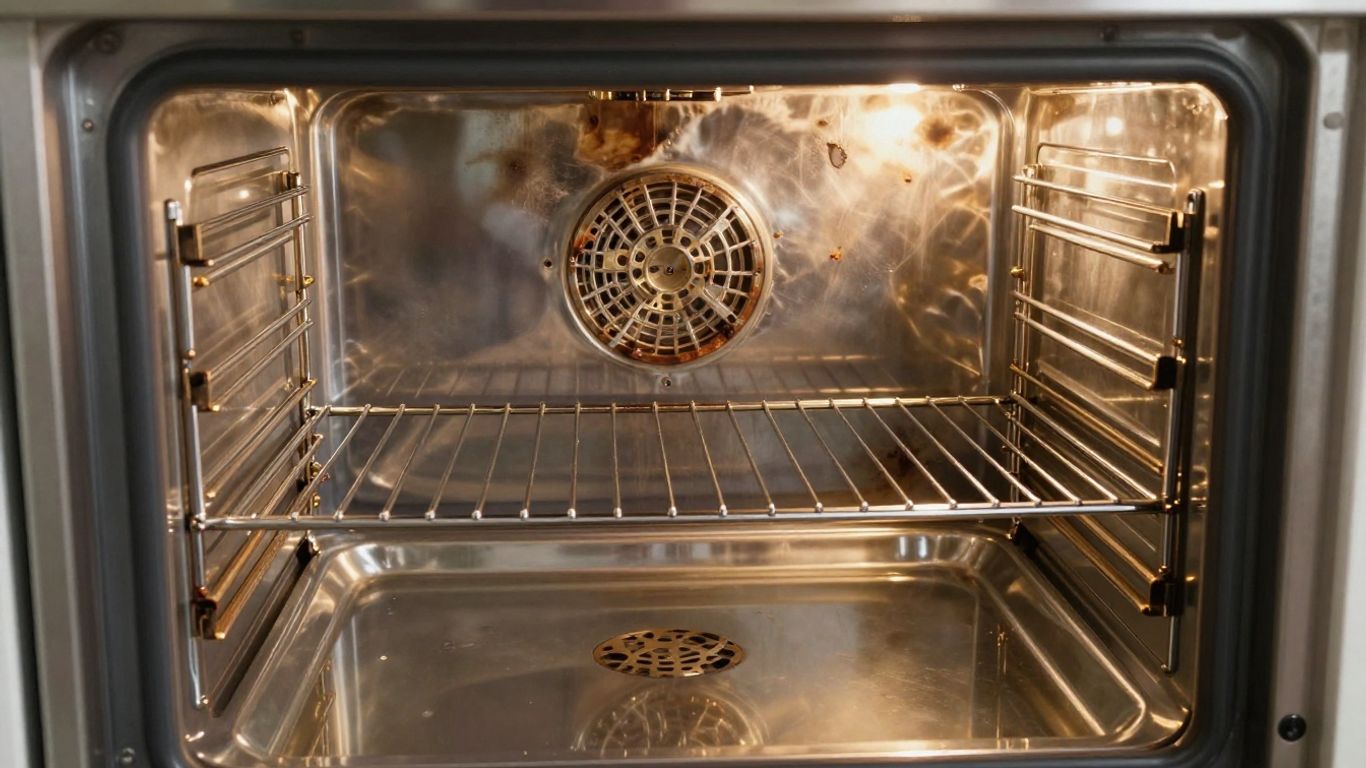
DIY paste method using baking soda and vinegar
A common and effective strategy involves creating a simple paste, a technique highlighted in this baking soda and vinegar guide. Mix roughly half a cup of baking soda with a few tablespoons of water until you achieve a spreadable consistency. Apply this mixture to the interior walls, floor, and ceiling of the oven, avoiding the heating elements. Allow this to sit overnight, letting the chemical reaction work against burnt-on grease. By the next morning, the residue should be significantly easier to wipe away with damp cloths.
Utilizing commercial cleaners safely
When choosing to use commercial cleaning products, always prioritize ventilation by opening nearby windows or turning on your exhaust fan. Apply your preferred solution strictly according to the manufacturer's label, focusing only on the areas where buildup is dense. Should you ever encounter persistent issues that seem beyond typical surface grime, True Appliance Repair can connect you with specialists who understand the mechanics of your specific oven model. Always ensure the chemical agent is completely rinsed away, as any remaining residue could become airborne or transfer odors to your food during the next heating cycle.
Managing stubborn burnt-on grease
You might find that specific high-heat areas retain tough patches of grease even after scrubbing. Organizing your approach based on the type of debris encountered can help manage tough spots more effectively without causing mechanical damage to the oven surface.
| Debris Type | Recommended Cleaning Method | Tool Needed |
|---|---|---|
| Light Grease | Vinegar Solution | Microfiber Cloth |
| Heavy Carbon | Baking Soda Paste | Plastic Scraper |
| Dried Spills | Warm Water Soak | Non-abrasive Sponge |
Effectively removing these stubborn remnants keeps the appliance functioning cleanly without needing to rely on aggressive chemical treatments that might harm interior finishes.
Restoring oven racks to original condition
The soaking method for heavy grime
To manage deep-set grime on racks, fill your sink or a large plastic bin with hot, soapy water. Add a cup of degreaser or dish soap to break down layers of burnt-on food. Allow the racks to submerge completely for at least two hours. This process helps soften the hardened grease, significantly reducing the amount of manual wiping required later.
Scrubbing techniques for hard-to-reach corners
After the soak, use a specialty brush to clean the corners where the wires meet the frame. Gentle circular motions usually suffice to loosen remaining residue without scratching the chrome or stainless coating. Should your racks be particularly difficult to manage, refer to professional resources on how to clean an oven to ensure you are using recommended techniques that preserve the structural integrity of your rack materials.
Drying racks to prevent rust formation
Always ensure that your oven racks are completely dry before sliding them back into the oven. Moisture left in the grooves can lead to accelerated oxidation or rust, especially after exposure to detergents or acidic cleaners. Use a soft towel to wipe every inch of the metal framework. Placing them in a warm, dry area for a short time can help evaporate lingering moisture from the corners, keeping your oven components in excellent condition.
Achieving a crystal clear oven door
Cleaning between double-pane glass panels
Cleaning between modern double-pane oven windows is often a challenge due to dust trapped in the sealed unit. You may be able to access the inner cavity by following the manufacturer's directions regarding panel removal. If the seals appear tight and inaccessible, do not force them open, as this could break the vacuum seal of the glass. Relying on exterior cleaning keeps the view clear enough for daily monitoring of your baking.
Removing baked-on splatter from the inner window
For the inner glass surface, a gentle scouring paste works wonders to pull off dark spatters without leaving scratches behind. Apply a thin layer and let it dwell for twenty minutes before gently wiping it away. If you feel like an expert is needed to address inner door components, True Appliance Repair offers connections to local pros who prioritize quick, dependable outcomes for residential appliances.
Polishing the exterior stainless steel finish
Once the inside is handled, address the exterior to match your clean kitchen. Utilize our stainless steel appliances guide to identify the safest methods for keeping the finish streak-free and shiny. Wiping with the grain ensures a smooth finish, while using a specialized metal polish can provide an additional protective layer. Do not neglect the handle area, as this typically collects the most fingerprints.
Maintaining cleanliness between deep cleans
Using liners to catch drips and spills
Place a silicone or pre-cut oven liner on the bottom rack to prevent molten sugars or fat from hitting the oven floor. These products are easy to remove and wash, effectively acting as the first line of defense against baked-on messes. Check the manufacturer's guidelines to ensure your specific oven brand supports the use of liners, as certain models require clear airflow at the bottom.
Developing quick wipe-down routines after cooking
Adopt the habit of inspecting your oven surfaces shortly after the appliance has cooled down enough to be touched safely. A quick spray of vinegar and a pass with a damp cloth can remove fresh splatters before they have the chance to harden into permanent stains. This proactive approach saves time and ensures a more consistent cleaning schedule every time you prepare a meal.
Troubleshooting persistent odor issues
Persistent odors often stem from hidden burnt sections or buildup in the convection fan or ventilation pathways. If you notice unusual smells during preheating that don't seem related to surface dirt, it might be time to have the internal mechanical components checked. Professionals often point out that consistent minor maintenance prevents major diagnostic needs later on, keeping your cooking environment pleasant.
Conclusion
By following this consistent expert guide to oven care, you ensure your appliance remains efficient and safe. Simple habits like regular inspection and the use of gentle, non-abrasive cleaners provide a sustainable way to maintain a high-functioning kitchen. If you ever feel that your appliance needs more than a standard scrub, remember that True Appliance Repair connects you with local experts ready to restore your kitchen equipment to top working order.
Frequently Asked Questions
How often should I perform a deep clean on my oven?
It is generally recommended to perform a deep clean every three to six months depending on how frequently you use the appliance for roasting or baking. Frequent users may find that bimonthly attention keeps the interior much easier to manage.
Is it safe to use commercial oven cleaners on all interior surfaces?
Always consult your owner's manual before using heavy-duty chemical cleaners to ensure the solution will not damage your oven's finish or heating elements. Some modern interior coatings are sensitive to abrasive chemicals.
Can I use a dishwasher to clean my oven racks?
While some high-end racks are dishwasher safe, the intense heat and detergent cycles can occasionally damage the coating or cause the metal to discolor. Hand-washing or soaking in a sink is typically the safest method for preserving your racks.
What should I do if my oven smells like burnt plastic after cleaning?
If you detect a plastic-like odor, ensure that no debris or cleaning residue has melted onto the heating element. If the smell persists, it is advisable to stop using the oven and seek a professional consultation to ensure the wiring is safe.
Is the self-cleaning cycle safe for older ovens?
Many experts recommend avoiding the high-heat self-cleaning cycle on ovens that are over a decade old, as the extreme temperatures can potentially damage internal electronic components. Manual cleaning is often the safer, more durable option for older units.
How do I get rid of streaks on my oven glass?
Streak-free glass is best achieved by using a mild vinegar solution combined with a high-quality microfiber cloth. Buffing the glass in circular motions helps to lift any remaining residue without creating swirl marks.
Does a dirty oven affect my food flavor?
Yes, old food residue and aerosolized grease inside your oven can transfer unwanted flavors to your meals during the heating process. Keeping the interior clean is essential for ensuring that your dishes taste exactly as intended.