
Water leaks from household appliances are among the most destructive issues a homeowner can face. A small drip behind a refrigerator or an aging washing machine hose can quietly ruin drywall, subflooring, and cabinetry before any standing water becomes visible.
Performing routine inspection and preventive care keeps water where it belongs—inside your plumbing lines and appliances. Always unplug appliances and turn off dedicated water supply valves before performing hands-on checks or maintenance. If you encounter gas line concerns, sealed-system refrigeration leaks, or complex electrical panel issues, stop immediately and consult a professional.
Inspect Washing Machine Fill Hoses for Cracks
Washing machine supply lines endure constant water pressure, making them a primary cause of sudden home flooding. Standard rubber hoses degrade over time, bulging, blistering, or cracking near connection points.
- Unplug the washer and slide it gently away from the wall to access the rear valves.
- Inspect both hot and cold supply hoses for cracks, stiffness, or visible moisture.
- Check the brass or plastic connection nuts for corrosion or mineral buildup.
- Replace standard rubber hoses every 3 to 5 years with braided stainless steel hoses, which resist bursting under pressure.
If you notice water pooling underneath during a spin cycle, review our guide on washing machine leaking water to isolate internal pump or tub seal failures.
Clear the Refrigerator Defrost Drain Tube
Modern frost-free refrigerators periodically melt frost off the evaporator coils. This meltwater flows down a narrow drain tube into a pan beneath the cabinet. When food particles, dust, or ice clog this drain, water collects at the bottom of the fresh food compartment or spills onto the kitchen floor.
- Unplug the refrigerator and locate the defrost drain hole inside the back wall of the freezer or fresh food section.
- Flush the drain hole with warm water using a turkey baster or squeeze bottle.
- Mix equal parts warm water and baking soda to clear algae, mold, or organic debris from the line.
- Verify that water drains smoothly into the lower drain pan.
Addressing this simple task prevents puddle formation beneath your kitchen cabinets. For deeper troubleshooting on puddle formation, see our guide on refrigerator leaking water.
Check Dishwasher Seals and Bottom Gaskets
A damaged door seal allows soapy water to seep out during active spray cycles. Over time, heat and detergents harden the rubber perimeter gasket, causing micro-cracks or gaps along the lower corners.
- Open the dishwasher door fully and clean the rubber gasket with a damp microfiber cloth and mild soap.
- Inspect the lower door baffle attached to the bottom edge of the inner door panel for tears or warping.
- Check that the door latch pulls the panel firmly against the tub frame.
- Run a short test cycle while inspecting the front bottom corners with a flashlight.
Replacing a brittle door gasket takes minutes and typically costs between $20 and $50 for standard replacement parts, depending on your appliance model.
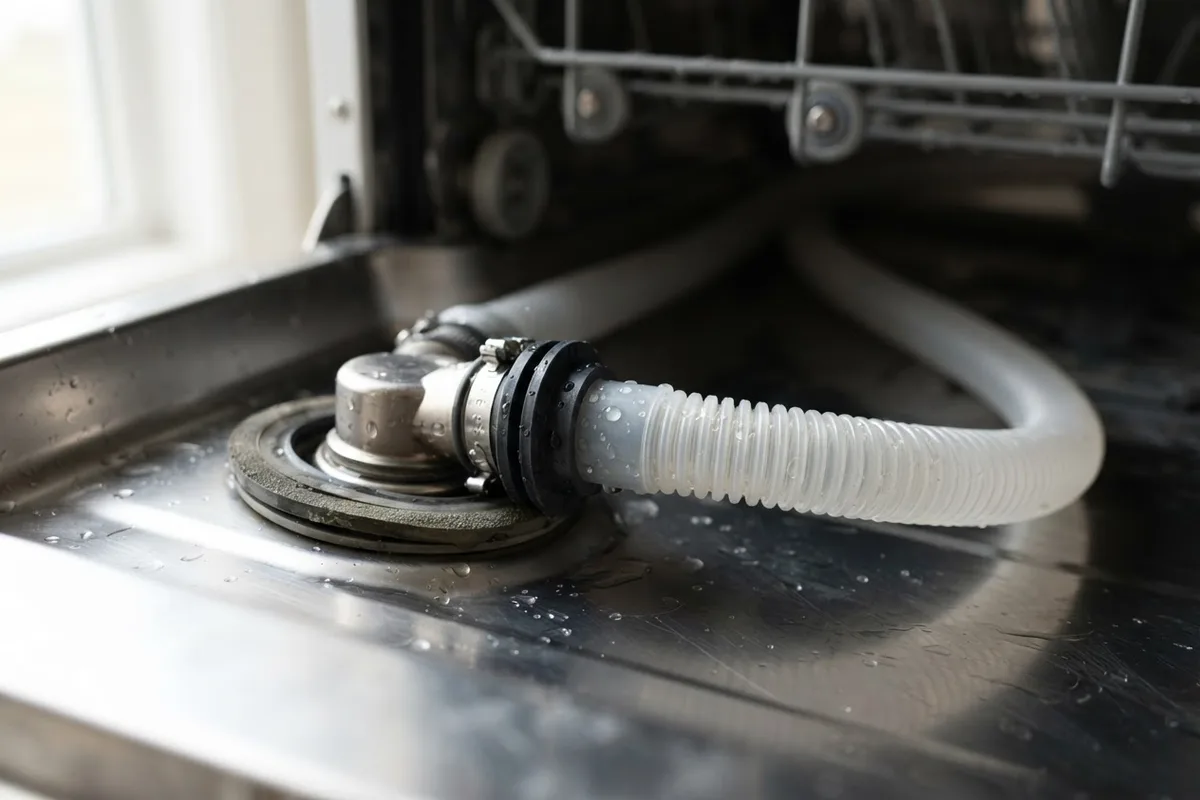
Tighten Garbage Disposal Flanges and Drain Lines
Garbage disposals experience constant vibration during operation, which can loosen mounting rings, main sink flanges, and discharge pipe fittings under the kitchen sink.
- Disconnect power to the unit at the circuit breaker or wall outlet before touching underneath components.
- Check the upper mounting ring connecting the disposal to the sink strainer for play or water droplets.
- Inspect the dishwasher inlet hose connection and the main drain pipe connection for moisture.
- Tighten loose hose clamps and mounting screws with a screwdriver or hex wrench.
If water leaks directly from the bottom electrical housing of the disposal, internal motor seals have failed, requiring complete unit replacement.
Examine Ice Maker and Water Filter Lines
Refrigerators with internal water dispensers and ice makers rely on thin plastic or copper tubing. These small-diameter supply lines can kink, crack, or leak at compression fittings when appliances are pushed tightly against back walls.
- Pull the refrigerator forward while monitoring the rear plastic supply tube for strain or pinching.
- Inspect the water filter housing and dual solenoid water inlet valve for slow drips.
- Ensure quick-connect plastic push fittings are fully seated and locked in place.
- Replace cracked or brittle plastic tubing with flexible braided polymer or copper tubing.
Maintaining proper clearance between the wall and refrigerator prevents crushed supply lines and unexpected kitchen floor damage.
Clean Dishwasher Sump Filters and Drain Hoses
A clogged dishwasher filter forces water to back up inside the tub during drain phases. Excessive standing water can push past lower door seals or overwhelm the drain pump assembly.
- Remove the bottom rack and twist out the cylindrical fine-mesh filter located at the base of the tub.
- Rinse the filter under warm running water, scrubbing gently with a soft nylon brush to remove grease and food bits.
- Check the sump area beneath the filter for solid debris like glass shards, seeds, or twist ties.
- Inspect the flexible corrugated drain hose under the sink to ensure it maintains a high drain loop or connects to an air gap.
A high loop prevents sink wastewater from siphoning back into your dishwasher tub during sink use.
Level Washing Machines to Prevent Overflow
An unlevel washing machine vibrates violently during high-speed spin cycles. This excessive motion damages internal tub suspension springs, loosens drain pump connections, and causes splash-over leaks from the top rim.
- Place a bubble level across the top front and sides of the washing machine cabinet.
- Adjust the threaded leveling legs underneath using an adjustable wrench until the unit sits completely level.
- Lock the leg jam nuts firmly against the frame to keep adjustments from shifting over time.
- Ensure all four feet contact the floor solidly without wobbling.
Proper leveling protects internal water containment components and eliminates excessive operational noise.
Replace Aging Rubber Washers and Hose Fittings
Small rubber hose washers inside supply line couplings harden and degrade after years of exposure to water pressure and chemical additives. Replacing these inexpensive washers during routine maintenance prevents sudden pinhole leaks.
- Turn off supply shutoff valves for the washer, dishwasher, and refrigerator lines.
- Unscrew the supply line connections carefully, holding a bucket underneath to catch residual water.
- Pry out stiff or deformed black rubber washers from inside the female hose couplings.
- Insert fresh rubber or silicone hose washers and hand-tighten fittings before adding a quarter turn with pliers.
This quick maintenance step provides a tight, leak-free seal across all water-fed appliances for pennies per connection.
Inspect Refrigerator Drain Pans for Cracks
The condensation drain pan located beneath your refrigerator cabinet collects water during defrost cycles. While normal operation allows this small amount of water to evaporate via warm condenser coils, cracked or dirty drain pans can overflow onto floorboards.
- Remove the front lower kick plate or access panel at the back bottom of the refrigerator.
- Slide out or inspect the plastic drain pan using a flashlight.
- Check the pan for hairline cracks, mold buildup, or heavy dust accumulation that impedes evaporation.
- Wash dirty pans with warm soap and water, and replace cracked plastic pans promptly.
Keeping the drain pan clean ensures smooth evaporation without moisture escaping onto your kitchen flooring.
Quick-Reference Appliance Leak Inspection Guide
| Appliance | High-Risk Leak Point | Primary Cause | Inspection Frequency | DIY Difficulty |
|---|---|---|---|---|
| Washing Machine | Fill hoses & pump connections | Aging rubber, loose clamps | Every 6 months | Easy |
| Refrigerator | Defrost drain & ice maker line | Ice or debris clogs, pinched tubing | Every 6 months | Easy to Moderate |
| Dishwasher | Door gasket & drain hose loop | Detergent buildup, improper loop | Every 3 to 6 months | Easy |
| Garbage Disposal | Sink flange & discharge pipe | Vibration looseness, failed seals | Every 3 months | Easy |
When to Call a Pro
While most routine leak checks and basic hose tighteners are straightforward DIY tasks, certain appliance water issues require professional diagnosis and specialized tools. If you discover active leaks inside sealed cabinet walls, corroded shutoff valves that refuse to close completely, or water pooling near internal electrical components, stop work immediately.
Attempting complex repairs on pressurized plumbing connections or internal water pumps without experience can result in extensive structural water damage. When in doubt, True Appliance Repair can match you with an experienced local appliance pro to diagnose and repair hidden leaks safely. Professional repairs typically range from $150 to $350 depending on the specific component, appliance model, and local service rates.
FAQ
How often should I check my home appliances for water leaks?
You should conduct a visual inspection of appliance hoses, drain lines, and gaskets every 3 to 6 months. High-pressure lines, such as washing machine fill hoses and refrigerator ice maker lines, should be inspected closely twice a year and replaced every 3 to 5 years.
Why is water leaking from underneath my washing machine?
Washing machine leaks under the unit usually stem from loose drain pump hose clamps, a cracked drain pump housing, worn tub seals, or an unlevel cabinet causing splash-over during spin cycles. Inspect hoses first before checking internal pump components.
What should I do if my appliance shutoff valve won't turn off?
If a dedicated water shutoff valve is stuck or corroded, do not force it with heavy tools, as this can snap the stem and cause a severe leak. Shut off your home's main water valve instead and contact a pro or plumber to replace the faulty shutoff valve.
Can a clogged dishwasher filter cause a water leak?
Yes, a heavy buildup of food debris in the dishwasher filter prevents water from draining properly during the cycle. Excess water pools in the bottom of the tub and can spill over the front lower lip or force its way past aging door gaskets.