
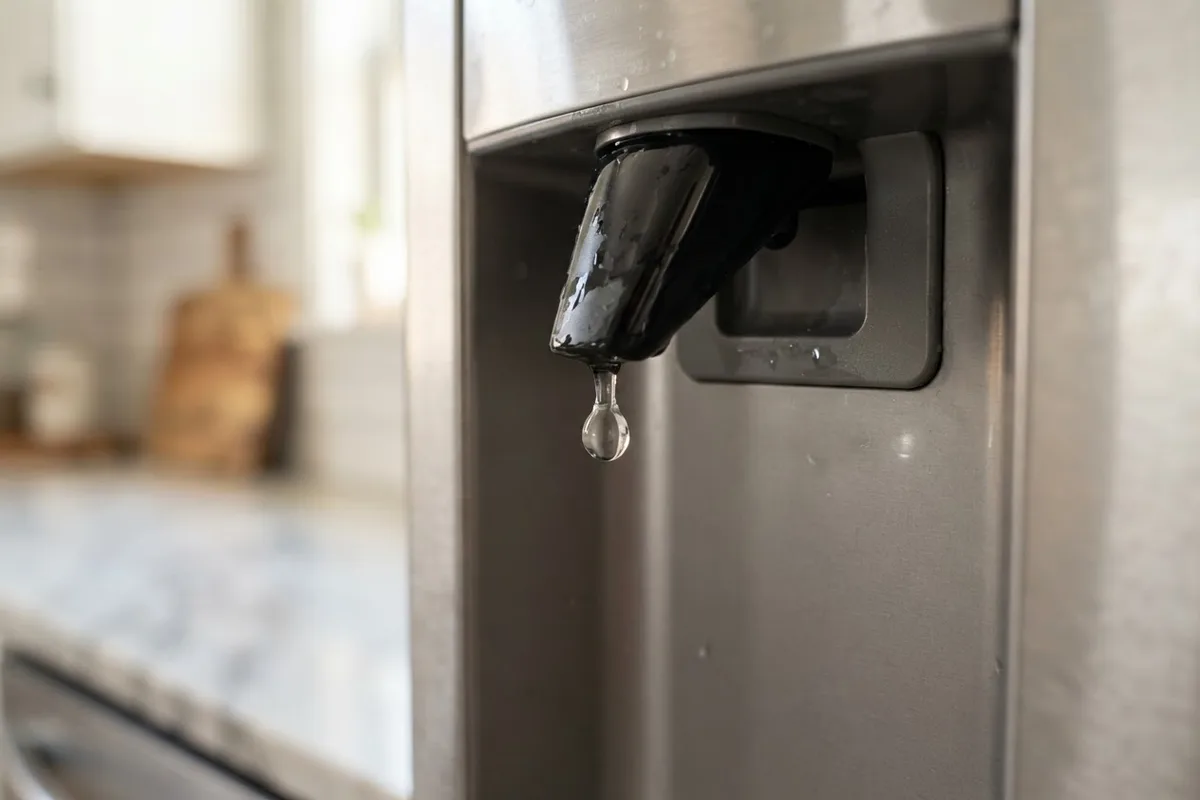
A slow drip from your refrigerator door dispenser creates constant puddles in the catch tray and leaves dull white mineral tracks down the stainless steel door. Most drips start right after a routine water filter replacement or occur because tiny air pockets compress inside the supply line, pushing stray droplets past the nozzle. With a few simple diagnostic steps, you can pinpoint the source, stop the leak, and keep your kitchen floor dry.
Before tackling any hands-on inspection or removing panels, always unplug the appliance from the wall outlet and turn off the dedicated water shut-off valve behind or beneath the unit. If your setup requires dealing with gas lines, sealed refrigerant loops, or main electrical panels, stop immediately and contact a qualified professional.
Purge Trapped Air From the Water Line
Air trapped inside the internal tubing is the single most common cause of a dripping dispenser, especially right after installing a new filter. Because air compresses under pressure while water does not, tiny bubbles act like a spring inside the tubing. When you release the dispenser lever, that compressed air expands and forces remaining water out of the nozzle tip for several seconds or minutes.
- Place a large pitcher or 2-quart container under the dispenser nozzle.
- Depress the dispenser paddle for 5 seconds, then release it for 5 seconds.
- Repeat this purge cycle continuously until you have dispensed at least two to three full gallons of water.
- Listen for sputtering or hissing sounds at the nozzle, which confirm air is exiting the system.
- Empty your pitcher into the sink as needed until water pours in a steady, smooth stream without stuttering.
Once the tubing is completely purged of air bubbles, wipe the catch tray dry and monitor the tip for fifteen minutes. In many cases, this thorough flushing stops the drip permanently.
Check and Reseat the Water Filter
A loose, misaligned, or improperly seated water filter allows air to enter the pressurized lines while allowing water to seep past rubber gaskets. If the dual O-rings at the head of the filter cartridge become pinched, dry, or cracked, the seal fails and pressure drops intermittently.
- Open the filter compartment, typically located inside the upper right ceiling of the fresh food compartment or behind the base grille.
- Twist or release the cartridge according to your model directions and pull it straight out.
- Inspect the rubber O-rings on the stem for nicks, tears, or missing seals.
- Apply a tiny drop of food-grade silicone lubricant or clean water to the O-rings to help them slide smoothly into the receiver head.
- Reinsert the cartridge firmly until you hear or feel the lock click into place.
If the filter housing itself has a hairline crack or the locking teeth inside the receiver head have worn down, water will bypass the seal and cause erratic dispenser dripping. Replacing an aged filter with the exact manufacturer-specified cartridge often cures mysterious drips.
Inspect the Dual Water Inlet Valve
The water inlet valve at the back bottom of your refrigerator uses small electrical solenoids to open and close internal rubber diaphragms. One solenoid sends water to the ice maker, while the second routes water to the door dispenser. Over time, sediment, calcium deposits, or mechanical wear prevent the dispenser diaphragm from snapping shut completely, allowing water to weep constantly through the line.
- Pull the refrigerator away from the wall, unplug the power cord, and shut off the cold water supply valve.
- Remove the lower rear cardboard or metal service panel using a nut driver.
- Locate the water inlet valve where the main household copper or braided tubing enters the cabinet.
- Disconnect the plastic dispenser tubing line from the valve collar and place a shallow cup beneath the valve outlet port.
- Turn the household water valve back on while keeping the refrigerator unplugged. If water trickles out of the open valve port without electrical power, the internal diaphragm is stuck open and the inlet valve assembly must be replaced.
A replacement inlet valve generally costs between $35 and $95 depending on the brand, and it installs with basic hand tools in under thirty minutes.
Verify Household Water Supply Pressure
Refrigerator water inlet valves require positive water pressure to snap tightly shut. Most manufacturers specify an incoming water pressure between 20 and 120 pounds per square inch (PSI), with 30 to 60 PSI being the ideal operating range. If your household pressure drops below 20 PSI—frequently seen with reverse osmosis systems, saddle valves, or clogged plumbing—the spring inside the inlet valve cannot force the internal diaphragm shut, resulting in a persistent trickle.
- Check your shut-off valve: If your refrigerator connects to a self-piercing saddle valve under the sink or in the basement, the tiny puncture hole often clogs with mineral scale. Opening the valve fully or upgrading to a standard 1/4-turn ball valve restores full volume.
- Examine reverse osmosis feeds: Reverse osmosis filtration systems lower household line pressure significantly. If your water line runs through an auxiliary filter before the fridge, you may require a dedicated water pressure booster pump.
- Observe ice maker behavior: Low water pressure also produces smaller, malformed ice cubes. If you notice your refrigerator ice is hollow alongside a dripping spout, inadequate pressure is almost certainly the root problem.
Clean Mineral Crust From the Dispenser Tip
In regions with hard municipal water or private well systems, dissolved calcium and magnesium evaporate at the dispenser nozzle, leaving behind crusty white scale. This buildup distorts the spray pattern, deflects water against the housing, and causes lingering droplets to cling to the rim before dropping into the tray.
- Fill a small plastic bag or bowl with equal parts warm water and distilled white vinegar.
- Submerge the tip of the dispenser nozzle in the solution, securing the bag with a rubber band if accessible, or soak a clean microfiber towel in warm vinegar and wrap it around the nozzle tip.
- Allow the mild acid to dissolve mineral crust for 20 to 30 minutes.
- Scrub the plastic aperture gently using a soft-bristled toothbrush to clear away softened residue.
- Purge one quart of fresh water through the spout to flush out loosened lime particles.
Keeping the dispenser tip free of mineral crust ensures water shears off cleanly every time you let go of the glass lever.
| Issue | Primary Cause | Quick Diagnostic Check | Common DIY Fix |
|---|---|---|---|
| Sputtering drip after use | Air trapped in water tubing | Water spits or hisses when lever is pressed | Dispense 2-3 gallons continuously to purge air |
| Constant slow trickle | Leaking inlet valve diaphragm | Trickle continues while fridge is unplugged | Replace the dual water inlet valve assembly |
| Puddle after filter change | Unseated filter or dry O-rings | Drip began immediately after replacing filter | Remove, lubricate O-rings, and reseat filter firmly |
| Weak stream and lingering drip | Insufficient water pressure | Ice maker cubes are noticeably thin or hollow | Clear saddle valve or install RO booster pump |
| Deflected spray & trailing drips | Hard water scale on nozzle | Visible white crust around dispenser orifice | Soak nozzle tip in warm distilled white vinegar |
When to Call a Pro
Simple air purges, nozzle descaling, and filter reseating are straightforward tasks that any homeowner can complete in an afternoon. However, if water continues to drip inside the door cavity, if you suspect an internal dispenser line rupture, or if the dispenser solenoid wiring shows signs of heat damage, it is time to hand the repair to a professional.
Water leaks left unattended can seep into door insulation, ruin electronic display boards, and damage hardwood subfloors. A professional repair technician can test line pressure with dedicated gauges, evaluate door wire harnesses, and safely replace faulty valves. Typical professional repair bills for water valve or dispenser line service range from $150 to $350, varying by area and appliance model. When you need dependable help, True Appliance Repair can match you with an independent local appliance pro to diagnose and solve the issue quickly.
FAQ
Why does my fridge dispenser drip only after I change the filter?
New dry water filters contain millions of tiny air pockets inside the carbon block. As water rushes into the new cartridge, it pushes trapped air into the downstream tubing toward the door. This compressed air acts like a spring, forcing trailing drips out of the nozzle until you flush at least two to three full gallons through the system.
Can low water pressure really cause a dispenser to leak?
Yes. Refrigerator water inlet valves do not use mechanical gears to close; they rely on water pressure pushing against an internal rubber diaphragm to seat tightly. When household pressure drops below 20 PSI, the valve cannot overcome internal spring resistance to seal completely, creating a continuous weep.
How do I know if my water inlet valve is bad instead of the dispenser switch?
Unplug the refrigerator from the wall outlet while the water supply remains turned on. If the dispenser continues to drip or run with zero electrical power supplied to the appliance, the failure is mechanical inside the valve diaphragm, not an electrical switch error.
Is it safe to use vinegar to clean the dispenser nozzle?
Distilled white vinegar is completely safe for food-contact plastics and rubber lines. It gently dissolves calcium and lime scale without leaving harsh chemical residues. Simply run a glass or two of fresh water through the spout afterward to clear any lingering vinegar taste.