
Discovering water leaking from your dryer transition duct, dripping from ceiling drywall, or pooling behind the appliance is a stressful surprise. A clothes dryer generates gallons of warm water vapor during every cycle, and that moisture must escape cleanly outdoors.
When humid exhaust air cools prematurely inside the ductwork or hits a blockage, it condenses back into liquid water and drips through pipe joints. Before inspecting your ventilation system, unplug the dryer from its electrical outlet or shut off the gas supply valve if you own a gas dryer. Here is how to identify the cause of dryer duct condensation and fix the leak for good.
1. Clear Heavy Lint Buildup From the Exhaust Duct
A dense buildup of lint inside your dryer exhaust pipe is the leading cause of condensation leaks. When airflow slows due to lint accumulation, hot, moisture-heavy air cannot travel quickly enough to reach the outdoor exhaust hood before cooling down.
As the humid air stalls inside the pipe, it drops below the dew point and deposits water along the duct walls. This pooled moisture then seeps through seams, tape joints, or loose clamps onto your floor.
- Disconnect the dryer power cord and pull the unit away from the wall to access the exhaust collar.
- Loosen the band clamp securing the flexible duct to the back of the dryer and pull the hose free.
- Feed a rotary dryer duct cleaning brush attached to flexible extension rods into the wall pipe.
- Rotate the brush clockwise while moving it forward and backward to scrape lint cakes from pipe walls.
- Vacuum out dislodged debris using a shop vacuum equipped with a long hose attachment.
2. Unstick or Replace the Exterior Flapper Damper
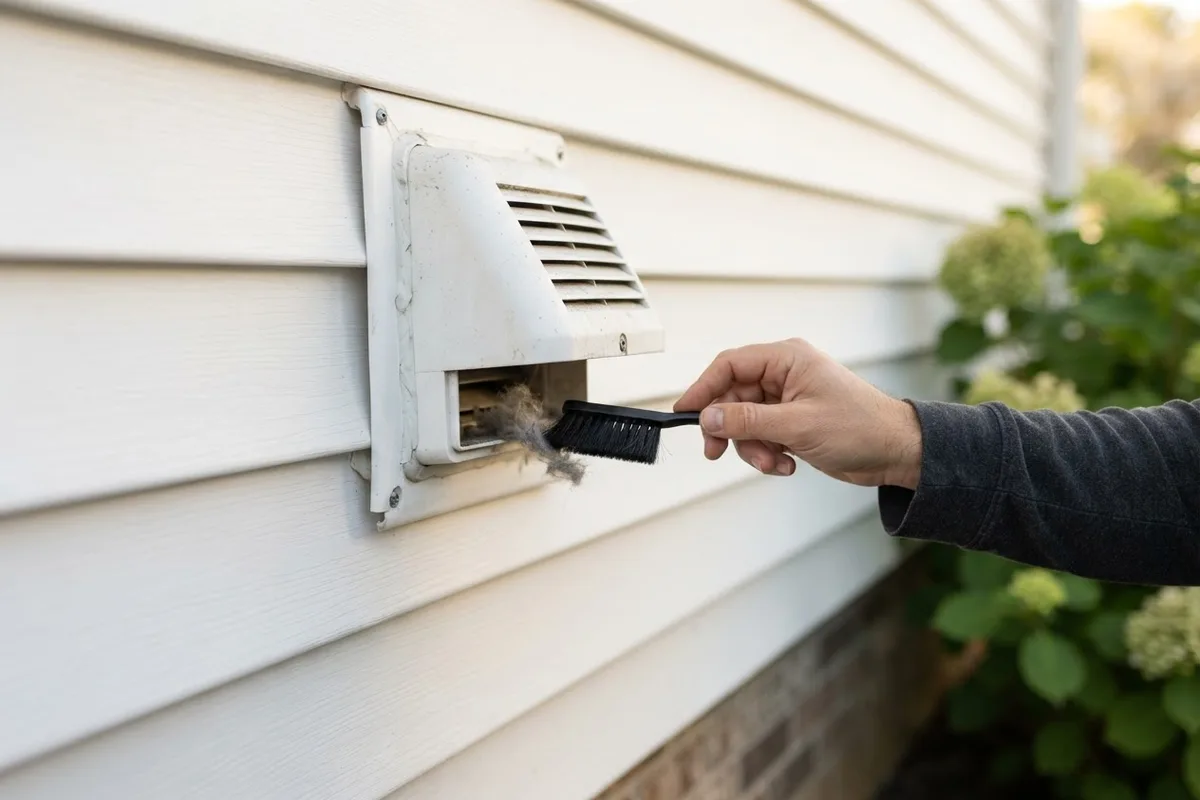
The exterior wall cap or roof vent features a spring-loaded damper or gravity flapper designed to blow open when the dryer runs and seal shut when idle. If lint, dirt, or birds' nests wedge this damper closed, humid air backs up into the house.
Conversely, a flapper stuck open allows cold outdoor air to rush deep into the ductwork during cooler months. When hot dryer exhaust collides with that frigid pipe, instant condensation occurs, leading to heavy dripping.
- Walk outside while the dryer is running to inspect the exterior exhaust hood.
- Verify that exhaust air flows freely and pushes the damper flap open at least 45 degrees.
- Turn off the dryer and inspect the flapper hinge for lint accumulation, grease, or insect nests.
- Clean away debris around the hinge pin with a stiff utility brush and confirm the door swings closed freely.
- Replace broken, warped, or missing damper hoods with a heavy-duty model featuring a pest guard.
3. Insulate Ducts Running Through Unconditioned Spaces
If your dryer duct routes through an unheated attic, crawlspace, basement, or exterior wall cavity, temperature differences create substantial condensation. When 130-degree moist air passes through a freezing sheet-metal pipe, water droplets form on the inner surface within seconds.
Wrapping exposed metallic ductwork with proper thermal insulation prevents warm air from cooling before it exits the building envelope. Taking care of your ductwork goes hand in hand with maintaining other components, such as checking hidden appliance filters you should clean on a predictable seasonal schedule.
- Locate all exposed sections of metal duct pipe running through attics, crawlspaces, or unheated garages.
- Measure the outer diameter and total length of the exposed piping run.
- Wrap the pipe with R-6 or R-8 foil-backed fiberglass duct insulation sleeves.
- Seal all longitudinal and radial insulation seams tightly using UL 181-rated foil mastic tape.
- Never use standard cloth duct tape, which dries out, loses adhesion, and deteriorates under heat.
4. Eliminate Pipe Dips, Sags, and Excessive Elbows
Dryer ductwork must run as straight and short as possible to encourage rapid exhaust velocity. Flexible foil or vinyl accordion hoses naturally sag between wall supports, creating low collection pockets where condensed moisture settles instead of draining outdoors.
Furthermore, using multiple 90-degree elbows or exceeding 35 feet of equivalent duct length creates backpressure that traps moisture inside the home. Replacing ribbed, sagging hoses with smooth, rigid metal pipe solves persistent pooling.
- Inspect the entire pipe run from the appliance connection to the outside exit terminal.
- Remove any flexible plastic, vinyl, or semi-rigid ribbed transitions trapped inside concealed walls or ceilings.
- Replace sagging flexible lines with 4-inch rigid aluminum or galvanized steel pipe.
- Support horizontal runs every 4 feet using metal pipe hanger straps, angling the line with a downward slope of 1/4 inch per foot toward the exterior.
- Orient pipe joints so male crimped ends point in the direction of outward airflow, preventing lint snagging.
| Duct Issue | Primary Symptom | Risk Level | Recommended Correction |
|---|---|---|---|
| Lint Blockage | Slow drying, hot drum, damp duct | High fire & water risk | Rotary brush cleanout of full duct run |
| Stuck Exterior Damper | Dripping during cold weather | Moderate moisture risk | Clean hinge mechanism or install new vent cap |
| Uninsulated Attic Pipe | Water dripping from ceiling drywall | High drywall damage risk | Wrap with R-6 foil-faced duct insulation |
| Sagging Flexible Duct | Sloshing sounds, water in hose dip | Moderate water leak risk | Replace with rigid, pitched smooth metal pipe |
| Loose Duct Connection | Visible steam/drips behind dryer | Low-to-moderate risk | Reclamp and seal joint with foil tape |
5. Reseal Loose Slip Joints and Seams with Foil Tape
Dryer ducts consist of interconnected pipe sections and elbows. If seams are not properly taped or if clamps loosen over time due to machine vibrations, escaping moist air will condense upon hitting cooler laundry room air.
Never secure dryer duct joints with sheet metal screws. Screws protrude into the air stream and catch airborne lint fibers, quickly forming stubborn clogs that compound moisture problems. Instead, use approved foil tape to create airtight, mechanically sound seals.
- Disconnect and wipe down each metal joint with rubbing alcohol to remove grease and dust.
- Push the male pipe end fully into the female receiving end by at least 1.5 inches.
- Wrap high-temperature aluminum foil tape twice around the perimeter of each joint connection.
- Smooth the tape firmly with a plastic squeegee or cloth to eliminate air gaps and ensure a vapor-tight seal.
- Secure transitions to dryer collars and wall thimbles using heavy-duty worm-gear stainless steel clamps.
When to Call a Pro
While clearing an accessible lint trap, replacing transition hoses, and taping pipe seams are manageable DIY tasks, extensive duct routing through roof caps or two-story walls can be difficult and dangerous. If your dryer duct travels through difficult-to-reach framing, or if your dryer continues to struggle with unusual vibrations, our guide on why your dryer is thumping can help pinpoint underlying mechanical strain.
Professional duct cleaning, vent rerouting, or blower motor service typically costs between $125 and $300, depending on local labor rates, duct accessibility, and roof height. If an aging dryer also suffers from persistent electrical or mechanical failures, reviewing repair vs replace appliances helps you decide on the best next step.
When you need specialized diagnostic help or duct adjustments, trusted washer and dryer repair pros can ensure your laundry ventilation is safe and code-compliant. True Appliance Repair can match you with an independent local appliance repair professional to inspect your setup and resolve venting problems quickly.
FAQ
Is water dripping from a dryer vent a fire hazard?
Yes. Water dripping from a vent almost always indicates restricted airflow caused by heavy lint buildup. When lint traps moist air and overheats near the heating element or burner assembly, it poses a serious household fire hazard. Promptly clearing the ductwork eliminates both the fire risk and moisture damage.
Can I use plastic accordion hose for my dryer vent?
No. Flexible vinyl or plastic accordion hoses violate modern building codes in most municipalities. They easily crush, sag, collect lint in their internal ridges, and melt when exposed to high exhaust temperatures. Always use rigid or semi-rigid aluminum ducting for dryer exhaust lines.
Why does my dryer vent drip water only in the winter?
During cold weather, the temperature difference between hot, humid dryer exhaust (often 120 to 140 degrees) and uninsulated duct metal exposed to sub-freezing air is extreme. This sharp temperature drop causes moisture vapor to condense into liquid water inside the duct before reaching the outside vent.
How often should a dryer vent line be cleaned?
Dryer exhaust ducts should be thoroughly inspected and cleaned at least once every 12 months. Homes with large families, heavy laundry loads, or long duct runs with multiple bends may require cleaning every six months to maintain proper airflow and prevent condensation.