
Discovering a puddle of water inside your kitchen cabinet is never pleasant, especially when it traces back to your food waste unit. A leaking garbage disposal can warp cabinetry, ruin floorboards, and create foul odors if ignored. Fortunately, most disposal leaks stem from accessible seals, loose pipe connections, or degraded putty rather than catastrophic mechanical failure.
Before touching any pipes or fittings, always practice basic kitchen safety. Unplug the garbage disposal from its electrical outlet under the sink or switch off the dedicated breaker at your electrical panel. Keep the sink faucet turned off while troubleshooting to avoid unexpected drips while you work.
1. Reseal the Upper Sink Flange
The sink flange sits at the top of the disposal mounting assembly, sealing the drain opening where the appliance meets the bottom of your stainless steel or composite sink. Over time, heavy daily vibrations or acidic cleaners can cause the plumber's putty beneath the flange collar to dry out, crumble, and fail.
To check if the sink flange is the culprit, plug your sink drain with a stopper, fill the basin with three to four inches of water, and look underneath with a flashlight. If you see water dripping down the outer metallic collar before turning on the unit, the top flange seal is compromised.
To fix a loose flange:
- Unplug the disposal and support its base with a small bucket or wooden block.
- Loosen the mounting ring screws holding the disposal to the sink collar and unlatch the unit.
- Remove the snap ring and push the flange upward into the sink basin.
- Scrape away old, hardened plumber's putty from both the sink basin and the flange lip using a plastic putty knife.
- Roll fresh plumber's putty into a 1/2-inch thick rope, wrap it underneath the flange lip, press firmly into the sink opening, and reassemble the mounting bracket.
2. Secure the Dishwasher Drain Hose Connection
If your dishwasher connects to your food waste unit, a small rubber or reinforced plastic hose connects the dishwasher drain line to an inlet nipple near the top of the disposal housing. A leak in this area typically shows up while the dishwasher is running its drain cycle.
Inspect the metal hose clamp that holds the flexible dishwasher line onto the disposal inlet. Constant thermal expansion and drain pump pressure can cause standard band clamps to slip or loosen. If the hose itself is cracked, brittle, or split at the clamp joint, water will spray against the rear cabinet wall.
To resolve dishwasher inlet leaks:
- Loosen the hose clamp using a flathead screwdriver or nut driver.
- Slide the hose off and inspect the rubber rim for splits or tears. If damaged, trim 1/2 inch off the end with utility shears or replace the connector boot.
- Wipe down the plastic inlet nipple on the disposal housing to remove accumulated grease or scale.
- Slide the hose back onto the fitting until it bottoms out against the stop, reposition the clamp, and tighten it securely without overtightening.
3. Tighten the Side Drain Pipe Gasket
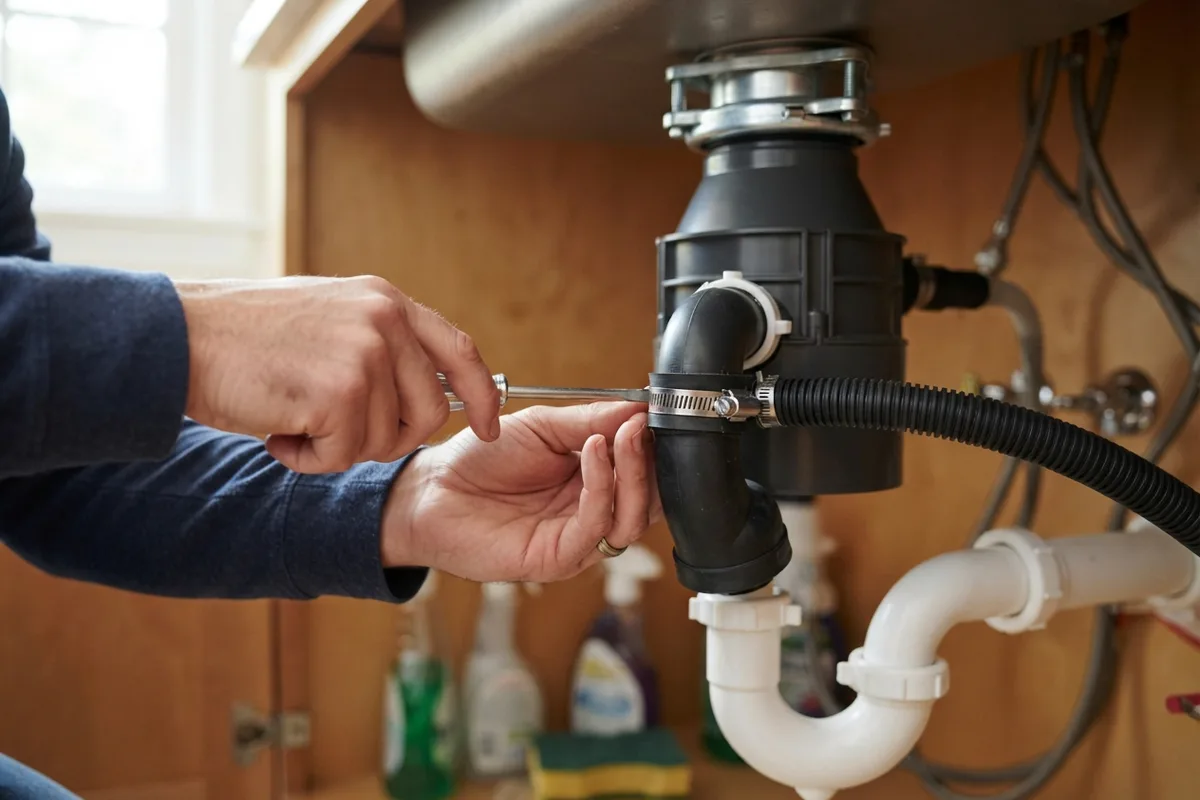
The primary wastewater discharge pipe connects to the side of your disposal, directing shredded food waste into your home's P-trap plumbing. This junction relies on a specialized rubber gasket and a metal flange held tight by one or two mounting bolts.
Frequent sink vibrations can shake these mounting bolts loose, allowing wastewater to weep down the discharge elbow every time the faucet runs. In other instances, mineral buildup from hard water can degrade the rubber gasket, preventing a watertight seal against the disposal body. Learning how to remove hard water from appliances can prevent premature gasket degradation across all your wet kitchen appliances.
To correct discharge pipe leaks:
- Place a small pan under the P-trap to catch residual standing water.
- Inspect the bolts on the metal retaining plate. If they feel loose, tighten them evenly with an Allen wrench or socket.
- If the joint continues weeping, remove the bolts, slide the pipe back, and pull out the old rubber gasket.
- Clean the mating surfaces with a damp cloth, install a new exact-fit rubber discharge gasket, and retighten the bolts uniformly.
4. Replace Cracked Lower Housing or Internal Seals
When water drips directly out of the bottom seams, the motor ventilation slots, or around the red reset button, the problem is inside the unit. Disposals use an internal rotating shredder plate mounted on a motor shaft protected by a heavy-duty mechanical seal. As the appliance ages, this internal shaft seal wears down, letting water seep directly into the motor housing.
A bottom housing leak cannot be safely patched with silicone, epoxies, or tape from the outside. Water inside the electrical compartment creates an immediate short circuit hazard and will quickly trip your home's circuit breaker.
Typical costs for a brand-new garbage disposal unit range from $90 to $300 for the hardware, with professional installation typically running $120 to $250, though costs vary based on your local area and plumbing setup. When internal motor seals fail on a unit older than 8 to 10 years, full replacement is the standard, permanent solution.
5. Check the P-Trap and Wall Drain Slip Nuts
Sometimes what appears to be a leaking disposal is actually a failing threaded slip nut or washer on the downstream PVC or brass drain pipes. Because plumbing components sit closely packed beneath the sink, water running along horizontal pipes can easily pool around the disposal base.
Inspect the slip joint nuts connecting the disposal discharge elbow to the curved P-trap and the trap arm leading into the wall. Hand-tightened PVC nuts can back off under the vibration of a running motor, while older brass slip nuts can suffer from hairline cracks along their threaded collars.
To fix loose drain slip nuts:
- Wipe the entire pipe assembly completely dry with a clean microfiber towel.
- Run cool tap water down the drain while shining a bright flashlight on every threaded joint.
- Hand-tighten any loose slip nuts clockwise by a quarter to half turn.
- If a plastic nut slips threads or a beveled friction ring is deformed, unscrew the fitting, replace the inexpensive nylon slip washer, and re-tighten the joint firmly by hand.
Garbage Disposal Leak Quick Diagnostic
| Leak Location | Most Common Cause | Best Solution |
|---|---|---|
| Top of unit / Sink basin | Dried or cracked plumber's putty | Remove unit, reseal sink flange with fresh putty |
| Side inlet pipe | Loose clamp or cracked dishwasher hose | Trim hose end and tighten stainless steel clamp |
| Side discharge outlet | Degraded rubber gasket or loose bolts | Replace rubber discharge gasket and tighten bolts |
| Bottom casing / Reset switch | Worn internal motor shaft seal | Replace garbage disposal unit entirely |
| P-trap slip nuts | Loose fittings or worn nylon slip rings | Hand-tighten slip nuts or install new bevel washers |
When to Call a Pro
Most external plumbing connections, hose clamps, and sink flange resealing jobs are manageable for a confident homeowner with basic hand tools. However, you should stop and call a professional technician if you notice sparks, smoke, scorching near electrical junction boxes, or recurring breaker trips when using the appliance.
If your disposal is leaking, jammed, or causing broader drainage issues connected to your dishwasher repair needs or general appliance repair plumbing, True Appliance Repair can match you with a local appliance pro to inspect the system safely. A qualified technician can determine whether a fast component fix or a full replacement makes the most financial sense for your home.
FAQ
Can I use silicone caulk instead of plumber's putty on a sink flange?
While 100% silicone sealant can be used, plumber's putty is generally preferred for stainless steel sinks because it stays pliable, cleans up easily during installation, and allows for clean removal years later. If you have a granite, marble, or composite quartz sink, use a non-staining plumber's putty or manufacturer-approved silicone, as traditional oil-based putty can stain porous stone surfaces.
Why does my disposal leak only when the dishwasher runs?
The dishwasher discharges wastewater directly into the upper side port of the disposal. If the hose clamp holding the drain hose is loose, or if the rubber boot on the hose has developed small cracks, water will only escape during the active drain cycle of your dishwasher.
Can a leaking garbage disposal be repaired with waterproof tape or epoxy?
No. Patching the outside of a disposal housing or cracked pipe with epoxy or waterproof tape is only a temporary cosmetic cover-up. The pressure, hot water, and heavy vibrations will quickly breach exterior adhesives, leading to hidden rot and mold growth inside your base cabinets.
How long should a quality garbage disposal last before leaking?
A standard residential garbage disposal typically lasts between 8 and 12 years with proper care. Avoiding harsh chemical drain cleaners, keeping hard bones and fibrous foods out of the chamber, and running cold water during operation will help prolong the life of internal rubber seals.