
A slow, trickling refrigerator water dispenser makes filling a single water glass feel like an eternity. When your fridge door dispenser loses water pressure, the culprit is usually a restricted supply line, a spent filter cartridge, or trapped air inside the system. Before assuming you need a costly replacement, you can diagnose and solve most water flow issues yourself using basic home tools.
In this practical troubleshooting guide, we cover the five most common causes of low water dispenser pressure and provide step-by-step instructions to get your cold water pouring quickly again.
1. Replace a Clogged Refrigerator Water Filter
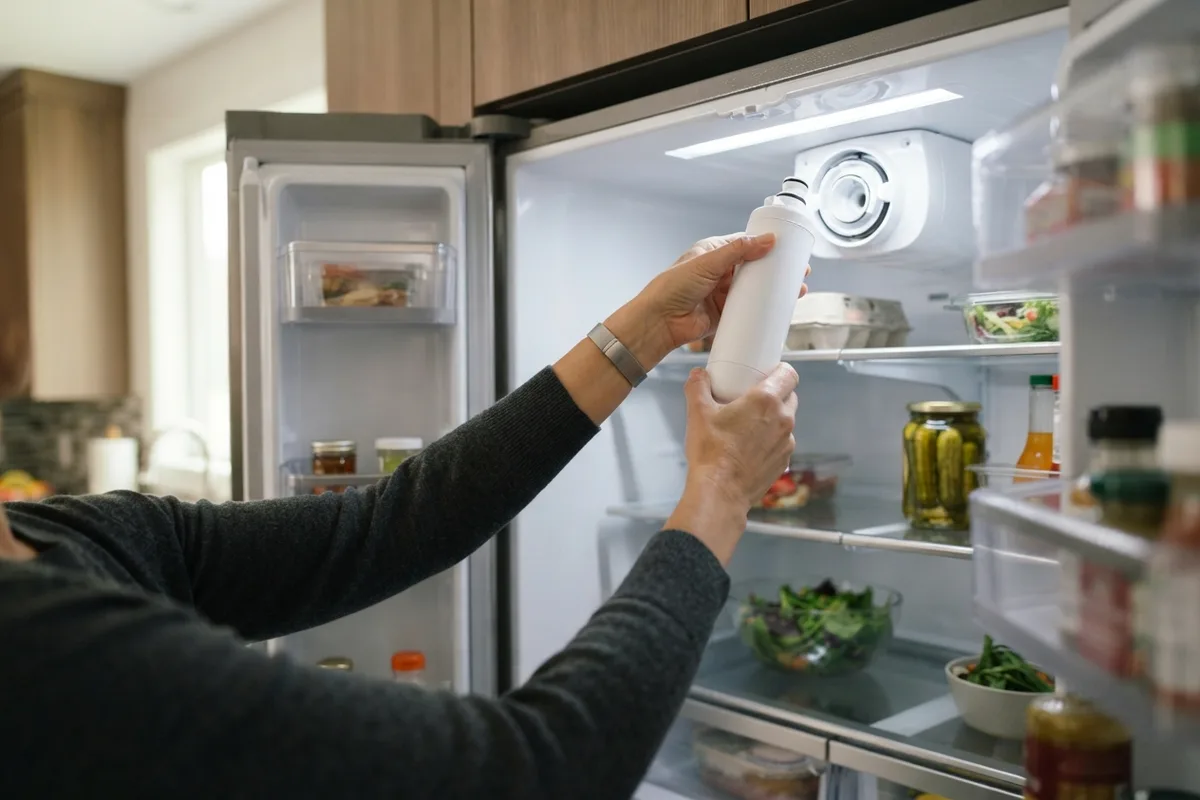
The single most frequent reason a refrigerator water dispenser slows to a trickle is a clogged water filter cartridge. As water passes through the filter over months of regular use, activated carbon pores trap sediment, heavy metals, microscopic particulates, and calcium scale. Eventually, these trapped solids impede water flow, drastically dropping output pressure at the dispenser door nozzle.
To resolve or prevent this issue, follow these standard steps:
- Locate your refrigerator water filter, usually found in the upper right interior cabinet corner or behind the bottom front base grille.
- Always shut off the cold water supply valve under the sink or behind the refrigerator before replacing internal components, and unplug the unit if you need to access internal wiring panels.
- Twist the existing filter cartridge a quarter-turn counterclockwise (or push the release button) to remove it from its housing.
- Insert a fresh, manufacturer-approved filter cartridge into the slot and push firmly while twisting clockwise until it locks into place.
- Place a jug under the dispenser and run 1 to 2 gallons of water through the system. This flushes out loose carbon fines and bleeds out initial air pockets.
Most appliance manufacturers recommend changing the filter cartridge every six months, or sooner if you live in an area with hard water or high sediment levels.
2. Bleed Trapped Air from Internal Water Lines
Air pockets inside your refrigerator water lines create backpressure, sputtering streams, and weak flow. Trapped air often enters the system after a municipal water main shutoff, plumbing work in your home, or right after installing a new dry water filter cartridge.
Purging air from your refrigerator water system requires no special tools and takes only a few minutes:
- Take a large measuring cup or 2-quart pitcher and position it directly beneath the door dispenser spout.
- Depress the dispenser paddle or button continuously for 5 seconds, then release it for 5 seconds.
- Repeat this alternating dispense cycle continuously for 3 to 4 minutes. You should dispense approximately 1 to 1.5 gallons of water total.
- Observe the stream. Initially, the water may spurt, sputter, or drop in pressure. Continue the purging cycle until a steady, smooth stream of water flows without hesitation.
If purging air does not improve the flow, the issue may stem from physical line blockages or temperature issues within the cabinet.
3. Thaw a Frozen Water Line or Storage Coil
Modern refrigerators route plastic water tubing through the fresh food cabinet or door panel to keep water chilled before dispensing. If your refrigerator temperature setting is dialed too cold (below 36°F / 2°C) or if food containers block the internal air vents, cold air from the freezer can freeze the water storage reservoir coil behind your crisper drawers.
To diagnose and thaw a frozen water line:
- Check your refrigerator temperature control settings. Set the fresh food compartment between 37°F and 40°F (3°C to 4°C).
- Remove the lower crisper drawers and visually inspect the plastic tubing coil behind the back interior wall. Look for visible frost or solid ice formation inside the translucent lines.
- Safe thawing step: Unplug the refrigerator from the electrical outlet and shut off the water valve. Keep the refrigerator doors open for 2 to 3 hours to allow frozen lines to thaw naturally. Alternatively, direct a hair dryer set on low heat at least 8 to 10 inches away from plastic surfaces to melt ice accumulation gently.
- Rearrange food items to maintain clear space around air vents, preventing concentrated sub-freezing air from blowing directly onto water reservoir tubing.
If you frequently notice excess moisture or puddle formation alongside freezing issues, read our detailed guide on Why Is Water Under Refrigerator Drawers? 5 DIY Fixes to eliminate hidden condensation problems.
4. Inspect and Fully Open the Household Supply Valve
Your refrigerator connects to your home's main cold water supply line through a dedicated shutoff valve located behind the appliance, under the kitchen sink, or in the basement ceiling below. If this valve was bumped during cleaning, partially closed, or restricted by mineral scale, water pressure entering the appliance drops significantly.
To inspect and restore proper supply pressure:
- Safely slide the refrigerator straight out from the wall, taking care not to scrape hardwood or tile flooring.
- Locate the thin copper or braided stainless steel supply line behind the unit.
- Check the line carefully for kinks, sharp bends, or flattened spots where the appliance may have pinched the tube against the wall.
- Check the shutoff valve handle (either a lever ball valve or a multi-turn gate valve). Turn the handle fully counterclockwise to ensure it is completely open.
- If your system uses a self-piercing saddle valve, mineral buildup around the tiny needle hole can severely restrict water volume. Replacing older saddle valves with a full-port quarter-turn ball valve often dramatically increases water flow to the fridge.
5. Clean the Water Inlet Valve Filter Screen
At the point where your home supply line attaches to the back of the refrigerator, a dual water inlet valve controls water distribution to both the door dispenser and the ice maker. The inlet side of this valve features a fine mesh screen designed to catch rust flakes and plumbing debris before they enter delicate internal components. Over time, sediment builds up on this screen, choking off water flow.
Follow these safety-focused DIY steps to clear the screen:
- Unplug the refrigerator from the electrical wall outlet.
- Turn off the home water supply valve connecting to the refrigerator.
- Place a towel and shallow pan beneath the water connection at the bottom rear panel of the fridge.
- Use an adjustable wrench to unscrew the incoming supply line from the water inlet valve fitting.
- Inspect the small metal mesh screen recessed inside the valve port. Use needle-nose pliers or a small brush dipped in white vinegar to remove trapped sediment, rust, or mineral crust.
- Reattach the supply line tightly, turn the water valve back on, check carefully for drips, and plug the refrigerator back in.
For broader troubleshooting when your dispenser fails to pour water altogether, refer to our comprehensive article on Why Is My Refrigerator Water Dispenser Not Working? 5 Fixes.
Quick Reference: Diagnosing Slow Refrigerator Water Flow
| Cause | Key Symptom | Primary DIY Solution |
|---|---|---|
| Clogged Water Filter | Flow drops gradually over weeks; water tastes off | Install a new filter & flush 2 gallons |
| Trapped Air in Lines | Water sputters, pops, or streams unevenly | Purge dispenser continuously for 3 minutes |
| Frozen Storage Line | Zero flow or trickles despite strong inlet pressure | Raise fridge temp above 37°F; thaw coil |
| Partially Closed Valve | Sudden flow drop after moving fridge or plumbing work | Fully open shutoff valve & remove tube kinks |
| Dirty Inlet Valve Screen | Low flow at door and small ice cubes | Unplug unit, remove line, & clean mesh screen |
When to Call a Pro
While clearing a clogged filter or purging air pockets is a fast homeowner project, internal electrical faults or sealed cooling issues require technical diagnostics. If you suspect a burnt-out water inlet valve solenoid, an internal control board failure, or a complex refrigerant temperature defect causing persistent frozen lines, stop DIY attempts immediately. Never attempt hands-on repairs on high-voltage electrical panels or sealed refrigerant systems yourself.
When you need professional help, True Appliance Repair can match you with a local appliance pro to diagnose your refrigerator issues safely and restore fast, clean water flow.
FAQ
How fast should a refrigerator water dispenser fill an 8-ounce glass?
A healthy refrigerator water dispenser should fill a standard 8-ounce glass in 8 to 10 seconds. If your dispenser takes longer than 15 seconds to fill 8 ounces, your system is suffering from low supply pressure, a restricted line, or a clogged filter.
Can a dirty water filter affect ice maker performance as well?
Yes. On almost all modern refrigerators, the main water filter treats water for both the door dispenser and the automatic ice maker. A clogged filter restricts flow to both systems, leading to slow dispenser trickles and small, hollow, or misshapen ice cubes.
Why is my water dispenser slow even after installing a new filter?
Newly installed filter cartridges often contain dry trapped air that restricts immediate flow. Additionally, if you forgot to remove the tiny protective plastic cap from the filter nozzles prior to installation, water cannot pass through. Dispense water continuously for 3 minutes to flush trapped air out of the housing.
How much does it cost to fix a slow refrigerator water dispenser?
Replacing a clogged filter yourself typically costs between $30 and $60 for the replacement cartridge. If an internal component like the dual water inlet valve needs professional replacement, typical service costs range between $130 and $240, depending on parts and local labor rates.