
Everyday grime, soap scum, food splatters, and hard water minerals quietly settle inside household machinery, causing stubborn smells and sluggish performance. Harsh commercial cleansers often contain corrosive chemicals that wear down delicate rubber seals or fill living spaces with pungent fumes. Deep cleaning your household units with simple pantry staples like distilled white vinegar, baking soda, and citrus safely eliminates buildup, restores mechanical efficiency, and keeps your living spaces fresh.
Before undertaking any hands-on cleaning or maintenance, safety must come first. Always disconnect electrical power by unplugging the unit or switching off its dedicated circuit breaker. If you are cleaning near water supply lines or gas connections, shut off the shutoff valves, and immediately stop and call a professional if you encounter fuel leaks, exposed electrical wiring, or sealed refrigeration system issues.
Flush Dishwasher Mineral Buildup with Vinegar and Baking Soda
Over months of regular wash cycles, undispersed detergent fats and hard water lime collect along the spray nozzles, heating coil, and interior basin walls. This residue traps food particles, leaving glassware cloudy and creating a musty odor inside the tub.
- Pull out the bottom dish rack and inspect the sump area at the base of the basin. Twist and unlock the cylindrical drain filter, then rinse it thoroughly under hot tap water using a soft nylon dish brush and a drop of dish soap to dislodge trapped seeds and grease.
- Reinstall the clean filter and slide the upper rack back into position. Pour one cup of distilled white vinegar into a dishwasher-safe ceramic or glass bowl and set it upright in the center of the top rack.
- Close the door and run a complete, heavy-duty cycle on the hottest water setting without adding detergent. The mild acetic acid in the vinegar vaporizes across the tub, dissolving limescale and breaking down stubborn grease.
- Once the vinegar cycle finishes, sprinkle one cup of pure baking soda evenly across the bottom tub floor. Run a short, hot rinse cycle to neutralize lingering food odors and buff away remaining stains.
Freshen the Garbage Disposal with Ice, Salt, and Citrus
Decaying food waste easily clings to the underside of the rubber splash guard and the perimeter grinding ring, filling the sink basin with sour smells. Chemical drain cleaners can degrade internal seals, but mechanical friction and natural acids clean the hopper safely.
- Unplug the disposal cord beneath the sink or switch off the dedicated kitchen breaker. Shine a flashlight into the drain opening and use long kitchen tongs to extract any stray bottle caps, fruit pits, or silverware.
- Dampen an old toothbrush with warm water and liquid dish soap, then thoroughly scrub the underside of the flexible rubber splash guard baffles, where greasy slime accumulates out of sight.
- Restore power to the unit. Dump two full cups of ice cubes followed by one-half cup of coarse rock salt or kosher salt directly down the drain opening.
- Turn on the cold water tap to a steady stream and turn the disposal switch on. The spinning impellers grind the ice and salt against the shredder ring, shearing away greasy films and caked food solids without dulling the blades.
- Feed a few sliced lemon, lime, or orange peels into the running hopper while cold water flows. The natural citrus oils coat the grinding chamber with a clean scent. If the motor suddenly stalls or hums during use, address garbage disposal tripping issues by depressing the red reset button on the base before resuming.
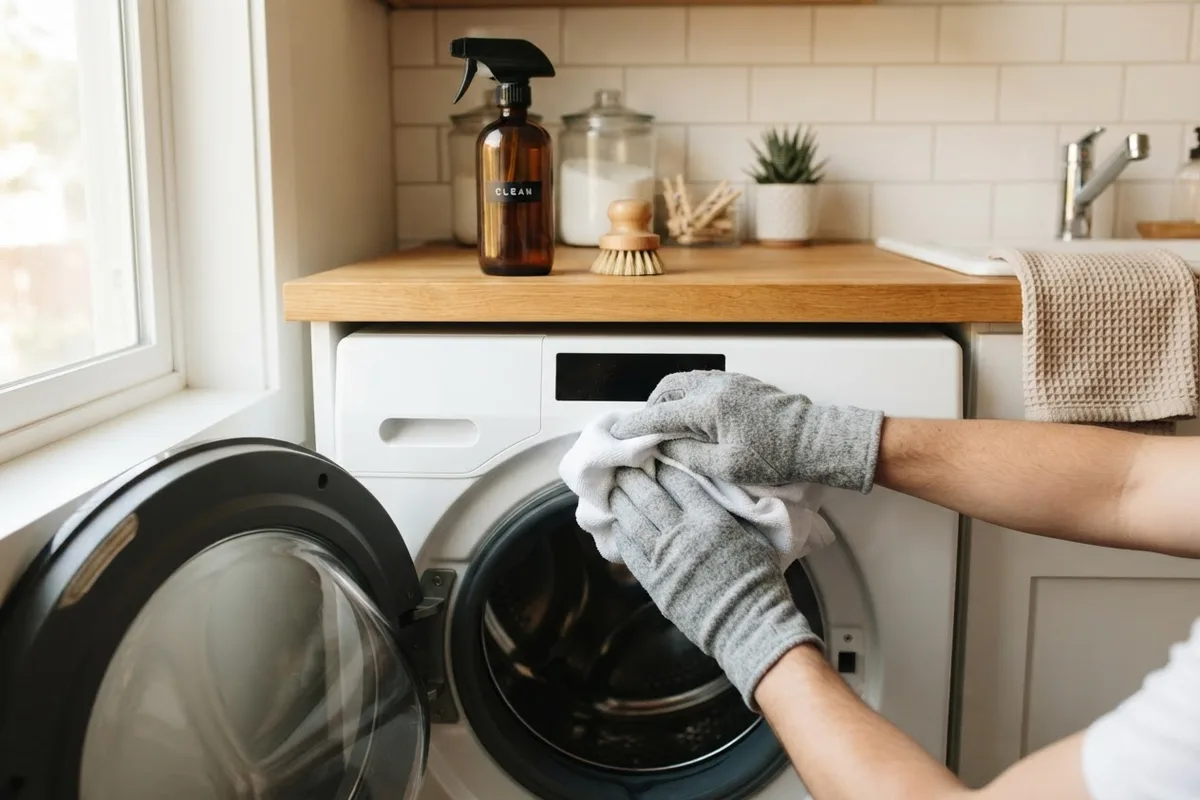
Clear Washing Machine Residue Using Hot Vinegar Cycles
Modern high-efficiency washers use less water, which means cold cycles and heavy liquid detergents often leave behind a slippery film known as scrud. This layer harbors mildew within the outer tub and drain passages, frequently explaining why a washer leaves brown marks on clothes.
- For front-loading machines, pull back the folds of the flexible rubber door gasket. Wipe away standing moisture, pet hair, and dark mildew spots using a microfiber rag soaked in equal parts warm water and distilled white vinegar.
- Slide out the detergent dispensing tray, press the release tab, and submerge the drawer in a basin of warm water. Scrub away caked liquid detergent and fabric softener from the siphon tubes with an old toothbrush, then wipe the empty housing slot before snapping the drawer back in.
- Pour two cups of distilled white vinegar directly into the empty wash drum or the main wash detergent compartment.
- Program the washer for its sanitize cycle or longest, hottest cotton cycle, selecting an extra rinse if available. Let the cycle run completely through to break down detergent salts and mineral scales.
- Immediately follow by sprinkling one-half cup of baking soda into the drum and running an additional hot rinse cycle. Leave the door or lid propped open several inches whenever the machine sits idle to encourage airflow and prevent mold regrowth.
Lift Burnt Oven Spills with a Thick Baking Soda Paste
High-heat self-cleaning cycles subject control boards and heating elements to extreme temperatures that can trigger premature component failure. A non-toxic alkaline paste of baking soda gently lifts baked-on carbonized grease without filling your home with acrid smoke.
- Disconnect the oven power cord or switch off the breaker panel switch. Allow the cavity to cool completely.
- Slide out all wire oven racks and submerge them in a bathtub lined with old towels, soaking them in hot water and grease-cutting dish soap for two hours before scrubbing with a non-scratch pad.
- In a small mixing bowl, stir together one-half cup of baking soda with three tablespoons of water until it forms a spreadable, frosting-like paste.
- Wearing rubber gloves, spread the paste across the bottom, side walls, and glass door of the oven cavity. Keep the paste at least two inches away from electric heating elements, gas igniters, thermostats, and interior fan vents.
- Allow the mixture to rest undisturbed for eight to twelve hours, or overnight, so the alkalinity can penetrate hardened grease crusts.
- Wipe out the loosened, browned paste with a damp microfiber cloth. Pour white vinegar into a spray bottle and lightly mist areas with chalky residue; the mild foaming reaction lifts remaining particles for a streak-free final wipe.
Clean Refrigerator Gaskets and Defrost Lines with Soap
Dust, spills, and sticky condiments on magnetic door gaskets prevent airtight closures, causing cool air loss and forcing cooling systems to run constantly. Harsh cleaning sprays can dry out and crack flexible rubber, so mild soapy solutions are ideal.
- Disconnect the refrigerator power plug before performing hands-on cleaning near fans, vents, or electrical housing.
- Fill a bucket with warm tap water and add three drops of mild liquid dish soap. Avoid bleach or undiluted vinegar directly on magnetic rubber gaskets, as strong oxidizers weaken vinyl flexibility.
- Dip a microfiber cloth into the soapy water, wring out excess moisture, and wipe every crevice of the door gasket, clearing out trapped crumbs and sticky syrup residues along the accordion folds.
- Dry the gasket thoroughly with a clean towel. Lightly rub a paper towel dabbed with food-grade petroleum jelly along the hinge side of the gasket to keep the vinyl supple and prevent sticking.
- Empty interior shelves, toss expired food, and wash storage bins using a blend of two tablespoons of baking soda dissolved in one quart of warm water. This deodorizes plastics without transferring artificial floral fragrances to stored groceries.
Clear Dryer Lint Passages with a Vacuum Attachment
Lint screens capture only a portion of the fibers shed during a cycle. The remaining lint bypasses the filter housing and settles deep within the blower chamber and exhaust transition duct, creating a fire hazard and restricting airflow.
- Unplug the dryer from the wall outlet. For gas dryers, ensure the yellow manual shutoff valve remains tightly closed before sliding the appliance.
- Slide the lint screen out of its slot. Wash the mesh screen in the sink using warm water and liquid dish soap, scrubbing gently with a soft brush to wash away invisible waxy coatings left behind by fabric softener sheets, then air-dry completely.
- Attach a narrow, flexible crevice wand to your household vacuum cleaner and slide it deep into the lint trap cavity beneath the screen slot. Work the tip back and forth to suction up dense lint blankets accumulated at the base.
- Carefully pull the dryer away from the wall and loosen the clamp securing the metal exhaust duct to the rear blower outlet. Vacuum out the interior collar of the exhaust tube.
- Feed an extendable rotary dryer vent brush through the rigid exhaust duct leading outdoors, spinning the brush to dislodge compacted lint blocks, and vacuum up the fallen debris before reclamping the pipe securely.
| Appliance | Natural Cleaner | Target Problem | Cleaning Frequency |
|---|---|---|---|
| Dishwasher | White vinegar & baking soda | Mineral scale & food oils | Once per month |
| Garbage Disposal | Ice cubes, rock salt & citrus | Slime buildup & stale odors | Every two weeks |
| Washing Machine | Distilled vinegar & hot water | Detergent buildup & mildew | Once per month |
| Oven Cavity | Baking soda paste & vinegar | Carbonized grease & burnt food | Every 3 to 6 months |
| Refrigerator | Warm soapy water & baking soda | Grimy door seals & odors | Every 3 months |
| Clothes Dryer | Dish soap & vacuum crevice tool | Waxy screen film & duct lint | Every 6 months |
When to Call a Pro
Regular deep cleaning resolves odors, removes mineral scale, and maintains energy efficiency, but it cannot solve internal mechanical breakdowns. If your dishwasher fails to drain despite a spotless filter, an oven refuses to reach baking temperature, or a washer vibrates violently during spin cycles, the underlying fault typically involves a damaged drain pump, failed igniter, worn drive belt, or faulty electronic control board.
Never attempt hands-on diagnostics on high-voltage electrical circuits, natural gas supply valves, or sealed refrigerant lines. When mechanical problems require specialized diagnostic tools, True Appliance Repair can match you with an independent local appliance pro to diagnose and repair your machinery safely. Typical mechanical repairs, such as clearing a seized drain pump or replacing a worn heating element, generally range from $130 to $350, though total costs vary by area and appliance model.
FAQ
Can white vinegar damage the rubber seals inside my dishwasher or washer?
Running diluted white vinegar through normal wash cycles does not harm internal plumbing hoses or heavy pump gaskets because the acid is heavily diluted by gallons of wash water. However, you should avoid soaking delicate natural rubber door gaskets in undiluted vinegar for extended periods. For regular gasket wipe-downs, use warm water and mild dish soap.
Is baking soda and vinegar safe to use on aluminum stove parts?
Baking soda is mildly alkaline and can react with bare aluminum burner caps or drip pans, causing permanent gray discoloration or pitting. Reserve baking soda pastes for porcelain enamel, ceramic cooktops, glass doors, and stainless steel surfaces. Clean bare aluminum components using warm water, liquid dish soap, and a non-abrasive sponge.
How often should I deep clean major home appliances?
High-moisture appliances like dishwashers, garbage disposals, and washing machines benefit from a monthly cleaning flush to halt mildew and detergent accumulation. Ovens, range hoods, and refrigerator interiors usually need deep cleaning every three to six months, depending on how frequently you cook and store fresh groceries.
Can I run vinegar through my refrigerator water dispenser line?
Avoid running vinegar through your refrigerator water dispenser or automatic ice maker lines. The acidic solution can corrode delicate internal solenoid valves and linger inside plastic tubing, imparting an unpleasant sour taste to drinking water and ice for weeks. Flush water dispenser systems exclusively with manufacturer-approved sanitizing flushes or fresh filtered water.