
Major home appliances work hard daily, but dirt, dust, and hidden wear can quietly cause sudden failures when you least expect them. Spending just a few minutes on routine care keeps your kitchen and laundry equipment performing efficiently while extending their working lifespan. Following a simple seasonal home appliance tune-up steps routine helps you catch minor issues early before they turn into costly emergency repairs.
Appliance Maintenance Quick Reference
| Appliance | Key Maintenance Task | Recommended Frequency | Risk of Neglect |
|---|---|---|---|
| Refrigerator | Vacuum condenser coils | Every 6 months | Overheating, poor cooling, high energy bills |
| Dishwasher | Clean filter screen & spray arms | Monthly | Foul odors, standing water, dirty dishes |
| Washing Machine | Inspect intake hoses & tub seal | Every 3 to 6 months | Water leaks, mold growth, line bursts |
| Clothes Dryer | Clear exhaust duct & lint trap | Every 6 to 12 months | Severe fire hazard, extended dry times |
| Garbage Disposal | Flush with ice, citrus & baking soda | Every month | Jams, foul odors, drain clogs |
Before performing any hands-on maintenance, always safety-prep your workspace. Unplug the appliance from the electrical outlet or shut off the circuit breaker at the main panel. Turn off gas supply lines or water shutoff valves before moving units or disconnecting supply hoses. If you detect gas smells, electrical arcing, or sealed refrigerant line leaks, stop immediately and contact a professional.
Clear Dust from Refrigerator Condenser Coils
Dirty condenser coils force your refrigerator compressor to work twice as hard to maintain cold temperatures, driving up electricity bills and accelerating motor wear. Coils are typically located behind the bottom toe kick plate or along the lower rear panel.
- Unplug the refrigerator and gently pull it away from the wall.
- Remove the front toe kick grille or rear access cover using a screwdriver.
- Use a narrow vacuum hose attachment to pull heavy dust and pet hair from the wire coils.
- Gently sweep residual grime with a soft coil brush, taking care not to bend the metal fins.
- Vacuum the surrounding floor area, reattach the cover plate, and restore power.
Performing this quick check twice a year improves cooling speed and helps prevent premature compressor failure.
Clean the Dishwasher Filter and Spray Arms
Food particles, mineral scale, and grease accumulate inside dishwasher pump filters, causing standing water and poor wash results. Clogged spray arm nozzle holes also block water distribution during cycles.
- Rotate the lower spray arm and unlock the cylindrical mesh filter at the bottom of the tub.
- Rinse the filter basket under hot tap water, scrubbing gently with a soft nylon brush and dish soap.
- Inspect the spray arm holes for trapped debris or hard water deposits; clear blocked holes using a wooden toothpick.
- Wipe down the rubber door gasket seal with a microfiber cloth dipped in warm vinegar water to prevent leaks.
- Reassemble the filter unit, ensuring it locks securely back into place before running a wash cycle.
Addressing these frequently forgotten maintenance tasks keeps wash performance high and prevents pump strain.
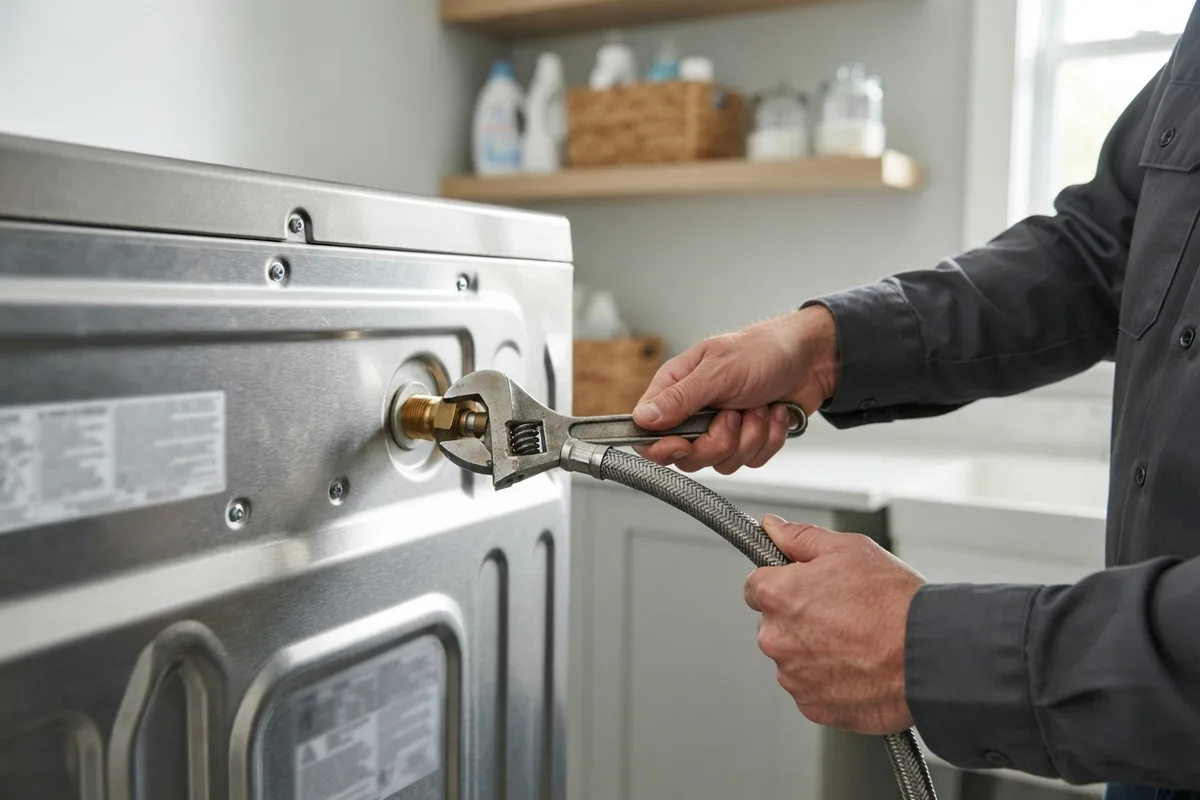
Inspect and Flush the Clothes Washer Inlet Hoses
Rubber water supply hoses connected to your washing machine deteriorate over time, risking sudden pinhole leaks or catastrophic bursts that cause severe home water damage.
- Turn off the hot and cold water shutoff valves located behind the washing machine.
- Unplug the washer power cord for safety.
- Unscrew the water supply lines from the back of the washer using slip-joint pliers, holding a bucket underneath to catch residual water.
- Check the tiny mesh filter screens inside the intake valves for sediment or rust deposits, clearing them with a soft brush.
- Inspect the hose rubber for cracks, bulges, or brittleness. Replace old rubber hoses with flexible braided stainless steel lines every 5 years.
Vacuum Out the Clothes Dryer Exhaust Vent
Lint bypassing the interior lint screen accumulates deep inside the dryer cabinet and rigid exhaust ducting. Airflow restriction increases drying times and presents a significant household fire risk.
- Disconnect the dryer from the power outlet and turn off the gas line valve if applicable.
- Pull the dryer away from the wall and loosen the duct clamp on the exhaust port.
- Use a rotary vent cleaning brush attached to a cordless drill to scrub trapped lint from the wall ducting.
- Vacuum out loose debris using a long vacuum hose attachment.
- Inspect the exterior wall vent cap on the outside of your home to ensure the damper flap opens freely and is clear of bird nests or debris.
Test and Clean the Kitchen Garbage Disposal
Garbage disposals build up grease, food residue, and mineral deposits that lead to stubborn drain jams and bad odors under the kitchen sink.
- Turn off the disposal wall switch and unplug the unit underneath the sink.
- Look inside the hopper with a flashlight to verify no metal objects, glass, or utensils are jammed in the impellers.
- Insert two cups of ice cubes and one cup of coarse rock salt into the disposal chamber.
- Restore power, turn on cold running water, and run the disposal for 30 seconds to scrape grease off the grind ring.
- Feed quartered lemon or orange peels through the unit while flushing with cold water to deodorize the drain trap.
Deep Clean Oven Door Seals and Heating Elements
Baked-on grease and broken door gaskets waste heat, leading to uneven baking temperatures and smoke during preheating. Proper seal care preserves oven efficiency.
- Ensure the oven is completely cold and unplugged or switched off at the breaker.
- Inspect the flexible woven fiber or rubber gasket running around the oven cavity door opening.
- Gently wipe the seal with warm water and mild dish soap; avoid harsh chemical cleaners that degrade seal flexibility.
- Clean spillovers on the oven floor using a paste of baking soda and water, letting it sit overnight before wiping clean with a damp cloth.
- Verify that electric bake and broil heating elements are firmly seated in their terminal sockets without visible blistering or hot spots.
Level Every Major Home Appliance to Stop Vibration
Unlevel appliances create excessive operational noise and subject internal bearings, motors, and frame supports to unbalanced physical wear.
- Place a bubble level across the top front edge and side edges of your washing machine, dryer, and refrigerator.
- Locate the threaded leveling legs at the bottom corners of the appliance cabinet.
- Use an adjustable wrench to raise or lower individual legs until the bubble registers perfectly centered.
- Tighten the locknuts against the frame on adjustable legs to prevent future loosening from operating vibration.
- Push gently on opposing top corners of the appliance to confirm all four feet rest firmly on the floor without rocking.
Flush Water Heaters and Ice Maker Line Filters
Sediment accumulation in water heating tanks and clogged inline ice maker filters restrict water flow, reduce water pressure, and degrade ice quality.
- Replace your refrigerator inline ice maker water filter every 6 months to maintain flow rate and ice taste.
- For tankless or standard water heaters, shut off power/gas and the main cold water supply valve.
- Attach a standard garden hose to the tank drain valve at the base and run it to a floor drain or outdoor area.
- Open a nearby hot water faucet to release vacuum pressure, then carefully open the drain valve to flush out sediment until water runs clear.
- Close the drain valve, refill the tank completely, turn on the water supply, and restore power only after the tank is full.
When to Call a Pro
While routine surface cleaning and basic maintenance checks are easy DIY tasks, complex mechanical or electrical issues require specialized tools and expertise. You should always contact a professional technician for:
- Sealed refrigerant line leaks or compressor failures in refrigerators.
- Internal gas valve adjustments, igniter replacements, or gas supply line repairs.
- Main control board electrical faults, short circuits, or tripping breakers.
- Deep drum bearing replacements and tub seal rebuilds in washing machines.
If you run into complex electrical or mechanical issues, True Appliance Repair can quickly connect you with a trusted local professional in your area. Scheduling professional service when internal components fail prevents further damage to your appliances.
Typical home appliance repair costs range between $150 and $400 depending on part availability, unit age, and labor requirements in your area. Investing in periodic service for major equipment helps avoid costly full-unit replacements.
For more complex diagnostic needs, reaching out to a general home appliance repair service ensures your equipment is safely evaluated.
FAQ
How often should I perform home appliance maintenance?
Basic tasks like clearing dryer lint screens and wiping door seals should be done weekly or monthly. Deep maintenance checks—such as vacuuming refrigerator coils, inspecting washer hoses, and clearing dryer vent ducts—should be completed every 6 to 12 months.
What are the signs an appliance is failing rather than just dirty?
Persistent burning smells, loud grinding noises, water pooling underneath units, blown breakers, or sudden spikes in utility bills signal internal component failure. If thorough cleaning does not restore normal operation, consult a repair pro.
Can dirty appliances increase my electric bill?
Yes. Clogged dryer vents, dusty refrigerator coils, and scaled water heating elements force motors and heating elements to run longer, significantly increasing household energy consumption every month.
When is it better to replace an appliance instead of repairing it?
If a repair costs more than 50% of a new unit's price and the appliance is past 8 to 10 years old, replacement is usually the most cost-effective long-term choice. True Appliance Repair can match you with a local appliance pro to evaluate your unit's condition.