
Pulling clothes out of the drum so hot you can barely hold them—or noticing the top cabinet of your machine feels scorching to the touch—is a clear warning sign that heat is trapped or unregulated. Beyond shrinking sweaters and fading denim, an overheating clothes dryer puts extra strain on motors, belts, and thermal safety fuses. Work through these six safe DIY checks to bring temperatures back to normal and spot when a deeper part failure needs professional attention.
1. Wash Residue Off the Lint Screen and Clear the Vent
Restricted exhaust airflow is the number-one reason for a dryer getting too hot. Even if you peel fuzz off the lint trap before every load, fabric softener and dryer sheets leave an invisible waxy film on the mesh that blocks hot air from escaping.
- Unplug your electric dryer from the wall outlet—or turn off the gas supply shutoff valve and unplug the power cord on a gas unit—and let the drum cool completely.
- Pull out the lint screen and hold it under running tap water. If water pools on top of the mesh instead of passing straight through, scrub both sides gently with warm dish soap and a soft brush, then air-dry thoroughly.
- Vacuum inside the lint trap slot using a narrow crevice attachment.
- Step outside while the machine is off and inspect the exterior exhaust hood flap to make sure lint, leaves, or winter bird nests are not pinning it shut.
Clogged vents are also one of the classic signs your home appliances are losing efficiency and driving up utility bills.
2. Stop Overstuffing Heavy Cold-Weather Loads
During colder months, heavy flannel sheets, fleece hoodies, bath towels, and quilted comforters pack laundry baskets fast. Cramming oversized loads into the drum presses wet fabric right up against the internal exhaust grille and rear heat inlet, stopping warm air from circulating through the tumble cycle.
- Fill the drum no more than two-thirds to three-quarters full so clothes have open space to lift and drop freely as the drum rotates.
- Wash and dry bulky comforters or heavy winter blankets one at a time rather than mixing them with smaller garments that get trapped in the center.
- Switch synthetic activewear, knits, and everyday cottons from High Heat down to Medium or Low Heat—longer airflow at a moderate temperature dries fibers more evenly without baking seams and elastic.
- Shake out twisted sheets before loading them so damp pockets do not trick automatic cycles into running extra heat.
3. Wipe Buildup From the Moisture Sensor Bars
Most modern dryers rely on two thin metal strips inside the drum to sense dampness on tumbling clothes. When waxy residue from dryer sheets, detergent buildup, or hard water coats those bars, the control board can misread the load or default to extended heating, roasting fabrics long after they are bone-dry.
- Unplug the dryer and wait until the interior drum is completely cool to the touch.
- Open the door and feel along the lower front bulkhead—usually right below the door opening or beside the lint filter housing—to locate the two parallel metal sensor strips.
- Dampen a clean microfiber cloth with rubbing alcohol or white distilled vinegar and wipe firmly along both metal bars to dissolve invisible residue.
- Avoid steel wool or abrasive scouring pads, which scratch the sensor surface and collect future lint.
- Wipe dry with a fresh cloth, plug the dryer back in, and test a normal medium load on Auto Dry.
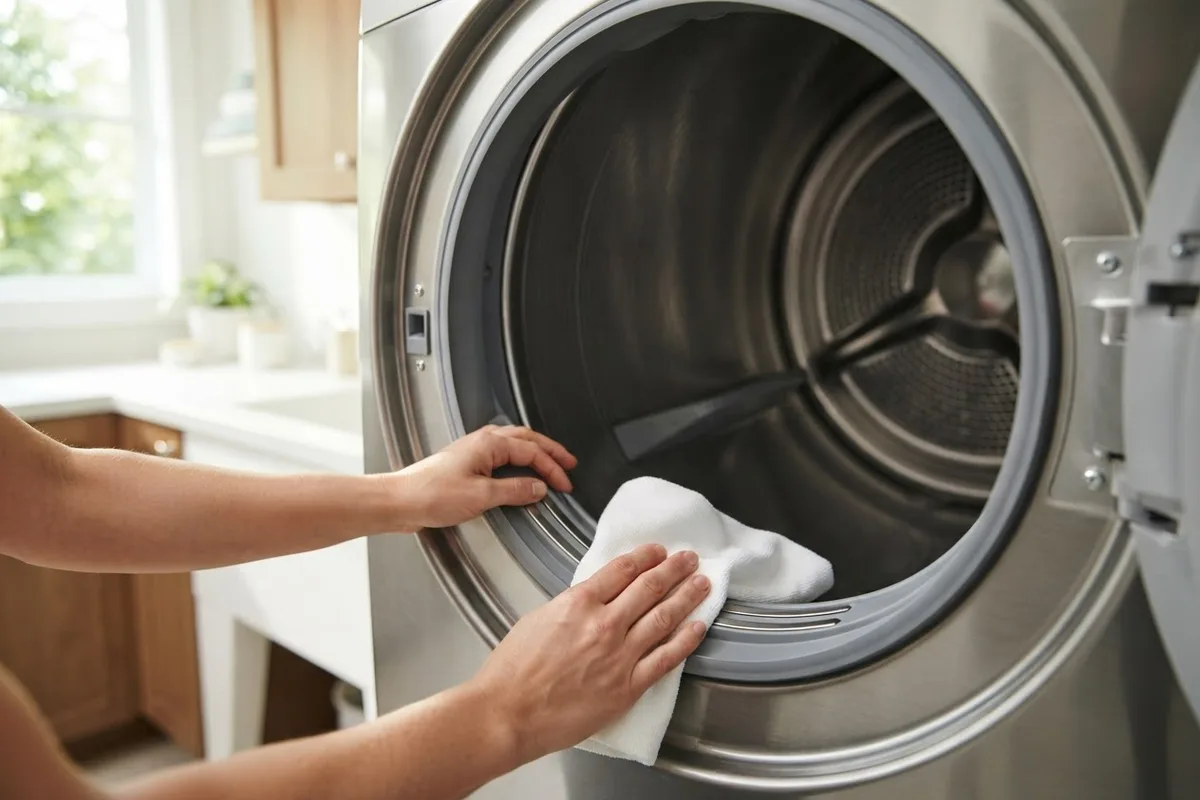
4. Straighten Crushed Rear Transition Ducting
Even a spotless lint screen cannot push hot, humid air past a smashed exhaust hose hidden behind the machine. Flexible foil or thin vinyl accordion hoses kink easily whenever a dryer gets nudged a few inches closer to the laundry room wall, creating an oven effect inside the cabinet.
- Unplug the dryer first. If you own a gas dryer, take extreme care not to pull, bend, or strain the gas flex line—if you smell gas at any point or see worn gas fittings, stop immediately, leave the area, and call your gas utility or a technician.
- Peek behind the cabinet with a flashlight to check the 4-inch exhaust hose connecting the back of the dryer to the wall vent.
- Replace crushed foil or plastic hoses with rigid or semi-rigid 4-inch metal transition ducting trimmed to the shortest, straightest path possible.
- Secure joints with foil HVAC tape or metal clamps—never drive sheet-metal screws into dryer ducting, as protruding screw tips snag lint inside the pipe.
Checking rear clearances twice a year fits neatly into quick weekend appliance maintenance tasks that prevent avoidable repairs.
5. Check Worn Drum Felt Seals and Baffles
A thick felt ring seals the gap where the spinning drum meets the stationary front and rear bulkheads. When this felt gasket wears thin, pulls loose, or tears with age, the blower wheel stops pulling air cleanly through the drum and hot air leaks into the outer cabinet space instead.
- Unplug the dryer and open the loading door wide.
- Shine a bright flashlight along the front seam and rear perimeter of the drum while slowly rotating the drum by hand.
- Look for frayed felt hanging into the drum, dark scorch marks on clothes, small buttons wedged in the seam, or noticeable gaps along the seal.
- Inspect the three raised plastic baffles bolted inside the drum at the same time; cracked or loose baffles fail to tumble laundry through the airstream, leaving items pressed against hot metal panels.
6. Run an Air-Fluff Test for a Stuck Heater
If airflow is strong from the outdoor vent hood and the dryer still roasts every load, an internal electrical or temperature-control part may be failing. In electric dryers, a sagging heating coil can touch its metal housing—known as a grounded heating element—forcing the heater to glow continuously whenever the drum spins. A failing cycling thermostat can also fail to click the heat off at the proper target temperature.
- Empty the drum completely and close the door.
- Select the Air Fluff, Air Dry, or No Heat setting and let the machine run for five minutes.
- Carefully open the door and feel the air inside the drum (do not touch the rear metal grille directly, as it could be very hot).
- If the interior feels hot on a No Heat cycle, unplug the dryer right away and stop using it until the grounded heating element or stuck control relay is replaced.
When to Call a Pro
Cleaning lint screens, wiping moisture sensors, and straightening accessible electric-dryer transition ducts are safe projects for most homeowners. However, you should unplug the machine and bring in a technician if the dryer heats up on an Air Fluff setting, smells like melting plastic or hot wiring, trips your household circuit breaker, or needs internal parts like a heating element, cycling thermostat, thermal fuse, or control board. Never attempt repairs involving gas valves, gas burner assemblies, or your home electrical panel.
| Overheating Symptom | Most Likely Cause | Safe DIY or Call a Pro? | Typical US Cost Range* |
|---|---|---|---|
| Clothes hot and still slightly damp | Clogged exhaust vent or crushed hose | Safe DIY (short runs) / Pro | $15–$45 DIY supplies; $100–$200 pro vent cleaning |
| Auto Dry runs way too long on high heat | Coated moisture sensor bars | Safe DIY | Under $10 (rubbing alcohol & cloth) |
| Drum gets hot on Air Fluff / No Heat | Grounded heating element or stuck relay | Call a Pro | $160–$320 |
| Cycles run scorching hot even with clean vent | Faulty cycling thermostat or thermistor | Call a Pro | $130–$240 |
| Gas dryer flames stay on too long or smell odd | Gas valve coils or burner issue | Stop & Call a Pro | $180–$350 |
Costs are broad US estimates for parts and labor; actual pricing varies by area, appliance brand, and model.
If basic airflow and sensor checks do not cool things down, True Appliance Repair can connect you with an independent specialist for local washer and dryer repair to test internal heating circuits safely.
FAQ
Is it normal for the top of my dryer to feel warm?
A gentle warmth on top of the cabinet during a long towel or bedding cycle is normal, especially in smaller laundry closets. However, if the metal top or sides become too hot to comfortably rest your hand on for several seconds, unplug the machine and check for a blocked exhaust vent or a grounded heating element.
Why is my dryer getting hot even on Low Heat or Delicate?
When a cycling thermostat or temperature thermistor drifts out of range, the dryer cannot tell how hot the drum has become and continues feeding power to the heater regardless of your dial setting. A grounded heating coil touching the heater housing will also bypass heat settings entirely and run at full heat whenever the motor turns.
Can dryer sheets really cause a dryer to overheat?
Yes, indirectly. Dryer sheets coat both the fine mesh of your lint filter and the metal moisture sensor bars inside the drum with a thin layer of stearic acid—the waxy softening agent melted by heat. Washing your lint screen with dish soap once a month prevents that invisible barrier from choking airflow.
Should I stop using a dryer that is overheating?
Yes, pause laundry loads until you identify and resolve the cause. Running an overheating dryer risks melting synthetic clothing, blowing the non-resettable thermal fuse (which leaves the dryer completely dead), and igniting trapped lint inside the cabinet or exhaust duct.