
When your clothes dryer stops heating, thumps loudly, or needs two cycles to dry heavy winter towels, the biggest question is whether to fix it or buy a new one. Making the wrong call means pouring hundreds of dollars into a worn-out unit—or replacing a solid machine that only needed an inexpensive part. Use these seven practical rules to compare dryer repair or replace costs, run safe DIY checks, and protect your budget.
1. Rule Out Free DIY Fixes Before Spending a Dollar
Before pricing parts or shopping for a new machine, confirm your dryer actually has a failed component. Many slow-drying or no-heat complaints come from restricted airflow, a tripped breaker, or residue coating the moisture sensor bars.
Always unplug an electric dryer—or unplug the power cord and shut off the gas supply valve on a gas unit—before moving the cabinet or reaching behind it. Then run four quick checks:
- Check your breaker panel; electric dryers use a double-pole breaker, and a half-tripped breaker lets the drum spin without heat.
- Wash the lint screen with warm dish soap to remove waxy fabric-softener film, then air-dry it.
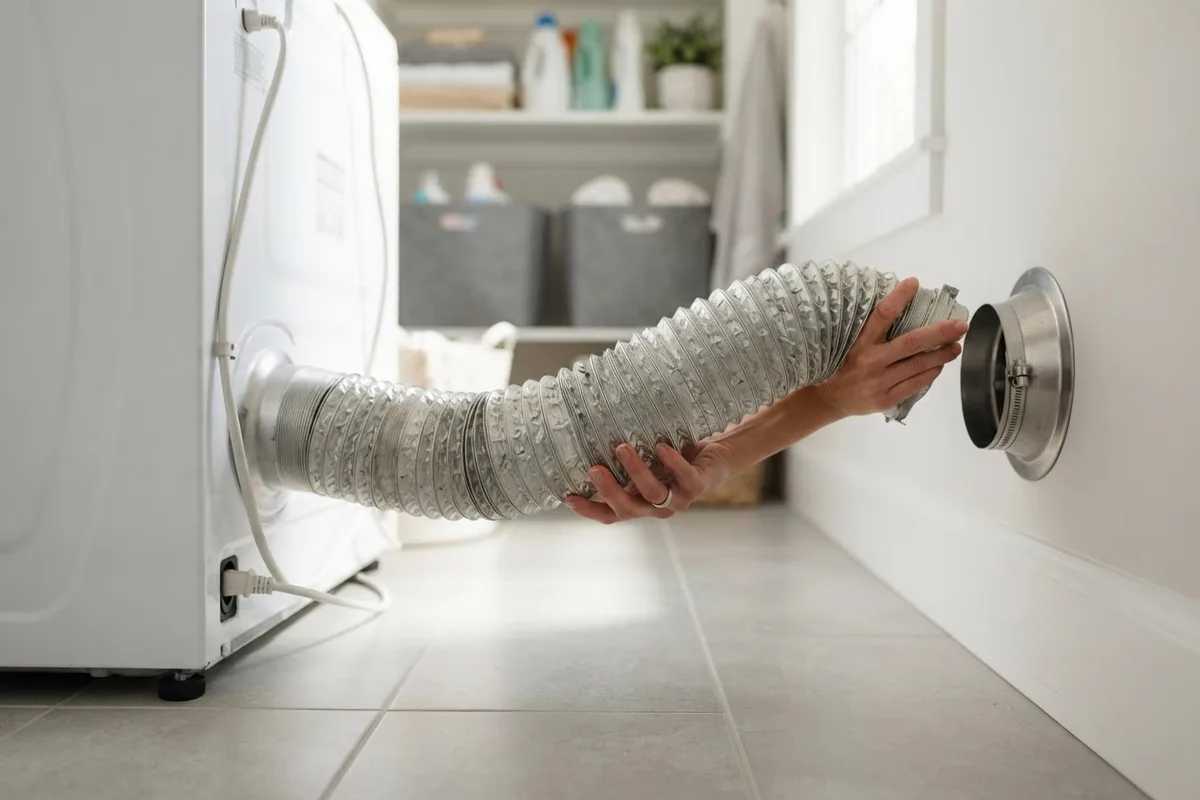
- Pull the dryer out carefully to inspect for a crushed exhaust hose and clean behind your home appliances.
- Wipe the metal moisture sensors while cleaning the dryer drum.
If normal drying returns, you just skipped an unnecessary bill.
2. Check Your Dryer's Age Against Its Typical Lifespan
Most gas and electric clothes dryers last roughly 10 to 13 years with steady lint maintenance, though large households running daily loads can wear parts out faster. Knowing the exact manufacturing year prevents you from over-investing in an aging machine.
- Open the dryer door and find the model and serial number sticker along the frame, or check the rear panel after unplugging the unit.
- Look up your brand's serial-number date code online or check your original purchase receipt.
- Weigh the machine's age against its expected life: under 6 years strongly favors repair, 7 to 9 years depends on the quote, and 10 years or older usually leans toward replacement unless the fix is minor.
If your dryer is still within its manufacturer coverage period, review your paperwork before paying out of pocket for a covered part.
3. Apply the 50% Repair-Cost Rule
The classic appliance benchmark works especially well in the laundry room: if a repair costs more than half the price of a comparable new dryer, buying a replacement usually makes better sense.
- Look up the retail price of a similar new dryer—basic models typically range from $500 to $900, while larger steam or smart units often run $900 to $1,500, depending on brand and local pricing.
- Get a complete repair quote that covers the diagnostic visit, replacement parts, and labor.
- Add hidden replacement expenses—delivery, haul-away, a new power cord or gas connector, and vent fittings—so you compare true totals.
- If your dryer is already past the halfway point of its lifespan, drop your repair ceiling to about 30% to 40% of a new unit's price.
Comparing all-in numbers keeps a tempting repair quote from turning into a costly regret.
4. Separate Cheap Wear Parts From Major Failures
Not every breakdown carries the same financial weight. Mechanical wear parts like drive belts, rollers, door switches, and thermal fuses are relatively affordable and often give a sturdy dryer several more dependable years. A failed drive motor, cracked drum, or fried main control board is much harder to justify on an older unit.
Use this quick-reference guide to compare typical US professional repair ranges (actual pricing varies by area, fuel type, and dryer model):
| Common Dryer Issue | Likely Failed Part | Typical US Repair Range* | Usually Worth Repairing? |
|---|---|---|---|
| Drum won't turn, motor hums | Drive belt or idler pulley | $120–$250 | Yes, even on older units |
| Squealing or heavy thumping | Drum rollers, glides, or bearings | $150–$300 | Yes, if under 10 years old |
| No heat (electric) | Heating element or thermal fuse | $150–$325 | Yes, if under 9 years old |
| No heat (gas) | Igniter or gas valve coils | $175–$350 | Yes, if under 9 years old |
| Dead controls or erratic cycles | Main electronic control board | $250–$550+ | Usually only if under 6 years |
| Loud hum or trips breaker | Drive motor or internal wiring | $300–$500+ | Often better to replace |
Broad typical US estimates including parts and labor; costs vary by area and model.
When a single wear part fails on an otherwise clean, reliable dryer, repairing it is usually the smartest value.
5. Factor In Gas vs. Electric Energy and Vent Costs
Monthly energy bills and your laundry room hookups also affect the math, especially during colder months when heavy blankets and jeans stretch out drying times. Older dryers without moisture sensors tend to over-dry loads, wasting electricity or gas and wearing down fabrics.
- Check whether your dryer relies only on timed cycles or has working moisture sensors that end the cycle as soon as clothes are dry.
- Stick with your existing fuel hookup when possible; switching between electric and gas requires installing a dedicated gas line or a 240-volt outlet, which adds major upfront cost.
- Compare ENERGY STAR rated models if you run frequent loads; newer sensor-driven and heat-pump dryers use less energy over time, though purchase prices are higher.
- Remember that even a brand-new dryer will underperform if your home's exhaust duct is long, crushed, or packed with lint—clean the full vent run before installing any replacement.
6. Watch for Repeat Breakdowns and Discontinued Parts
One $200 repair is easy to absorb, but repeat visits add up quickly. Once a dryer reaches 8 to 12 years old, multiple wear components—belts, rollers, pulleys, and thermostats—often begin failing close together.
- Check your repair history over the past two years; if you already paid for two separate visits, a third failure is a strong cue to replace.
- Ask the technician to inspect neighboring wear items while the cabinet is open—swapping an aging belt alongside worn rollers prevents a second labor charge.
- Verify part availability with your model number before approving work, since discontinued control boards or drums can leave you without a dryer for weeks.
- Measure your laundry space carefully if you own a stacked washer-dryer set; replacing an older model sometimes requires a compatible stacking kit.
7. Never Ignore Safety Red Flags to Save Money
Some dryer symptoms go beyond inconvenience and pose real fire, shock, or gas hazards. Stop using the machine immediately—unplug the cord and turn off the gas supply valve on gas dryers—if you notice any of these warnings:
- A smell of natural gas or propane near the dryer, even when it is off (leave the home right away and contact your gas utility from outside).
- Scorch marks, melted plastic, or a sharp electrical burning smell near the wall outlet, cord, or control panel.
- A dryer cabinet that feels dangerously hot to the touch or repeatedly trips the breaker after you have cleared the exhaust vent.
- Visible sparks near the terminal block, power cord, or interior drum.
Heat-damaged internal wiring, burned control boards, or rusted gas burner components are clear signs that retiring the dryer is safer than patching it.
When to Call a Pro
Homeowners can safely clean lint screens, wipe down drums, reset breakers, and inspect exterior vent hoses—always after unplugging the dryer and shutting off any gas valve first. Stop and bring in a pro whenever the issue points to a gas valve, igniter, burner assembly, 240-volt cord terminal, internal wiring, or your electrical panel. High-voltage circuits and gas components require specialized testing meters and careful reassembly to keep your home safe.
If you are still unsure whether a failing dryer is worth fixing, a diagnostic visit gives you an exact quote before you spend $700 or more on a replacement. True Appliance Repair can connect you with local washer and dryer repair pros to inspect your machine and help you weigh your options.
FAQ
Is it worth fixing a 10-year-old dryer?
It depends on the failed part. Replacing a simple wear item like a drive belt, door switch, or thermal fuse typically costs around $120 to $250 (varies by area and model) and can keep a well-maintained dryer running several more years. If a 10-year-old machine needs a motor or main control board, putting that money toward a new unit usually makes more sense.
How much does a typical dryer repair cost?
Most routine US dryer repairs fall between $120 and $350 for parts and labor, while major failures like drive motors or electronic control boards can reach $300 to $550 or more, depending on your area and model. Ask upfront whether the service call fee counts toward the final repair total.
Should I replace my washer and dryer at the same time?
Not unless both appliances are nearing the end of their lifespan or you use a single-piece stacked laundry center. Dryers often outlast washing machines by a few years, so replacing only the broken unit is usually the budget-friendly choice.
Why does my electric dryer spin but not heat?
A drum that tumbles without heat often points to a half-tripped double-pole circuit breaker, a blown thermal fuse caused by a clogged vent, or a burned-out heating element. Reset the breaker and inspect the exhaust vent after unplugging the dryer; if it still blows cold air, a technician can safely test the heating circuit.