
A forgotten lip balm in a winter coat pocket, an uncapped pen, or months of waxy dryer sheet buildup can turn your clothes dryer into a stain machine. Learning how to clean a dryer drum takes under an hour with basic pantry supplies and protects every load you dry. Follow these six safe DIY steps to lift stubborn residue, prevent fabric damage, and keep your laundry smelling fresh.
1. Cut Power, Shut Off Gas, and Clear Loose Lint
Before reaching inside the tumbler, make sure the machine cannot accidentally start or heat up. A clean, dry starting surface also prevents wet lint from turning into stubborn paste as you scrub.
- Disconnect power: Unplug an electric dryer from its 240-volt wall outlet. If the plug sits behind heavy cabinetry, switch off the dedicated dryer breaker at your electrical panel.
- Shut off the gas: On a gas dryer, unplug the 120-volt power cord and turn the gas supply valve behind the unit a quarter-turn so the handle sits perpendicular to the pipe.
- Let the drum cool completely: Wait at least 30 minutes if you recently ran a load.
- Vacuum loose debris: Use a vacuum crevice attachment to pull lint, coins, and grit from the drum seams, rear vent grille, and lint trap slot.
2. Wash Away Waxy Dryer Sheet Film With Soap
Dryer sheets and liquid fabric softeners leave behind an invisible waxy coating that traps odors, dulls the drum surface, and coats internal sensors so clothes come out damp. A gentle soapy wash breaks down this film without harming porcelain-coated or stainless steel drums.
- Mix a mild cleaning solution: Stir one tablespoon of clear liquid dish soap into a bowl of warm water.
- Wipe the entire drum wall: Dip a clean microfiber cloth into the soapy water, wring it until damp rather than dripping, and scrub the drum interior in circular motions.
- Rotate the drum by hand: Slowly turn the tumbler so you reach every panel, back wall, and seam evenly.
- Rinse with plain water: Wipe the drum a second time using a fresh cloth dampened only with clean water to remove all soap residue, then buff dry with a clean towel.
3. Lift Melted Wax, Crayon, or Lip Balm Gently
Heavy winter coats and jeans pockets are notorious for hiding lip balm tubes and stray crayons that melt across a hot drum. Avoid metal scrapers or abrasive scouring pads, which scratch the drum finish and create rough spots that snag delicate clothes.
- Soften thick buildup carefully: Hold a warm, damp microfiber cloth over hardened wax or crayon blobs for one to two minutes to loosen their grip on the metal.
- Scrape with plastic only: Use a plastic putty knife or an old gift card held flat against the drum to lift softened wax away gently.
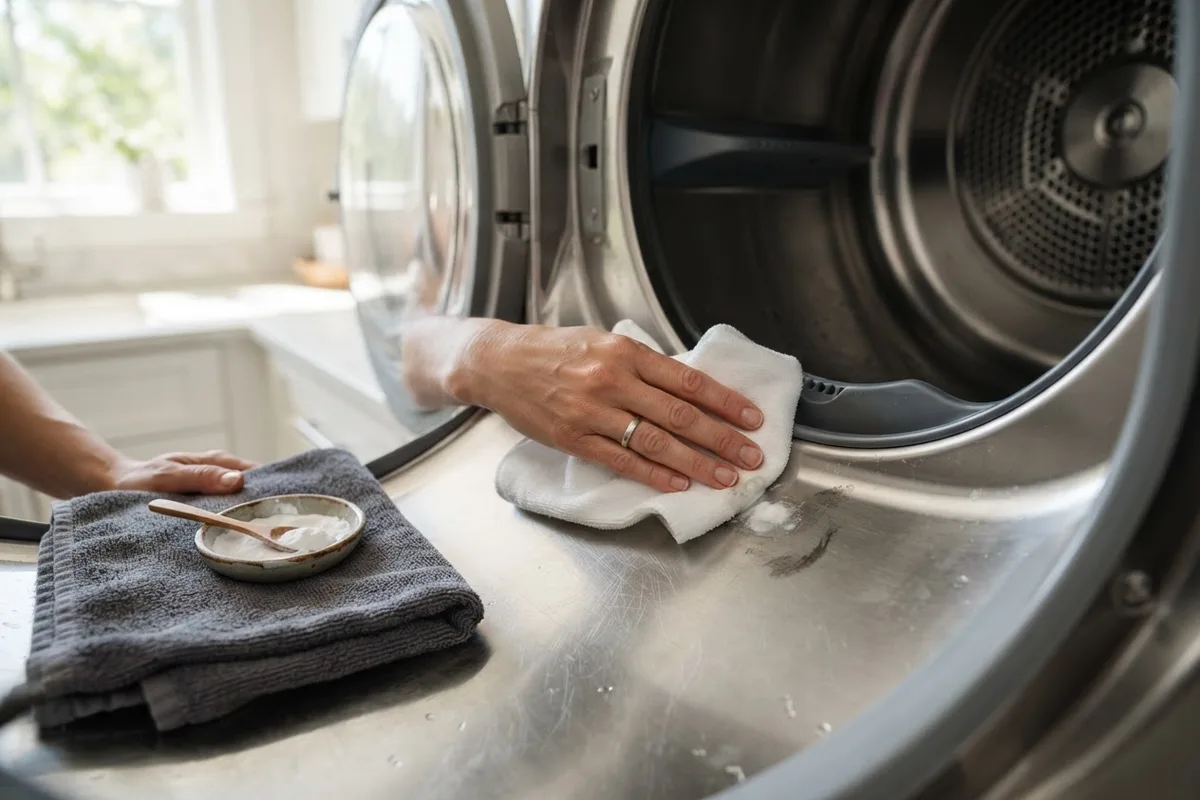
- Scrub the oily shadow: Mix two tablespoons of baking soda with just enough warm water to form a soft paste, then rub the stained spots with a damp cloth until the oily sheen disappears.
- Wipe clean: Rinse the area thoroughly with a clean, damp microfiber cloth so no gritty baking soda remains.
4. Remove Ink, Dye Transfer, and Scuff Marks
Ballpoint ink, dark denim dye transfer, and rubber shoe scuffs bond tightly to a heated drum and quickly transfer onto light-colored shirts and towels. Targeted spot cleaning removes these pigments safely when you match the cleaner to the stain and ventilate the laundry room well.
- Try white vinegar first: Dampen a microfiber cloth with distilled white vinegar and rub light dye transfer or mineral marks until they lift.
- Spot-treat ink with rubbing alcohol: For stubborn ballpoint ink or permanent marker, dab a small amount of 70% isopropyl rubbing alcohol onto a cotton cloth—never pour it directly into the drum—and rub the stain until it fades.
- Rinse and air out thoroughly: Rubbing alcohol fumes are flammable. Immediately wipe the treated area twice with a clean, water-dampened cloth and leave the dryer door open for at least 30 minutes until zero odor remains.
Quick-Reference Dryer Drum Stain Guide
| Stain or Buildup Type | Best Safe DIY Cleaner | What to Avoid |
|---|---|---|
| Dryer sheet waxy film | Warm water + mild dish soap | Abrasive scouring powders |
| Melted lip balm or crayon | Plastic scraper + baking soda paste | Metal knives or razor blades |
| Ballpoint ink or marker | Small dab of rubbing alcohol, then water rinse | Pouring solvents directly in drum |
| Dark denim dye transfer | Distilled white vinegar on microfiber | Chlorine bleach or ammonia |
| Light scuff marks | Damp melamine sponge, light pressure | Steel wool or wire brushes |
| Musty odor or dust | 1:1 white vinegar and water wipe | Scented aerosol sprays |
5. Wipe the Door Gasket, Baffles, and Sensors
Stains and waxy buildup rarely stay on the flat drum walls alone. Debris hides along the raised plastic paddles (called baffles), around the door rim, and on the metal moisture sensor bars tucked near the lint filter.
- Scrub around the baffles: Wrap a damp soapy cloth around a dull wooden spoon handle to clean the tight seams where each baffle meets the drum wall.
- Clean the moisture sensor bars: Wipe the two thin metal strips inside the front drum lip with a damp cloth and a drop of mild dish soap or white vinegar, then dry them completely so auto-dry cycles read moisture accurately.
- Check the door seal: Gently wipe the rubber door gasket and glass with mild soapy water—our guide on how to clean appliance seals and gaskets walks through keeping trim rings supple without cracking them.
6. Run a Damp-Towel Rinse Cycle Before Drying
Even careful hand-rinsing can leave faint traces of baking soda, dye, or soap hidden in drum seams. Running one sacrificial test load catches leftover residue before your everyday clothes or white sheets go back inside.
- Confirm the drum is odor-free: Sniff inside the tumbler to verify no rubbing alcohol or cleaner fumes remain before restoring power.
- Reconnect utilities safely: Plug the power cord back in, turn the gas valve handle parallel to the supply line on a gas model, or flip the circuit breaker back on.
- Tumble damp old rags: Toss two or three clean, damp old bath towels or rags you do not mind staining into the dryer and run a 20-minute medium-heat cycle.
- Inspect the towels: If the rags come out spotless, your drum is ready; add a quick drum wipe to your winter washer and dryer maintenance checklist to prevent heavy cold-weather buildup.
When to Call a Pro
Routine cleaning handles surface wax, ink, and fabric softener residue, but some drum issues signal mechanical wear that no household cleaner can fix. Stop and call a technician if you spot deep rust flaking through the drum coating, cracked or loose baffles that catch clothes, frayed felt seals peeling away from the drum rim, or scorch marks paired with a persistent burning smell.
Never open the main cabinet to scrub behind the drum or troubleshoot gas burners, heating elements, or 240-volt electrical connections yourself. Gas supply components and high-voltage wiring require proper testing tools and training.
In the US, professional repair typically runs $150 to $350 for worn drum seals, rollers, or baffles, while full drum replacements often range from $300 to $550—exact pricing varies by area and dryer model. If your dryer needs mechanical attention, True Appliance Repair can connect you with an independent local technician for washer and dryer repair.
FAQ
Can I use bleach to clean a dryer drum?
No, avoid chlorine bleach inside a clothes dryer. Bleach can corrode stainless steel and dull porcelain enamel over time, and even tiny traces left in drum seams can bleach spots onto dark clothes during future cycles. Stick to mild dish soap, distilled white vinegar, and baking soda paste instead.
How often should you clean a dryer drum?
Wiping down the drum interior every one to three months keeps waxy dryer sheet residue and stray dust from building up. If your household runs daily laundry loads, dries heavy work clothes, or regularly uses dryer sheets, a quick monthly soap-and-water wipe prevents moisture sensor issues and keeps fabrics fresh.
Is a Magic Eraser safe to use inside a dryer drum?
A damp melamine sponge can safely lift stubborn scuff marks or dye transfer from most porcelain-coated and stainless steel drums when used with light pressure. Always test a small hidden spot near the back first, avoid aggressive scrubbing that could dull the finish, and wipe the area with a wet microfiber cloth afterward.
Why does my dryer drum still leave gray streaks on clothes after cleaning?
Persistent gray or black streaks after a thorough drum wash usually point to worn felt drum glides, damaged support rollers, or a frayed drive belt shedding rubber dust into the tumbler. Because clothes pinch between the spinning drum and the front bulkhead when glides wear down, a technician should inspect and replace the worn seals.