
Dirty rubber gaskets quietly sabotage your kitchen and laundry appliances. When food residue, detergent buildup, and moisture collect inside door folds, seals lose their grip—forcing motors and compressors to work overtime while leaving puddles and musty odors behind. Learning how to clean appliance seals and gaskets takes less than an hour and keeps every major unit running smoothly through heavy winter use and beyond.
1. Power Down and Prep Your Cleaning Kit
Before touching any door perimeter, put safety first. Unplug freestanding appliances, or switch off the dedicated breaker for built-in units like dishwashers and wall ovens. If you are cleaning a washing machine or dishwasher seal, turn off the water shutoff valve behind or under the unit, and make sure ovens are completely cool. Never clean near gas lines or open electrical panels.
Gather a safe, gentle kit before you start:
- Warm water mixed with a few drops of mild liquid dish soap.
- White distilled vinegar and baking soda (used separately, never mixed with bleach).
- A soft-bristled toothbrush, cotton swabs, and two clean microfiber cloths.
Skip abrasive powders, steel wool, and chlorine bleach, which dry out flexible rubber and cause premature cracking. Adding this task to your monthly appliance maintenance checklist keeps seals pliable without harsh chemicals.
2. Clear Crumbs and Trapped Debris First
Wiping wet soap over dry crumbs just pushes grit deeper into rubber pleats. Start dry so you remove loose debris before any moisture touches the door frame.
- Gently pull back each accordion fold or rubber lip with your fingers—never yank or stretch the seal past its natural curve.
- Run a vacuum crevice attachment along the tracks of refrigerator doors, dishwasher bottoms, and washer boots to lift crumbs, pet hair, and dried detergent flakes.
- Sweep a dry cotton swab or soft toothbrush along tight corners to dislodge trapped hairpins, coins, or food seeds.
- Check the small drain holes at the bottom of front-load washer boots and clear any lint plugs with a dry cloth.
Taking two minutes for dry prep prevents sharp debris from slicing soft rubber when you start scrubbing.
3. Scrub Sticky Fridge and Freezer Gaskets
Juice spills, condiment drips, and condensation turn cooling gaskets sticky—and sticky seals tear right off the door frame when you pull them open. Gentle cleaning restores their smooth surface without stretching the vinyl.
- Dip a soft toothbrush into warm, soapy water and scrub gently inside every horizontal and vertical pleat from top to bottom.
- For hardened syrup or grease spots, dab a small amount of baking soda and water paste onto the stain, let it sit for five minutes, and brush lightly.
- Wipe away all soap residue with a clean cloth dampened in plain warm water.
- Dry every fold thoroughly with a dry microfiber towel so leftover moisture does not freeze inside freezer tracks.
Clean cooling gaskets help cold air stay locked inside, prevent frost buildup, and keep food fresh longer.
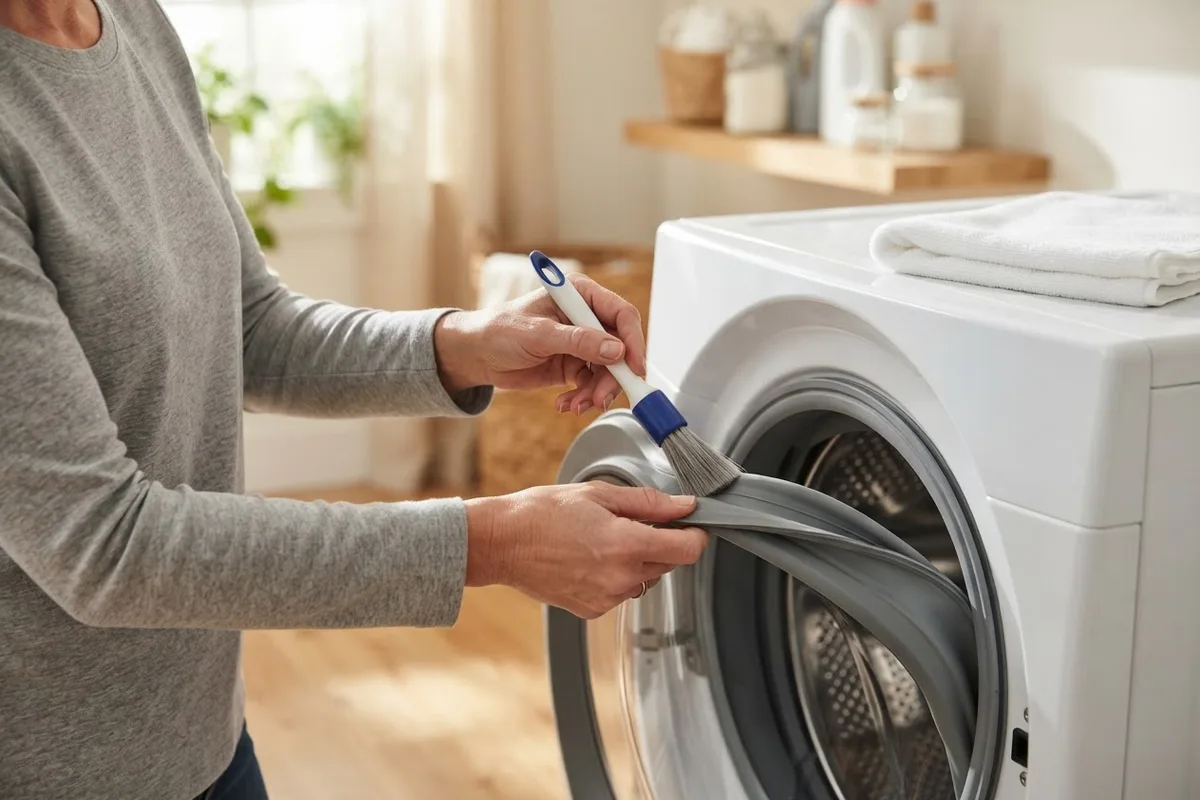
4. Treat Mold on Washer and Dishwasher Seals
Warm water, trapped soap scum, and closed doors turn laundry and dishwasher gaskets into prime spots for dark mildew. Tackling buildup early stops odors and keeps clothes and dishes smelling clean.
- Mix equal parts white vinegar and warm water in a spray bottle, or stick with mild dish soap if your owner's manual advises against vinegar on specific rubber blends.
- Mist a microfiber cloth—not directly into door latches or control boards—and wipe inside the full circle of the washer boot and along the bottom edge of the dishwasher door.
- Use a soft toothbrush with a baking soda paste on stubborn dark spots, then rinse thoroughly with a damp cloth.
- Dry the rubber completely and prop the washer or dishwasher door slightly ajar after cycles.
Skipping this step allows grime to warp the rubber lip, often causing a washing machine leaking from the door.
5. Dab Oven Door Gaskets Without Scrubbing
Oven seals behave completely differently from flexible rubber gaskets. Most ovens use braided fiberglass mesh or heat-resistant silicone cord designed to keep high temperatures safely inside the cavity.
- Verify the oven is cool to the touch and switched off at the breaker before opening the door fully.
- Inspect the seal material: braided fiberglass feels woven and slightly fuzzy, while silicone feels smooth.
- For braided fiberglass, gently dab away loose grease spots with a barely damp cloth dipped in plain warm water—never scrub, pull, or soak the mesh, or the fibers will fray and lose their seal.
- For smooth silicone oven seals, wipe lightly with mild soapy water, rinse with a damp cloth, and pat dry.
Keep caustic oven cleaners completely off door gaskets, as harsh sprays eat through heat-resistant coatings.
6. Dry Seals and Run the Dollar Bill Test
Cleaning only helps if the gasket still makes airtight contact around the entire frame. Once every seal is bone-dry, run a quick physical check on your cooling and heating doors.
- Inspect the full perimeter with a flashlight, looking for flattened spots, brittle cracks, corners pulling loose from the track, or mold stains that have eaten deep into the rubber.
- Close your refrigerator, freezer, or oven door on a crisp dollar bill, leaving half the bill sticking out.
- Gently tug the dollar bill outward: you should feel steady resistance before it slides free.
- Repeat this test at four or five points around the door, especially along the bottom edge and hinge side.
If the bill slips out effortlessly, check whether debris is blocking the hinges or whether a warped seal needs professional replacement.
7. Match Each Seal Material to Safe Cleaners
Using the wrong cleaner on the wrong gasket material can shorten an appliance's life just as fast as neglecting it. Check this quick-reference chart before tackling different doors around your home.
| Appliance | Typical Seal Material | Safest Cleaner | What to Avoid |
|---|---|---|---|
| Refrigerator & Freezer | Flexible vinyl or rubber | Mild dish soap, baking soda paste | Bleach, alcohol, abrasive pads |
| Front-Load Washer | Thick EPDM rubber boot | Diluted vinegar or mild soap | Undiluted bleach, sharp tools |
| Dishwasher | Rubber or vinyl perimeter | Warm soapy water, light vinegar | Harsh degreasers, scouring pads |
| Oven & Range | Braided fiberglass or silicone | Plain water dab (fiberglass) | Oven cleaner spray, scrubbing |
Always double-check your model's care manual if you see discoloration or stickiness after wiping, since some newer coated gaskets require plain mild soap only.
When to Call a Pro
Routine cleaning restores most sticky or grimy gaskets, but soap and water cannot fix structural damage. Stop DIY efforts and call a technician if you find torn rubber, brittle cracks that crumble when touched, a sagging door hinge that will not latch evenly, or water pooling on the floor after a thorough clean.
Never attempt DIY repairs if you suspect a gas leak near a range, smell burning wiring, or face issues involving the electrical panel, gas lines, or sealed-system cooling components. Those repairs require specialized tools and safety testing.
Replacing a worn door gasket typically costs $120 to $300 for parts and labor in the US, though final pricing varies by area and appliance model—often far less than replacing a burned-out compressor or repairing water-damaged floors. When you need help diagnosing a worn seal or scheduling a replacement, True Appliance Repair can match you with a local pro through our home appliance repair service.
FAQ
How often should I clean appliance seals and gaskets?
Wipe refrigerator, freezer, and dishwasher seals about once a month to keep food spills and soap film from hardening. Front-load washing machine rubber boots benefit from a quick towel dry after laundry days plus a deeper clean every four weeks. Oven door frames only need gentle wiping every few months, depending on how often you bake or roast.
Can I use bleach to remove black mold from a washing machine seal?
It is best to skip chlorine bleach on rubber seals. Frequent bleach use dries out flexible rubber compounds, making the boot brittle, discolored, and more likely to crack or leak. Stick to diluted white vinegar or mild dish soap with baking soda, rinse well, and leave the door propped open slightly after washes so moisture evaporates naturally.
Why won't my refrigerator door stay shut even after cleaning the gasket?
If a freshly cleaned gasket still feels loose, check that the fridge is level and slightly tilted back so gravity helps the door swing closed. Also inspect the hinges for grime or make sure heavy bottles and jars are not bumping the door bins. If the rubber feels stiff or warped, the gasket itself may need replacement.
Should I put petroleum jelly on refrigerator door gaskets?
Avoid petroleum jelly on modern rubber or vinyl gaskets, because petroleum-based products can break down synthetic rubber over time. If a clean hinge-side seal squeaks or catches slightly, check your owner's manual first and use only a tiny, wiped-away dab of food-grade silicone grease if approved.