
Holiday hosting puts tremendous stress on your major home appliances. Between roasting large turkeys, running back-to-back dishwasher loads, and handling extra laundry for overnight guests, a sudden breakdown is the last thing you need. Running through a quick pre-holiday appliance checklist now helps you catch small issues before they derail your family gatherings.
Before tackling any maintenance on this checklist, always prioritize safety. Unplug electric appliances or switch off the dedicated circuit breaker at your electrical panel, and shut off water supply valves before handling hoses or plumbing connections. For gas lines, sealed refrigeration loops, or hardwired electrical panels, always step back and leave those repairs to a professional.
Clean Refrigerator Coils and Gaskets
A packed holiday refrigerator works double time to keep casseroles, party platters, and beverages chilled to safe temperatures. When condenser coils accumulate dust and pet hair, heat cannot escape efficiently, forcing the compressor to run hotter and longer.
- Pull your refrigerator gently away from the wall and unplug the power cord.
- Locate the coils either beneath the kick plate at the bottom front or behind a metal access panel on the rear lower cabinet.
- Use a long, flexible refrigerator coil brush to loosen dust, lint, and hair.
- Vacuum the debris away using a narrow crevice attachment, taking care not to bend the metal fins or puncture the copper tubing.
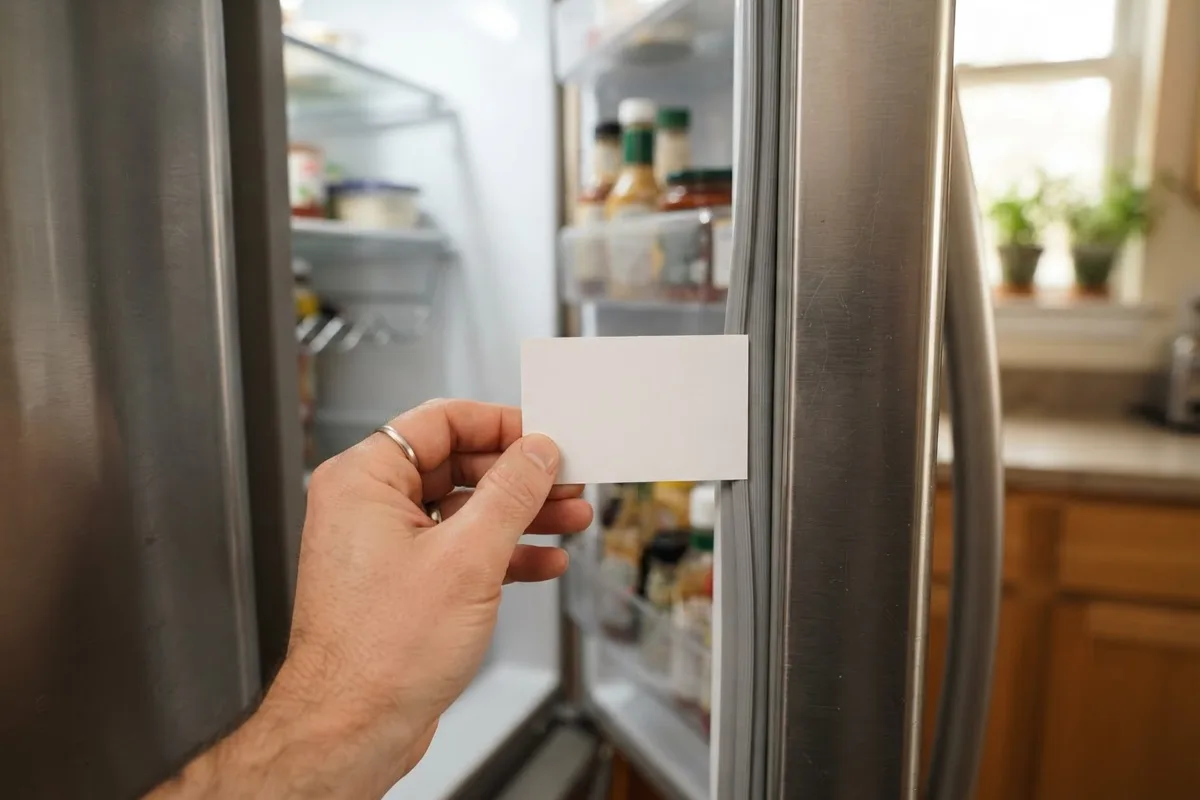
- Inspect the flexible door gasket along the perimeter. Wipe away sticky spills with warm water and mild dish soap, then check the seal by closing a dollar bill in the door. If it slides out with zero resistance, warm the rubber slightly with a hair dryer on low to reshape it, or replace the gasket to prevent cold air leakage.
Inspect and Clear the Dishwasher Sump Filter
Holiday entertaining generates stacks of greasy dinner plates, roasting pans, and glassware. If your dishwasher filter is coated in food residue, water cannot circulate at full pressure, leaving your dishes spotty and smelly.
- Open the dishwasher door, slide out the lower dish rack, and set it aside.
- Locate the cylindrical filter assembly at the bottom basin of the tub.
- Turn the upper filter cylinder a quarter-turn counterclockwise and lift it straight out, along with the flat mesh plate underneath.
- Rinse both components under hot running water in your sink. Use a soft nylon dish brush and liquid dish soap to dissolve stuck grease, dairy residue, and calcium buildup.
- Inspect the sump area beneath the filter opening. Remove any glass shards, toothpicks, or citrus seeds that could jam the drain impeller.
- Lock the clean filter components back into place until they click securely.
If you notice strange rumbling or grinding while running a rinse test, check our guide to appliance noises and warning sounds to pinpoint the cause.
Check Oven Temperature and Clean the Door Seal
An inaccurate oven can ruin an expensive holiday roast or underbake your holiday pies. Over time, temperature sensors drift out of range and door gaskets harden, letting heat escape into your kitchen.
- Place an inexpensive standalone oven thermometer on the center rack.
- Close the door and set your bake cycle to 350°F (177°C).
- Allow the oven to preheat completely, plus an additional 15 minutes for the internal cavity heat to stabilize.
- Check the thermometer reading through the window without opening the door. A normal variation is within 15°F. If the temperature is off by 25°F or more, consult your owner manual to calibrate the display offset, which can usually be adjusted up to 35°F using a keypad sequence.
- Inspect the woven fiberglass or rubber door gasket. Wipe away crusted food spills with a damp sponge. If the gasket is torn, frayed, or loose, order a matching factory replacement so your oven does not leak valuable cooking heat.
Freshen the Garbage Disposal and Clear Sludge
Holiday meal prep sends an avalanche of scraps down the kitchen sink. Fats, starchy peelings, and fibrous stems create foul odors and stubborn drain clogs if the disposal grinder chamber is not cleared beforehand.
- Switch off the wall switch and disconnect the disposal cord beneath the sink (or switch off the circuit breaker).
- Shine a flashlight down into the drain to confirm the grinding plate is clear of fallen utensils or bottle caps.
- Clean the underside of the removable black rubber splash baffle using an old toothbrush dipped in warm soapy water, as rotting food sludge collects heavily on those flaps.
- Reconnect power to the unit.
- Fill the disposal chamber with two cups of ice cubes and one cup of coarse rock salt, then turn on cold tap water and flip the switch for 20 seconds. The ice knocks built-up grease off the shredder ring while salt scours the walls.
- Follow up by tossing in quartered lemon peels to deodorize the chamber, and review our tips on deep cleaning home appliances naturally for persistent sink odors.
Flush Washer Hoses and Clear the Pump Filter
Extra bedsheets, guest towels, and tablecloths push your washing machine to its limits during the holidays. Preventing unexpected water leaks and drainage stalls should be high on your prep list.
- Unplug the washing machine from the wall outlet and turn off both hot and cold supply shutoff valves behind the machine.
- Inspect the rubber fill hoses connecting the valves to the washer. Look for signs of cracking, blistering, dried white mineral rings, or brittleness. If you are still using basic black rubber hoses, swap them for braided stainless-steel flood-prevention hoses.
- Disconnect the water supply hoses at the back of the washer and clean the tiny sediment screen filters housed inside the water inlet valves.
- Locate the drain pump filter access door on the lower front panel (standard on front-loaders and some top-loaders).
- Lay a shallow baking sheet and towels on the floor, unscrew the drain cap, and let the trapped water flow out.
- Pull out the filter basket and clean out collected hair, coins, and lint before twisting the cap back on tightly.
Vacuum the Dryer Lint Trap and Exhaust Duct
A clogged dryer vent lengthens drying cycles to over an hour and creates a serious fire hazard when handling bulky guest bedding.
- Pull the dryer away from the wall and unplug the electrical cord (or disconnect the gas line valve if equipped with an external shutoff before moving).
- Pull out the standard lint screen, wash it in the sink with warm water and liquid detergent to dissolve invisible fabric softener film, and let it dry completely.
- Insert a narrow dryer lint brush into the lint trap housing beneath the filter to pull out deep, compacted clumps.
- Loosen the metal worm-drive clamp securing the rigid exhaust duct to the back of the machine.
- Use a motorized rotary duct cleaning brush kit attached to a cordless drill to scrub lint out from the interior walls of the exhaust pipe, working toward the exterior outdoor vent hood.
- Go outside and verify that the exterior flapper moves freely and is not blocked by lint accumulations or bird nests.
Pre-Holiday Maintenance Quick-Reference
| Appliance | Key Checkpoint | Estimated Time | Primary Benefit |
|---|---|---|---|
| Refrigerator | Condenser coils & door seal | 15–20 minutes | Faster cooling, lower energy use |
| Dishwasher | Sump filter & spray arms | 10 minutes | Clean plates, no odor or residue |
| Oven | Thermometer calibration & gasket | 20 minutes | Even baking, accurate bake times |
| Garbage Disposal | Baffle & shredder ring cleaning | 10 minutes | Prevents sink backups and odors |
| Washing Machine | Inlet screens & drain pump filter | 15 minutes | Prevents leaks and drainage errors |
| Clothes Dryer | Exhaust duct & lint screen housing | 25 minutes | Faster dry cycles, fire prevention |
When to Call a Pro
While cleaning filters and inspecting door seals are straightforward homeowner projects, certain warning signs require professional equipment and diagnostic tools. If your oven heating element shows visible blisters, burns unevenly, or fails to heat after calibration, an internal sensor or electronic control board may need replacement.
Similarly, if your refrigerator compressor clicks repeatedly without dropping the cabinet temperature, or your washing machine makes a violent grinding sound during the drain cycle, avoid taking internal housings apart yourself. Most mechanical repairs cost between $150 and $400 for standard parts and labor, though costs vary by area and model. If you discover a problem you cannot safely resolve before family arrives, True Appliance Repair can match you with an independent, local appliance professional in your neighborhood to get your kitchen back on track quickly.
FAQ
How far in advance of the holidays should I complete this checklist?
Aim to complete these maintenance steps three to four weeks before your main holiday events or guests arrive. This window gives you enough time to spot potential hardware issues, order replacement parts like gaskets or filters, or schedule an in-home technician without paying peak holiday rush rates.
Can I use hot water when running ice through the garbage disposal?
No, you should always run cold tap water when grinding ice or clearing food through your disposal. Cold water solidifies fats and oils so the impellers can break them into tiny particles; hot water liquefies grease, allowing it to coat the drain pipes further down your plumbing where it cools and forms stubborn clogs.
Why does my dishwasher smell bad even after cleaning the filter?
If the basin filter is clean but foul odors persist, check the rubber door gasket along the bottom edge of the tub, where greasy sludge often hides. Also examine the drain hose beneath your sink: if it does not have a high loop or an air gap, dirty sink water can backflow directly into the bottom of the dishwasher after you run the tap.
How often do refrigerator condenser coils need to be vacuumed?
Under typical household conditions, cleaning the condenser coils twice a year is sufficient. However, if you have multiple shedding pets, do significant indoor cooking, or your refrigerator sits near a dusty exterior door, vacuuming the coils every three to four months keeps the compressor operating efficiently.