
Everyday household appliances work tirelessly behind the scenes, but routine wear and tear can quickly compound into sudden mechanical failures. Incorporating consistent home appliance maintenance habits into your home care routine keeps internal components running smoothly, lowers monthly energy costs, and stops minor glitches before they transform into major breakdown emergencies.
Whether you are preparing your home for seasonal shifts or simply looking to protect your household budget, taking a proactive approach to appliance care pays off immediately. By spending just a few minutes each month on basic inspection and cleaning tasks, you can add years to the operational life of your kitchen and laundry equipment. Follow this step-by-step routine to maintain your home's most essential machines.
Clean Condenser Coils and Air Vents Twice Yearly
Dust, pet hair, and household lint naturally settle around motor housing vents and condenser coils, creating an insulating blanket that traps heat inside critical components. When airflow is constricted, internal compressors and drive motors must work twice as hard to regulate operating temperatures, drastically shortening their lifespan and driving up utility bills.
To clean these vital pathways safely:
- Disconnect the main power supply cord from the electrical outlet or shut off the dedicated circuit breaker.
- Gently slide the appliance away from the wall to access rear coils or remove the lower front toe kick plate.
- Use a long-handled brush or narrow vacuum attachment to pull trapped debris from between the delicate cooling fins.
- Vacuum the floor area underneath and surrounding the machine before pushing it carefully back into position.
Performing this step every six months prevents thermal stress on motors and reduces unnecessary electrical draw.
Clear Appliance Filters and Trap Screens Monthly
From water intake valves to circulation pumps, internal filtering screens exist to protect sensitive plumbing lines and mechanical impellers from debris accumulation. When screens become choked with mineral deposits, food particles, or textile fibers, mechanical pumps strain to move liquid or air, causing excessive vibration and poor overall performance.
Establishing a monthly habit to clear these traps takes only minutes:
- Shut off any connected water supply valves or unplug the electrical power supply for safety.
- Locate the primary removable filter assembly—typically found in the lower interior tub or along the main drainage access panel.
- Twist or lift the filter housing out and rinse it under warm running water using a soft nylon brush to dissolve built-up grime.
- Check the sump area beneath the filter frame for stray items like glass shards, twist ties, or buttons before reassembling.
Integrating this task with your broader preventive appliance care schedule ensures maximum drainage flow and eliminates unpleasant indoor odors.
Inspect and Flush Water Inlet Lines Annually
Flexible water supply hoses connecting your equipment to household plumbing lines endure continuous hydraulic pressure. Over time, rubber materials deteriorate, while braided steel coatings can trap mineral scale that restricts incoming water volume or causes micro-leaks.
Inspect these critical water lines annually using the following method:
- Turn off the home's water shutoff valve dedicated to the appliance before loosening any threaded fittings.
- Place a small catch bucket beneath the connection point to gather residual water inside the supply hose.
- Unscrew the inlet hose and check the tiny mesh filter washer seated inside the valve coupling for sediment blockages.
- Examine the entire length of the hose for cracking, bulging, or corrosion spots near the metal crimp ends.
Replacing standard rubber hoses with high-grade braided stainless steel lines every three to five years protects your home against catastrophic water leaks.
Sanitize and Descale Internal Wash Systems
Hard water minerals like calcium and magnesium, combined with undissolved detergent residues, build up thick layers of scale inside hidden plumbing channels, wash arms, and drainage lines. This internal buildup restricts water circulation, creates foul smells, and causes internal pressure buildup that forces water past factory seals.
Maintain clean internal plumbing with a monthly descaling routine:
- Clear out all items from the internal wash compartment or drum area.
- Pour two cups of white distilled vinegar into an upright glass bowl or liquid reservoir, placing it directly inside the main chamber.
- Run a complete heavy-duty wash cycle utilizing the highest heat setting available.
- Follow up with a second cycle using a quarter-cup of baking soda sprinkled across the bottom surface to neutralize odors and scour away softened mineral deposits.
This simple habit dissolves mineral crusts and restores proper spray velocity without chemical harshness.
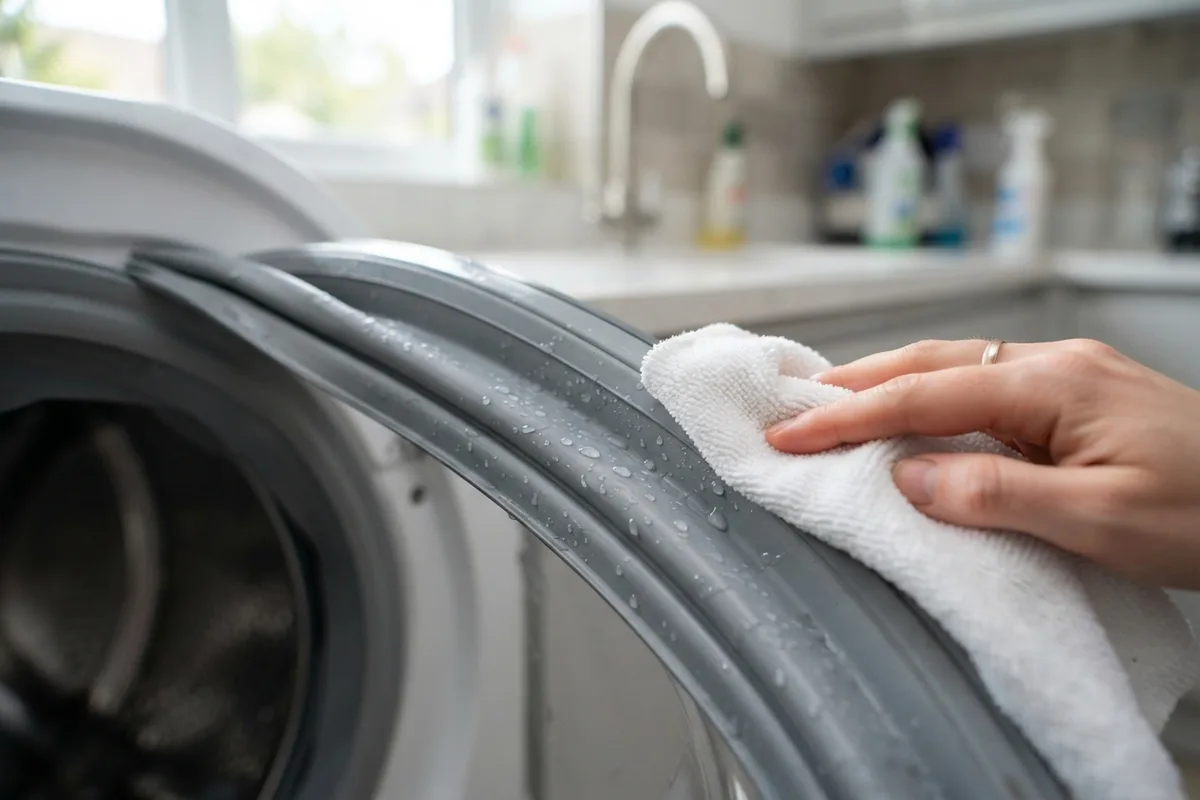
Check and Wipe Down Flexible Rubber Door Seals
Flexible rubber door gaskets create an airtight barrier that retains cold air or keeps wash liquid safely contained inside the machine cabinet. However, moisture trapped in gasket folds quickly fosters mildew growth, while trapped food residue or lint prevents the gasket from seating flush against the frame.
Protect seal integrity by performing this simple upkeep:
- Mix a gentle solution of equal parts warm water and distilled white vinegar.
- Dampen a clean microfiber cloth and gently peel back the flexible folds of the door seal.
- Wipe thoroughly inside every inner groove to clear away slime, detergent slurry, or trapped debris.
- Dry the gasket completely using a soft towel and leave the door slightly ajar for an hour to air out residual moisture.
Applying this quick maintenance step alongside standard appliance maintenance steps prevents seal degradation and keeps interior moisture from damaging surrounding cabinetry.
Keep Appliance Venting and Exhaust Ducting Clear
Exhaust ductwork and wall termination hoods play a critical role in expelling moist, hot air out of your living space. When ducting becomes pinched or packed with fine lint and outdoor debris, heat builds up rapidly inside internal compartments, triggering high-limit thermal switches and creating severe fire safety hazards.
Inspect and clean exterior exhaust pathways every autumn:
- Unplug the unit from power and disconnect any flexible exhaust ducting attached behind the machine.
- Vacuum deep inside the exhaust outlet transition housing using a flexible dryer lint brush.
- Go outside and verify that the exterior wall vent flapper opens freely without obstruction from bird nests or leaf buildup.
- Replace old, foil-accordion ducting with rigid metallic pipe to maximize airflow velocity and prevent crushed lines.
Ensuring unrestricted airflow cuts cycle times drastically and prevents unnecessary thermal overload on electronic control boards.
Balance Appliance Loads to Protect Internal Bearings
Mechanical drive systems, heavy cast-iron counterweights, and precision drum bearings rely on proper weight distribution during operation. Consistently running severe off-balance loads places extreme eccentric forces on internal shock absorbers, drive belts, and drive shaft assemblies.
Adopt these load-management habits:
- Mix small and large items together during operation rather than packing single heavy items on one side.
- Avoid overloading internal drums past three-quarters capacity, allowing contents room to move freely during operation.
- Check that the appliance cabinet itself sits level on the floor by adjusting the threaded leveling feet underneath with a wrench.
- Ensure locknuts on leveling legs are torqued tightly against the frame to prevent vibration-induced loosening over time.
Keeping your equipment level and properly balanced prevents expensive bearing failures and keeps operational noise to an absolute minimum.
| Maintenance Habit | Target Frequency | Key DIY Action | Warning Sign to Watch For |
|---|---|---|---|
| Cleaning Condenser Coils | Twice Yearly | Vacuum rear coils and lower air intake vents | Unit running warm or cycling continuously |
| Clearing Filter Screens | Monthly | Wash mesh traps in warm water with a soft brush | Slow drainage or persistent odors |
| Flushing Water Lines | Annually | Check mesh washers and replace worn hoses | Reduced water intake speed or minor drips |
| Descaling Internal Systems | Monthly | Run hot cycle with distilled white vinegar | White chalky spots or detergent residue |
| Wiping Rubber Gaskets | Bi-weekly | Clean inner folds with vinegar solution | Mold specks or water leaks around doors |
| Clearing Exhaust Vents | Annually | Clean rigid metal ducting to exterior hood | Long cycle times or excessive cabinet heat |
When to Call a Pro
While routine surface cleaning, filter washing, and gasket care are easy weekend DIY tasks, certain complex mechanical issues require specialized diagnostic tools and technician training. Always prioritize safety: turn off dedicated circuit breakers and shut off incoming water or gas lines before undertaking any inspection.
Stop work immediately and consult a professional if you encounter:
- Persistent gas odors or suspected fuel line leaks (evacuate immediately and contact your utility company first).
- Refrigerant leaks, frosted cooling lines, or sealed-system compressor malfunctions.
- Internal electrical short circuits, burnt wiring insulation, or burning plastic smells from main control boards.
- Grinding metal noises or severe tub bearing failures that require deep disassembly of internal drive systems.
When complex mechanical or electrical issues arise, True Appliance Repair can match you with a local appliance pro to diagnose and resolve the issue quickly and safely.
FAQ
How often should I complete full maintenance on household appliances?
Most core filters and door seals require quick monthly attention, while deeper mechanical checks—such as cleaning condenser coils, inspecting water lines, and clearing exhaust vents—should be performed every six to twelve months. Following a regular schedule prevents small issues from escalating into major system breakdowns.
Can vinegar damage internal appliance parts?
While white distilled vinegar is an excellent natural descaler, using concentrated acid excessively or letting it sit on rubber gaskets for prolonged periods can degrade elastomeric seals. Always dilute vinegar properly, use it during standard wash cycles, and rinse or dry rubber components thoroughly after cleaning.
What are the most common signs that an appliance needs immediate maintenance?
Unusual operational noises (such as squealing or grinding), extended cycle times, visible water pooling, unusual odors, and unexpected spikes in monthly energy bills are key warning indicators. Addressing these signs promptly through basic maintenance often prevents complete system failure.
Should I attempt electrical or gas repairs myself?
No. DIY care should be restricted to cleaning, filter replacement, external duct maintenance, and basic leveling. Any work involving sealed refrigerant systems, internal gas valves, or main circuit boards presents serious safety risks and should be left entirely to experienced technicians.