
Nothing makes a clean kitchen look dingy faster than crusted, blackened burner bowls staring up from your range. With holiday cooking right around the corner, learning how to clean electric stove drip pans is the fastest way to refresh your stovetop and prevent smoky burning odors while you cook. Using simple household staples you already have in your pantry, you can dissolve baked-on grease and restore that bright, reflective shine in less than an hour.
1. Unplug the Range and Remove Coils
Before touching any part of your electric stove, make sure the burners are completely cool to the touch. For maximum safety, unplug the range from the wall outlet or switch off its dedicated circuit breaker at your home's electrical panel so a burner cannot accidentally turn on while your hands are inside the cooktop.
- Verify that all burner control knobs are turned to the Off position.
- Grasp the cool metal coil burner on the side opposite the terminal plug.
- Lift the coil up slightly, about one to two inches, to clear the drip pan rim.
- Pull the coil gently and straight out of the electrical receptacle—never twist or yank the prongs, as bending them can cause poor contact and heating issues later.
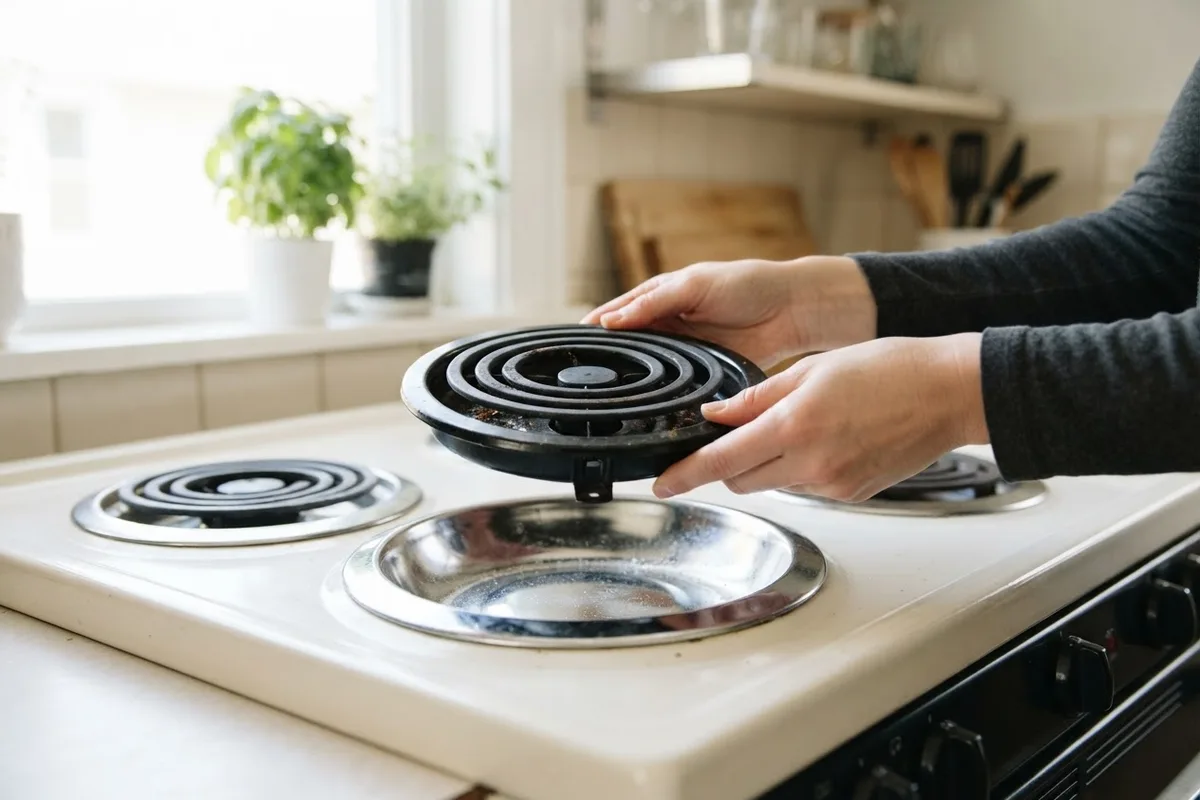
- Set the electric coils aside on a dry towel (never submerge electric coils in water) and lift the dirty drip pans straight out of the stove top.
2. Boil Water and Dish Soap to Loosen Grease
Freshly splattered oil and sticky food boil-overs respond best to heat and a strong degreasing dish soap. Before you waste elbow grease scrubbing cold, hardened grime, let a hot pre-soak break the bond between the grease and the metal or porcelain finish.
- Plug your kitchen sink drain or grab a large plastic dish tub big enough to hold all four drip pans flat.
- Place the dirty drip pans in the basin and squirt about one tablespoon of grease-cutting liquid dish soap directly onto each pan.
- Boil a full kettle or large pot of water and carefully pour the boiling water over the pans until they are completely submerged.
- Let the pans soak for 15 to 20 minutes until the water cools down to a comfortable, warm temperature.
- Wipe away the softened grease and loose food bits with a soft dishcloth, then drain the soapy water.
3. Scrub Baked-On Carbon With Baking Soda Paste
Once the top layer of oil is gone, you are usually left with stubborn brown or black rings of polymerized grease and carbonized food. A thick baking soda and vinegar paste provides gentle abrasion that lifts burnt stains without scratching chrome or porcelain surfaces.
- Sprinkle a generous layer of baking soda over the wet drip pans, focusing heavily on the dark, burnt-on spots.
- Mist or drizzle white distilled vinegar over the baking soda until it fizzes and forms a thick, spreadable paste.
- Coat the entire interior and exterior rim of each drip pan with the paste and let it sit undisturbed for 20 to 30 minutes.
- Scrub the pans in small circular motions using a non-scratch nylon scrub sponge or a crumpled ball of aluminum foil for chrome pans.
- Rinse thoroughly under warm running water to inspect your progress. (If you also have a gas cooktop in an outdoor kitchen or rental unit, you can use a similar paste method when learning how to clean gas stove burners.)
4. Boil Stubborn Pans in a Vinegar Solution
If years of baked-on splatters refuse to budge after scrubbing, simmering the pans on a working burner or in a stockpot with vinegar and cream of tartar will soften even the hardest carbon crust. The mild acid breaks down mineral deposits and burnt sugar without harsh chemical fumes.
- Place one or two crusty drip pans inside a large stainless steel stockpot.
- Fill the pot with enough water to cover the pans, then add one cup of white vinegar and two tablespoons of cream of tartar.
- Bring the liquid to a gentle boil and let it simmer for 10 minutes.
- Turn off the heat, remove the pans carefully with tongs, and let them cool for five minutes.
- While the metal is still warm, scrub the remaining black spots with a soapy non-scratch pad and baking soda—the softened crust should slide right off.
5. Wipe Out the Cooktop Area Underneath
Putting sparkling clean drip pans back into a greasy stove cavity defeats the purpose and can cause lingering smoke the next time you boil water. While the coils and pans are out of the way, take five minutes to clean the hidden catch area under the cooktop.
- Check if your electric range top lifts up like a car hood; most coil stoves let you lift the front edge a few inches and prop it open with built-in support rods.
- Vacuum up any dry crumbs, burnt food flakes, or debris sitting in the recessed burner box.
- Spray the area under the burners with a 50/50 mix of warm water and white vinegar, taking extreme care not to spray inside the plastic electrical receptacles where the coils plug in.
- Wipe the metal tray clean with a microfiber cloth, using a dry toothbrush to gently clear crumbs away from the outside of the receptacle brackets.
- Lower the cooktop lid gently back into place.
6. Dry Thoroughly and Reinstall Burners Level
Moisture trapped on drip pans or near the burner terminals can cause sizzling noises, surface rust, or electrical shorts when you turn the stove back on. Taking a moment to dry and properly seat every piece ensures even cooking and protects your range.
- Dry each drip pan completely with a clean lint-free dish towel.
- Set the pans back into the stovetop openings, lining up the cutout notch on each pan with the metal bracket inside the burner well so the pan sits flat.
- Hold each electric coil level and push its two metal prongs firmly and straight into the electrical receptacle until it clicks or seats snugly.
- Press down lightly on the coil to make sure it sits level; a tilted burner causes uneven heating and spilled pans. (If your oven also struggles to cook evenly, check out why a convection oven fan is not working.)
- Plug the stove back into the wall outlet or turn the circuit breaker back on, then briefly test each burner on low to confirm it heats smoothly.
Drip Pan Cleaning & Replacement Quick Guide
Not all drip pans are made from the same material, and sometimes a severely rusted pan is cheaper to replace than restore. Use this quick reference table to pick the safest scrubbing tool or compare replacement costs.
| Drip Pan Type | Best DIY Cleaning Method | Tools to Avoid | Typical Replacement Cost (Set of 4) |
|---|---|---|---|
| Chrome-Plated Steel | Baking soda paste + vinegar soak; crumpled aluminum foil for burnt spots | Steel wool, metal scrapers, oven cleaner spray | $15 – $30 (varies by model) |
| Black or Gray Porcelain | Boiling dish soap soak + baking soda scrub with nylon pad | Abrasive metal pads, pumice stones (can chip enamel) | $25 – $45 (varies by model) |
| Solid Stainless Steel | Vinegar boil + Bar Keepers Friend or baking soda paste | Chlorine bleach, carbon steel brushes | $30 – $55 (varies by model) |
When to Call a Pro
Cleaning or swapping out electric stove drip pans is a straightforward DIY job, but removing the coils sometimes reveals deeper electrical wear. While you have the drip pans out, inspect the metal prongs at the end of each coil and look closely at the plastic terminal blocks inside the stovetop. If you see black scorch marks, melted plastic, pitted metal prongs, or sparks when a burner turns on, stop using that burner immediately and shut off the breaker.
Loose or burnt burner receptacles are a common cause of burners failing to heat or getting stuck on high. Replacing a hardwired burner receptacle involves working inside the range's high-voltage wiring harness, which is best left to an experienced technician. Typical professional repairs for a faulty burner socket or infinite switch range from $120 to $250 depending on parts and local rates (varies by area and model). If your burners aren't heating properly after reinstallation, True Appliance Repair can match you with a local pro for reliable oven and stove repair.
FAQ
Can I put electric stove drip pans in the dishwasher?
Porcelain-enameled drip pans are usually dishwasher-safe, though a dishwasher cycle rarely removes heavy, baked-on carbon rings without a baking soda pre-scrub. Chrome-plated drip pans should be washed by hand, as harsh dishwasher detergents and high heat drying cycles can dull, pit, or discolor the reflective chrome finish over time.
Can I wrap my electric stove drip pans in aluminum foil to keep them clean?
Appliance manufacturers strongly advise against lining electric drip pans with aluminum foil. Foil can trap excess heat, block proper airflow, and accidentally touch the live electrical prongs where the coil plugs into the stove—creating a serious shock hazard or short circuit that can damage your range.
Why do my electric stove drip pans smoke after I clean them?
Light smoking right after cleaning usually means a thin film of dish soap or baking soda residue was left behind on the pan or splashed onto the heating coil. Let the burner cool, wipe both the coil and drip pan down with a damp cloth dipped in plain water, dry thoroughly, and run the burner on medium for two minutes with the range hood fan on.
How often should I clean or replace electric burner drip pans?
Wiping up spills as soon as the stove cools and giving your drip pans a quick soak once a month prevents grease from baking into hard black carbon. If your chrome pans develop flaking metal, deep rust holes, or warped edges that keep the burner coil from sitting flat, replace the set for $15 to $45 so your pots cook evenly and your stove runs efficiently.