
Nothing ruins a weekend roast or batch of holiday cookies faster than an oven that burns the edges, takes forever to preheat, or shuts down mid-bake. Working through a quick oven maintenance checklist every few months prevents surprise breakdowns right before heavy cooking seasons. Before touching any internal part, let the oven cool completely and shut off power at the breaker—or shut off the gas valve behind a gas range.
1. Check Oven Temperature With a Thermometer
Even a spotless oven bakes poorly if the dial or digital display drifts off by 25 to 50 degrees. Checking calibration takes just a few minutes and saves countless pans of baked goods and holiday side dishes.
- Clip or set an inexpensive analog oven thermometer right in the center of the middle rack.
- Set the oven to 350 degrees Fahrenheit and wait at least 20 minutes after the preheat beep so internal heat stabilizes.
- Read the thermometer through the window without opening the door, then check again 10 minutes later to average two readings.
If your oven runs consistently hot or cool by 15 degrees or more, check your owner's manual for the built-in digital offset control, which adjusts temperatures in 5-degree steps. Notice wild swings of 50 degrees or more? A failing temperature sensor or thermostat is usually responsible and needs replacement.
2. Inspect the Oven Door Gasket and Hinges
A torn or flattened door seal lets hot air pour out around the frame, forcing heating elements to overwork while drying out roasts and pastries. Poor seals also heat up nearby cabinetry and control knobs.
- Wait until the cavity is completely cool, then run your fingers along the entire braided fiberglass or rubber gasket framing the oven opening.
- Look closely for crushed spots, frayed fibers, baked-on grease, or corners pulling loose from the mounting clips.
- Dab away light splatters with a damp cloth and plain warm water—never scrub fiberglass seals with abrasive pads or harsh sprays.
- Close the door and examine the top corners; a worn hinge often leaves a subtle gap that leaks heat and throws off baking times.
Replacement gaskets snap easily into place once the range is unplugged, while sagging hinges point to worn internal springs.
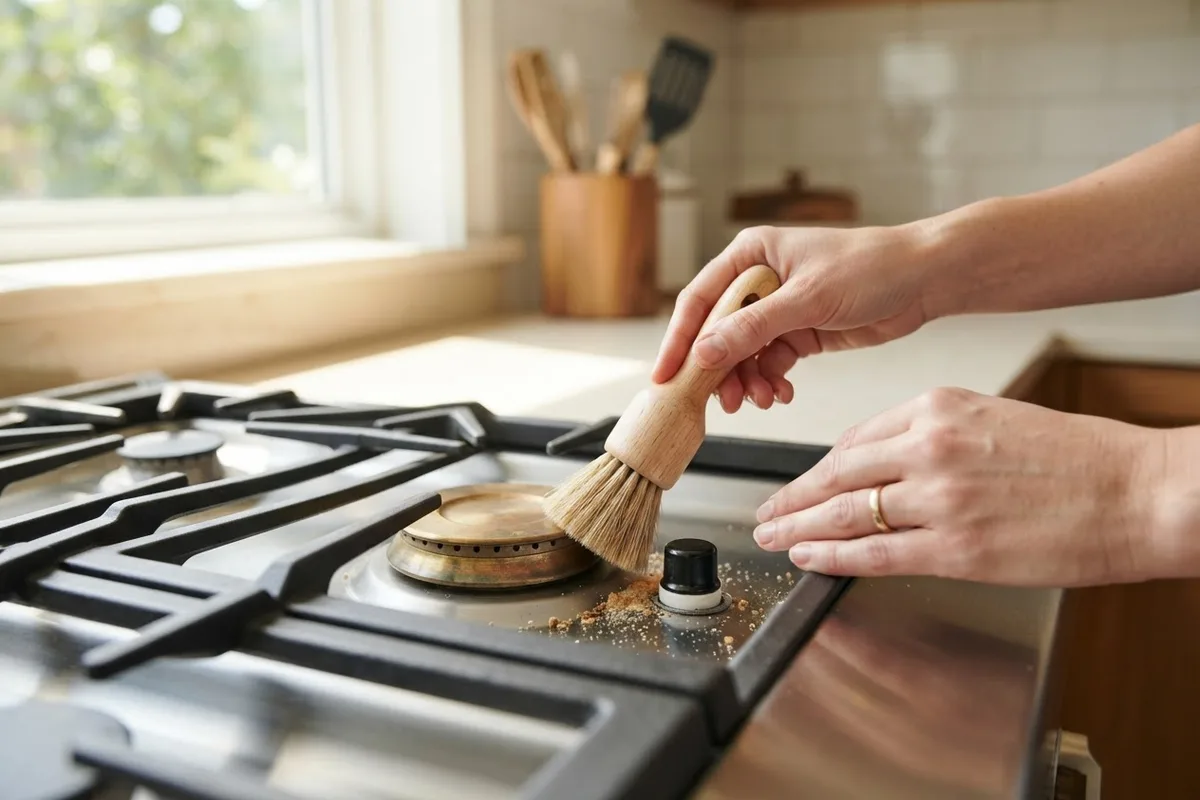
3. Clean Heating Elements, Burners, and Igniters
Carbonized spills on heating surfaces cause lingering smoke, harsh odors, and uneven heat across your baking sheets. Always unplug the range—or switch off its dedicated circuit breaker—and turn off the gas supply valve behind a gas stove before inspecting burners or elements.
- Electric ovens: Inspect the upper broil and lower bake elements for blisters, hairline cracks, or blackened burn spots. Gently wipe loose ash away with a dry microfiber cloth, keeping water off heating coils.
- Gas ovens: Vacuum loose crumbs around the bottom floor plate and burner ports using a narrow crevice attachment. Take care not to bump the fragile silicon-carbide igniter, which cracks easily.
- Cooktop burners: Wash removable burner caps in warm soapy water, dry them thoroughly, and clear clogged gas ports gently with a wooden toothpick.
If a gas burner clicks nonstop after drying or an electric element shows blistering, stop using it and schedule service.
4. Clear Oven Vents and Exhaust Channels
Modern ranges and wall ovens rely on hidden airflow channels to vent cooking steam, release excess heat, and protect sensitive electronic control boards. Blocked vents trap heat near wiring and trigger overheating shutdowns.
- Locate your oven vent—commonly tucked beneath a rear stovetop burner, along the back control riser, or right above the oven door handle.
- Shine a flashlight into the vent grille to spot grease buildup, fallen foil scraps, or dust.
- Wipe the exterior vent slats with warm, soapy water on a tightly wrung cloth so moisture never drips inside internal electronics.
- When pulling a freestanding range out for seasonal cleaning, check behind the unit to make sure storage pans or foil never block rear air intake slots.
Clear vents protect touchpad electronics from steam damage during long winter braises and multi-dish family meals.
5. Deep Clean Without Running Self-Clean
While the self-clean button looks tempting, blasting an empty oven past 850 degrees puts extreme stress on thermal fuses, control boards, and door lock motors—often causing sudden failures right before major holidays. A gentle manual clean protects your range all year.
- Mix a thick paste of baking soda and water, then spread it across cool interior walls while avoiding heating elements, temperature sensors, and gas burner ports.
- Let the paste sit overnight, wipe clean with a damp microfiber cloth, and mist lingering haze with diluted white vinegar before a final plain-water wipe.
| Cleaning Method | Typical Time | Smoke & Odor | Stress on Oven Parts | Best Use |
|---|---|---|---|---|
| Manual baking soda paste | 30 min active + overnight sit | None | Very low | Routine seasonal upkeep |
| Steam bowl soften | 45 minutes | Minimal | Low | Light grease and fresh spills |
| High-heat self-clean cycle | 3 to 5 hours | Heavy fumes | High (fuses, locks, boards) | Avoid before big meals |
6. Test Controls, Racks, and Interior Light
Small annoyances like stuck racks or a burnt-out bulb tempt cooks to prop the door open mid-bake, dropping cavity temperatures by 25 to 50 degrees within seconds.
- Slide every rack in and out to verify smooth movement; if baked-on grease locks them up, learn how to clean oven racks without scrubbing with a simple overnight bathtub soak.
- Press each touchpad button and turn every knob to check for crisp responses without sticking or phantom beeps.
- Replace burnt-out interior bulbs only after shutting off the breaker and letting the glass cover cool completely. Use an appliance-rated 40-watt high-heat bulb, since standard household bulbs shatter inside ovens.
- Pull removable control knobs straight off their stems and wash sticky grease away in warm soapy water before drying and pressing them back on.
When to Call a Pro
Routine cleaning and temperature checks are safe DIY habits, yet certain oven problems belong strictly to a trained technician. Stop work immediately, shut off the circuit breaker or gas supply valve, and leave the kitchen if you ever smell rotten-egg gas, hear a hissing leak, spot frayed or sparking wires, or trip a breaker repeatedly. Never open sealed gas lines, adjust gas pressure regulators, or work inside your home's electrical panel.
Professional help also makes sense for stubborn failures like a dead bake element, a glowing gas igniter that refuses to light the burner, or recurring control board error codes. Typical US oven repairs range from $150 to $400 depending on the failed component, though exact pricing varies by area and model. If your unit is older or facing an expensive board replacement, check these rules to decide whether to repair or replace your oven. Need fast local help? True Appliance Repair can connect you with an independent technician through our oven and stove repair service.
FAQ
How often should I follow an oven maintenance checklist?
Most households benefit from a full check twice a year—ideally in early fall before heavy holiday baking starts and again in spring. If you roast meats or bake several times a week, wipe spills promptly once cool and inspect the door gasket every couple of months.
Is it safe to line the bottom of my oven with aluminum foil?
No, lining the oven floor with foil traps intense heat and reflects it straight back into the lower heating element or enamel floor. On gas ovens, foil can even block critical combustion airflow, causing uneven flames, permanent enamel damage, or dangerous exhaust buildup.
Why does my oven smoke the first time I bake after cleaning?
Even tiny traces of soap, baking soda film, or leftover grease smoke when heated past 350 degrees. After any manual clean, wipe interior surfaces twice with plain warm water, then run an empty bake cycle at 375 degrees for 20 minutes with your kitchen exhaust fan turned on.
How long does a home oven or range last with regular care?
With consistent cleaning and timely minor fixes like gaskets or igniters, most gas and electric ranges last 13 to 15 years, though lifespan varies by brand, model, and daily cooking volume. Skipping extreme high-heat self-clean cycles helps delicate control boards reach that full lifespan.