
Hearing a harsh, metal-on-metal grinding sound coming from your laundry room is enough to make any homeowner hit pause mid-cycle. When your dryer starts making a grinding noise, it usually means a foreign object is trapped inside or a inexpensive support part has worn down enough to let moving metal rub against the frame. By catching the issue early and following the six troubleshooting steps below, you can often stop the racket yourself and prevent expensive damage to the drum or motor.
Before inspecting or opening your appliance, always unplug the power cord from the wall outlet (or flip the dedicated double circuit breaker off). If you have a gas dryer, shut off the gas supply valve behind the unit before moving it or removing any panels.
1. Remove Coins and Debris From the Drum Baffles
Before taking anything apart, check the simplest culprit: loose pocket items. Coins, bra underwires, screws, and metal buttons often slip out of clothing and wedge themselves beneath the plastic drum baffles (the fins that lift your clothes) or in the narrow gap between the spinning drum and the stationary front or rear bulkhead.
- Unplug the dryer and open the loading door wide.
- Shine a bright flashlight along the front and back seams where the drum meets the cabinet housing.
- Run your hand carefully along the felt drum seals to feel for coins, paperclips, or small screws.
- Grab each plastic baffle inside the drum and wiggle it gently. If a baffle feels loose or rattles, a coin may have slipped underneath it; remove the mounting screws from the outside of the drum (once the top panel is lifted) to clear the trapped metal.
- Inspect the tiny holes in the rear grate where the tip of an underwire can poke through and scrape against the heater housing as the drum turns.
2. Replace Worn Front Drum Glides
The front of your dryer drum does not hang in midair; it rests and slides on small plastic or Teflon strips called drum glides (or bearing slides) mounted to the inside of the front panel. Over thousands of laundry loads, these inexpensive plastic strips wear paper-thin or snap off completely. Once they wear through, the heavy steel edge of the spinning drum drops down and grinds directly against the metal front bulkhead.
- Unplug the dryer and shut off the gas valve if applicable.
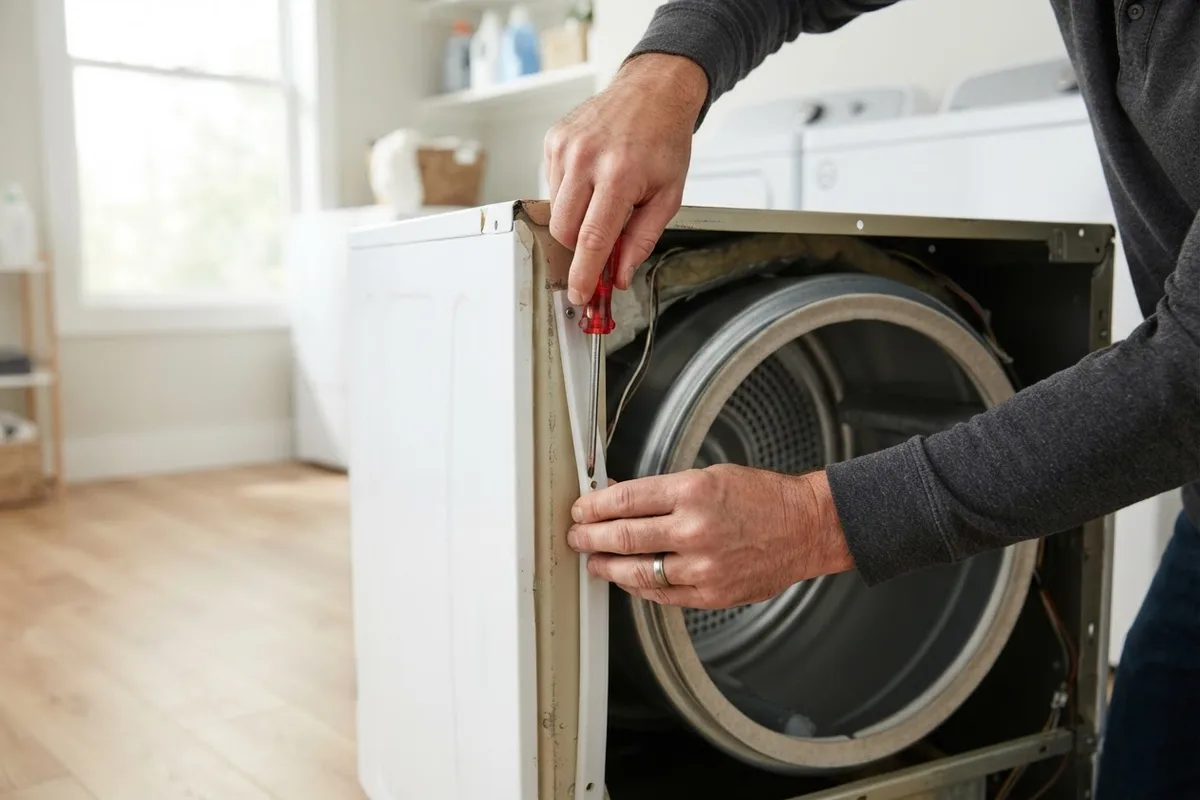
- Release the top panel clips with a putty knife or remove the screws behind the lint screen, then lift the top panel.
- Disconnect the door switch wires and remove the mounting screws holding the front panel to the cabinet.
- Lift the front panel off and turn it over to inspect the plastic glides riveted or snapped along the top curved edge.
- If the glides look shaved down, cracked, or missing, pop them out with a flathead screwdriver and snap new replacement glides into the slots.
- Wipe away any black metal dust from the front lip of the drum before reattaching the front panel.
3. Inspect the Idler Pulley Assembly
The idler pulley is a small plastic or metal wheel on a spring-loaded arm at the bottom of the dryer that keeps tight tension on the drive belt. Because this little wheel spins at high speed compared to the much larger drum, its internal bearing takes a beating. When the grease dries up or the plastic wheel wears down into the metal shaft, it produces a loud, raspy grinding or growling noise.
- With the dryer unplugged and the front panel and drum removed, locate the idler pulley down near the drive motor.
- Push the pulley arm sideways to release tension on the drive belt, then slip the belt off the motor and pulley.
- Spin the idler pulley wheel with your finger. It should spin smoothly and quietly with zero side-to-side wobble.
- If the wheel feels gritty, catches, or wobbles on its metal shaft, unbolt or unhook the idler pulley assembly from the dryer base or motor bracket.
- Install a new idler pulley assembly, loop the drive belt back through the pulley and around the drum, and verify the spring holds the belt tight.
If the noise sounds more like a rhythmic thud than a scrape, check out our guide on why your dryer is making a popping noise to troubleshoot flat spots on your belt or rollers.
4. Check the Rear Drum Support Rollers or Bearing
Depending on the brand, the back of your dryer drum is supported either by two rubber-wheeled drum rollers on metal shafts or by a single ball-and-socket rear drum bearing centered on the back wall. When roller bearings seize up or a rear ball bearing loses its lubrication and wears through its plastic sleeve, you will hear a deep, heavy grinding noise from the back of the cabinet—especially with a heavy load of wet towels.
- Remove the dryer drum by slipping the belt off the idler pulley and lifting the drum out by the belt.
- For roller-style dryers, spin each rubber support wheel by hand. If a roller resists turning, grinds, or wobbles on its steel shaft, remove the retaining clip and pull the roller off.
- Clean the steel roller shaft with fine emery cloth and rubbing alcohol—never put grease or oil on roller shafts, as it attracts lint and causes them to seize again. If the shaft itself is scored or grooved, replace both the shaft and the roller.
- For rear-bearing dryers (common on Frigidaire and GE models), inspect the metal hitch ball on the back of the drum and the plastic cradle on the rear wall. If the plastic sleeve is worn through and metal is grinding on metal, replace the complete rear bearing kit and apply the high-temperature grease included with the new part.
5. Clear Obstructions From the Blower Wheel
The blower wheel pulls hot, moist air through the lint screen and pushes it out the exhaust vent. If a small sock, dryer sheet, or piece of plastic slips past a torn lint filter, it can jam against the blower wheel fins. Even worse, the center hub of the plastic blower wheel can strip out on the metal motor shaft, causing the shaft to spin inside the wheel with a harsh grinding or buzzing sound.
- Pull out the lint screen and inspect the mesh for tears or holes that could let debris pass into the chute.
- Access the blower housing (located either behind the front lower panel or behind the back panel, depending on your model).
- Use a vacuum crevice tool or needle-nose pliers to pull out any compacted lint, hairpins, or pebbles wedged between the blower fins and the housing.
- Hold the motor shaft steady with one hand and try to turn the plastic blower wheel with the other. If the wheel turns independently of the motor shaft, the center hub is stripped and the blower wheel must be replaced.
- Note that many dryer blower wheels have reverse (left-hand) threads, meaning you turn them clockwise to loosen them.
Just as a stray coin can jam a dryer fan, small items often wreak havoc in other laundry and kitchen equipment; see our guide on why a dishwasher makes a grinding noise if you hear a similar sound in the kitchen.
6. Test for Failing Drive Motor Bearings
If you have checked every roller, glide, pulley, and fan blade and all of them spin freely, the grinding noise may be coming from inside the electric drive motor itself. Over years of heat and lint exposure, the internal sleeve bearings inside the motor can wear out, letting the heavy rotor scrape against the stationary stator windings.
- With the drive belt disconnected so the drum and idler pulley are out of the equation, inspect the motor at the base of the dryer.
- Vacuum away any thick blankets of lint packed around the motor vents, which cause the motor to overheat.
- Spin the motor shaft by hand from the pulley end and the blower end.
- If you feel a metallic scraping inside the motor casing, or if you can wiggle the motor shaft up and down, the internal motor bearings have failed.
- Replacing a dryer drive motor requires disconnecting the wiring harness, removing the blower wheel (which often seizes onto the shaft), and unbolting the motor clamps—a job many homeowners prefer to hand off to a repair technician.
Quick Reference: Dryer Grinding Noise Causes & Typical Costs
Repair costs vary widely by appliance brand, model, and local labor rates across the US, but this table gives you a general idea of what to expect when deciding between a DIY fix and a service call.
| Source of Grinding Noise | Where It Sounds Loudest | Typical DIY Part Cost | Typical Pro Repair Range |
|---|---|---|---|
| Trapped coins or underwire | Inside drum, changes with load | $0 | $90 – $160 |
| Worn front drum glides | Top front edge of dryer | $15 – $35 | $130 – $220 |
| Failing idler pulley | Bottom center or right side | $15 – $40 | $140 – $240 |
| Bad drum rollers or rear bearing | Back wall of dryer | $25 – $65 | $160 – $280 |
| Damaged or jammed blower wheel | Front bottom or rear vent chute | $20 – $50 | $150 – $250 |
| Worn drive motor bearings | Deep at the bottom base | $110 – $220 | $250 – $420 |
Note: Prices are broad US estimates for parts and labor and vary by area and model.
When to Call a Pro
Removing trapped coins from a drum baffle or snapping in a fresh set of front drum glides are manageable weekend projects if you are comfortable using basic hand tools and keeping track of screws. However, you should stop and call a professional if you smell gas around a gas dryer, see scorched wiring or melted connectors inside the cabinet, or discover that the drive motor itself needs replacement. Disassembling a dryer down to the base pan involves sharp sheet-metal edges, heavy components, and tricky belt routing.
If you would rather skip the teardown or need help diagnosing a stubborn internal noise, True Appliance Repair can match you with a local pro for dependable washer and dryer repair. You can also reach out through our contact page to get connected with an independent technician in your area.
FAQ
Is it safe to run my dryer while it is making a grinding noise?
No, you should stop using the dryer immediately once a grinding noise starts. Running the machine when plastic glides or bearings have worn through allows bare steel to saw into the drum or bulkhead, turning a $25 glide replacement into a ruined drum that costs hundreds of dollars. Furthermore, a seizing motor or jammed blower wheel can overheat and create a laundry room fire hazard.
How do I tell if the grinding noise is the drum glides or the rollers?
Listen closely to where the sound originates and how fast it repeats. Front drum glides produce a continuous, high-pitched metal scraping sound right behind the door opening as the drum slides over the front frame. Drum rollers and idler pulleys turn much faster than the drum itself, so they usually make a deeper, rhythmic growling or rumbling grind coming from the lower rear or bottom center of the cabinet.
Why does my dryer only grind when there are heavy clothes inside?
When the drum is empty or holds just a few lightweight shirts, there may be just enough clearance left on worn glides or loose roller bearings for the drum to spin quietly. Adding a heavy load of wet jeans or towels pushes the drum downward with extra weight, forcing worn plastic glides or sagging bearings to make direct metal-on-metal contact.
Should I buy individual dryer parts or a complete maintenance kit?
If your dryer is more than five years old and you are already taking the front panel and drum off, buying a manufacturer maintenance kit is usually the smartest move. These kits typically bundle the drum rollers, idler pulley, and drive belt together for $35 to $65, saving you from having to open the dryer a second time a few months later when the next worn part starts making noise.