
Hearing a harsh metal-on-metal screech or rhythmic grinding from the laundry room is enough to make any homeowner hit pause mid-cycle. When you have a dryer making a scraping noise, the culprit is almost always a trapped small object or a worn support part allowing the spinning drum to rub against the metal cabinet. By running through a few methodical checks, you can stop the noise early and prevent expensive damage to your laundry machine.
Safety First: Before inspecting internal components or reaching into crevices, always unplug your electric dryer from the wall outlet. If you own a gas dryer, unplug the power cord and turn the gas shut-off valve behind the unit to the closed position. Never perform internal work on a live appliance, and leave any gas line or electrical panel issues to a professional.
1. Remove Coins and Zippers From the Drum Baffles
Before taking anything apart, check the simplest cause first. Stray coins, bra underwires, hairpins, and metal collar stays frequently slip out of pockets and wedge themselves into the narrow gaps around the drum or inside the plastic lifters (baffles). As the drum rotates, that trapped piece of metal scrapes loudly against the stationary front or rear bulkhead.
- Unplug the dryer and open the loading door wide.
- Shine a bright flashlight along the front and back seams where the spinning drum meets the stationary metal housing.
- Run a wooden ruler or plastic putty knife gently around the perimeter gap to feel for nickels, dimes, or paperclips.
- Grab each of the three plastic drum baffles inside the drum and wiggle them firmly. If a baffle feels loose or rattles, unscrew or unclip it to remove any coins trapped underneath.
- Inspect the holes in the rear grille; underwires often poke halfway through these perforations and scrape against the heater housing behind the drum.
2. Clear Debris From the Lint Trap Housing
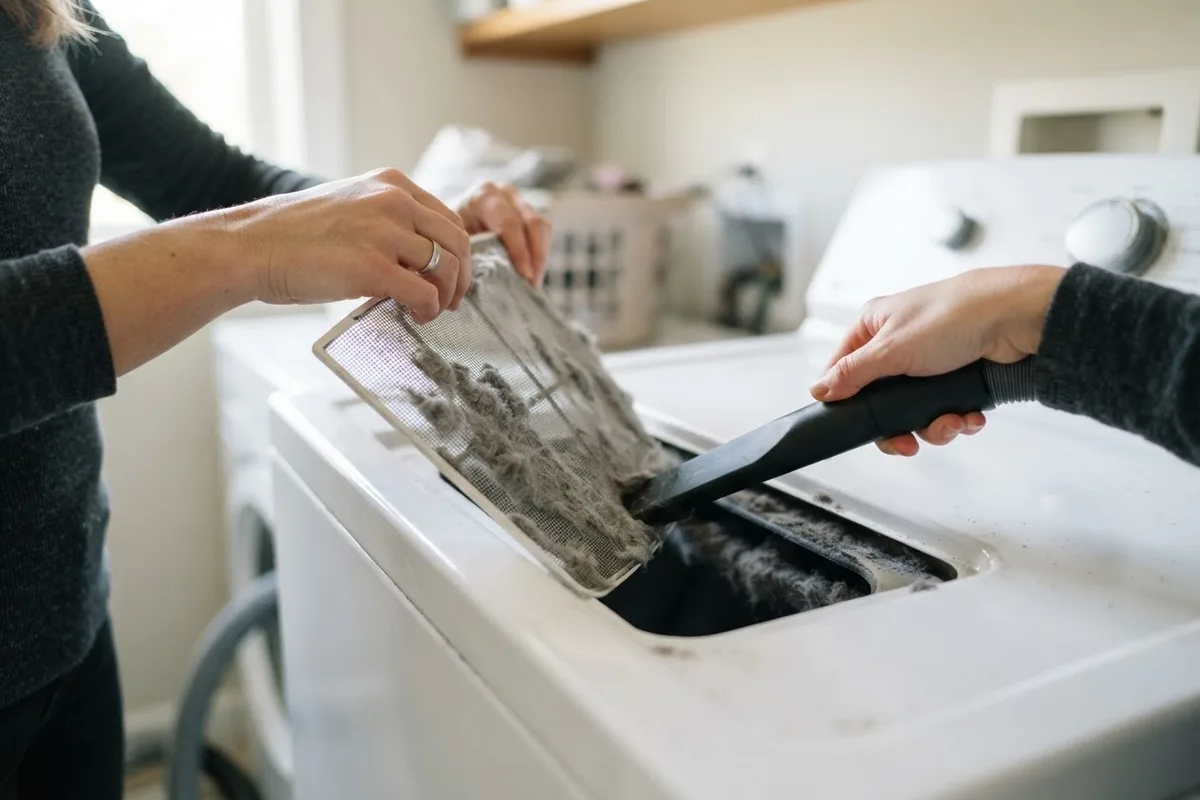
Sometimes the scraping sound is not coming from the main drum at all, but from the blower wheel located directly beneath the lint filter. If a button, zipper pull, or hardened clump of lint drops down the filter chute, the plastic blower fan blades will scrape or chatter against it every time the motor runs.
- Pull out the lint screen and set it aside. While you have it out, check the door latch area too—if you also notice the door popping open mid-cycle, see our guide on why your dryer door will not stay closed.
- Shine your flashlight straight down into the lint chute.
- Use a long, flexible crevice attachment on your vacuum cleaner or a long-reach grabber tool to pull out any packed lint, pebbles, or plastic collar stays sitting at the bottom of the housing.
- If your lint screen sits on the top panel of the dryer, remove the two screws under the lint flap to lift the top slightly for a clearer view into the duct.
- Spin the drum by hand to listen and confirm whether the scraping sound in the blower housing has stopped.
3. Replace Worn Front Drum Glide Slides
On most modern dryers, the front edge of the heavy metal drum does not sit on wheels. Instead, it slides smoothly on two to four small Teflon or nylon strips called drum glides (or bearing slides) mounted to the front panel. After years of heavy wet loads—especially bulky winter blankets and coats—these plastic strips wear paper-thin, causing bare metal to grind directly against bare metal.
- With the dryer unplugged, pop or unscrew the top panel and disconnect the door switch wire harness so you can remove the front panel.
- Look along the top inner lip of the front panel or the white plastic bearing ring where the drum rests.
- Inspect the small rectangular plastic glides. If they are cracked, missing, or worn down to the metal rivets, they need replacement.
- Drill out the old plastic rivets or unsnap the worn glides using needle-nose pliers.
- Snap the new manufacturer-matched nylon glides firmly into the slots and apply a tiny dab of high-temperature appliance grease only if recommended by the part instructions.
4. Inspect and Reseat a Frayed Felt Drum Seal
Lining the outer rim of the dryer drum (or the inner rim of the front and back bulkheads) is a thick ring of heat-resistant felt. This felt drum seal traps hot air inside the drum and cushions the gap between the spinning cylinder and the cabinet. When the high-heat adhesive dries out, a section of felt can fold over or tear away, letting the raw edge of the drum scrape the housing.
- While the front panel is off, examine the entire circumference of the felt ring on both the front and rear edges of the drum.
- Look for dark scorch marks, shiny metal rub spots, or frayed strips hanging loose. Just as worn seals in the washer can cause laundry issues—like when a washer bleach dispenser is not working due to clogged lines—a failing dryer seal disrupts normal operation.
- If only a two-inch section has peeled loose and the felt is still thick, glue it back down using high-temperature dryer seal adhesive and hold it in place with clothespins until cured.
- If the felt is torn, missing chunks, or worn flat, pull the old seal off completely, scrape away crusty glue residue with a putty knife, and stretch a new felt seal evenly around the rim.
- Let the adhesive cure for at least 12 to 24 hours before running a heated cycle.
5. Check the Rear Drum Bearing or Support Rollers
If the front of the drum looks pristine and the scraping noise echoes from the back of the cabinet, the rear support system is failing. Depending on your dryer brand, the back of the drum is held up either by two rubber-wheeled support rollers on steel shafts or by a single center ball-and-socket rear drum bearing. When the lubrication dries up, the metal shaft grinds loudly into its bracket.
- Lift the drum out of the cabinet by slipping the drive belt off the motor pulley and idler pulley.
- For dryers with rollers: spin each rubber roller by hand. They should turn silently without wobbling. If a roller binds or scrapes, remove the triangular retaining clip, slide the roller off, clean the steel shaft with fine emery cloth, and install a new roller.
- For dryers with a center bearing (common on many Frigidaire and GE models): inspect the teardrop-shaped metal ball hitch on the back of the drum and the plastic cradle it sits in.
- If the plastic bearing cradle is ground through, unscrew the old housing, install a complete rear bearing kit, and pack the socket with the included high-temperature lubricant.
- Reassemble the drum, thread the belt back onto the pulley, and rotate the drum several times by hand to verify smooth, silent movement.
Quick-Reference Guide: Diagnosing Dryer Scraping Sounds
| Where the Sound Comes From | What It Sounds Like | Most Likely Culprit | Typical DIY Part Cost* |
|---|---|---|---|
| Inside the drum | High-pitched metallic clinking or scratching | Coin, underwire, or zipper stuck in seam | $0 (Free cleanup) |
| Below the lint screen | Rapid plastic clicking or light scraping | Debris hitting the blower wheel | $0 – $35 |
| Front top of the cabinet | Loud, continuous metal-on-metal screech | Worn-out front plastic drum glides | $15 – $40 |
| Around the door opening | Rhythmic rubbing or squeaking every rotation | Loose or torn felt drum seal | $20 – $55 |
| Back center of the dryer | Heavy grinding or low metallic groan | Worn rear drum bearing or support roller | $25 – $65 |
Note: Part prices are broad US estimates for DIY replacement parts only and vary by area, brand, and model.
When to Call a Pro
Clearing a trapped quarter from a drum seam or vacuuming out the lint chute takes less than fifteen minutes and requires zero mechanical experience. Even swapping out front plastic drum glides is a manageable weekend project if you are comfortable using a screwdriver and unplugging wire harnesses.
However, you should stop and call a professional if the scraping sound is coming from inside the electric drive motor itself, if the blower wheel is stripped and fused onto the motor shaft, or if you have a gas dryer that requires disconnecting gas burner assemblies to reach the rear bulkhead. Depending on the part and labor rates in your region, professional repair for drum support bearings, glides, or blower wheels typically ranges from $150 to $350 (varies by area and model). If you would rather skip the heavy lifting, True Appliance Repair can match you with an experienced local technician for professional washer and dryer repair to get your laundry room quiet again.
FAQ
Is it safe to run my dryer if it is making a scraping noise?
No, you should stop using the dryer until you locate the source of the sound. Even a small trapped coin can slice through the felt drum seal or gouge the heating element, and running a dryer on worn-out plastic glides will quickly carve through the metal front bulkhead, turning a cheap part swap into a major cabinet replacement.
How much does it cost to fix a dryer making a scraping noise?
If you do the work yourself, removing a stuck coin or bra wire is completely free, and replacement wear parts like drum glides, felt seals, or rear bearings generally cost between $15 and $65. If you hire a local appliance technician, total repair costs typically run between $150 and $350 depending on your location and the exact model.
Why does my dryer only make a scraping noise when it has heavy clothes in it?
When the drum is empty, there is very little downward pressure on the front plastic glides and rear rollers. Once you load heavy wet towels or jeans, the added weight pushes the drum down through worn-out glides or compresses a failing roller shaft, causing the metal edge of the drum to rub against the stationary frame.
Should I lubricate my dryer drum glides or rollers with WD-40?
Never spray standard household lubricants like WD-40 inside a clothes dryer. Standard oils and sprays are flammable under high dryer heat and act like a magnet for lint, quickly gumming up the rollers and glides so they wear out even faster.