
A clothes dryer that refuses to shut off is both frustrating and alarming. Leaving a dryer running continuously wastes electricity, risks shrinking your favorite clothes, and creates a unnecessary thermal safety hazard in your laundry room.
Whether your dryer keeps tumbling after the timer hits zero or continues running even when you open the door, the root cause usually comes down to a faulty sensor, a stuck switch, or an obstructed airflow pathway. Before calling in a technician, you can easily troubleshoot and resolve several common causes yourself using standard household tools.
| Symptoms | Likely Cause | Recommended DIY Solution |
|---|---|---|
| Runs continuously on Auto/Sensor Dry | Dirty or coated moisture sensors | Clean sensor bars with rubbing alcohol |
| Keeps tumbling when door is opened | Failed door switch | Test and replace the door switch |
| Timer dial does not advance | Broken timer motor or stuck knob | Inspect dial gear and replace timer module |
| Runs hot indefinitely without stopping | Overheating / blocked ventilation | Clear lint trap, ducting, and exterior vent hood |
| Continues running in OFF position | Shorted heating element or control relay | Unplug unit and inspect element / contact board |
Safety First: Always unplug your dryer from the electrical outlet before touching internal components, removing access panels, or performing tests with tools. For gas dryers, shut off the gas supply line before starting any inspection. If you suspect an issue with your main electrical panel or a gas supply line, stop immediately and call a qualified professional.
Clean the Moisture Sensor Strips Inside the Drum
Modern dryers feature automatic sensor-dry cycles that monitor wetness levels inside the drum. These sensors consist of two parallel metal bars located near the lint filter housing or inside the rear drum wall. As wet clothes touch both bars simultaneously, they complete a low-voltage circuit. Once clothes dry, moisture stops bridging the bars, signalling the machine to stop.
Over time, fabric softener, dryer sheet residue, and mineral deposits form an invisible film over these metal strips. This coating tricks the control board into sensing continuous moisture, causing the dryer to tumble endlessly.
- Locate the two thin metal sensor bars near the lint filter grille inside the front or rear drum opening.
- Dip a microfiber cloth or cotton ball into rubbing alcohol (isopropyl alcohol).
- Thoroughly scrub the surface of both metal bars to strip away waxy fabric softener residue.
- Wipe the bars dry with a clean cloth, then run a test load using a sensor-dry setting to confirm the cycle finishes properly.
Test and Replace a Stuck Door Switch
Your dryer's door switch acts as a safety interlock. When functioning correctly, opening the dryer door breaks the circuit, immediately stopping the drum motor and heating element. If the switch fuses internally in the closed position, the dryer will continue to run even with the door wide open.
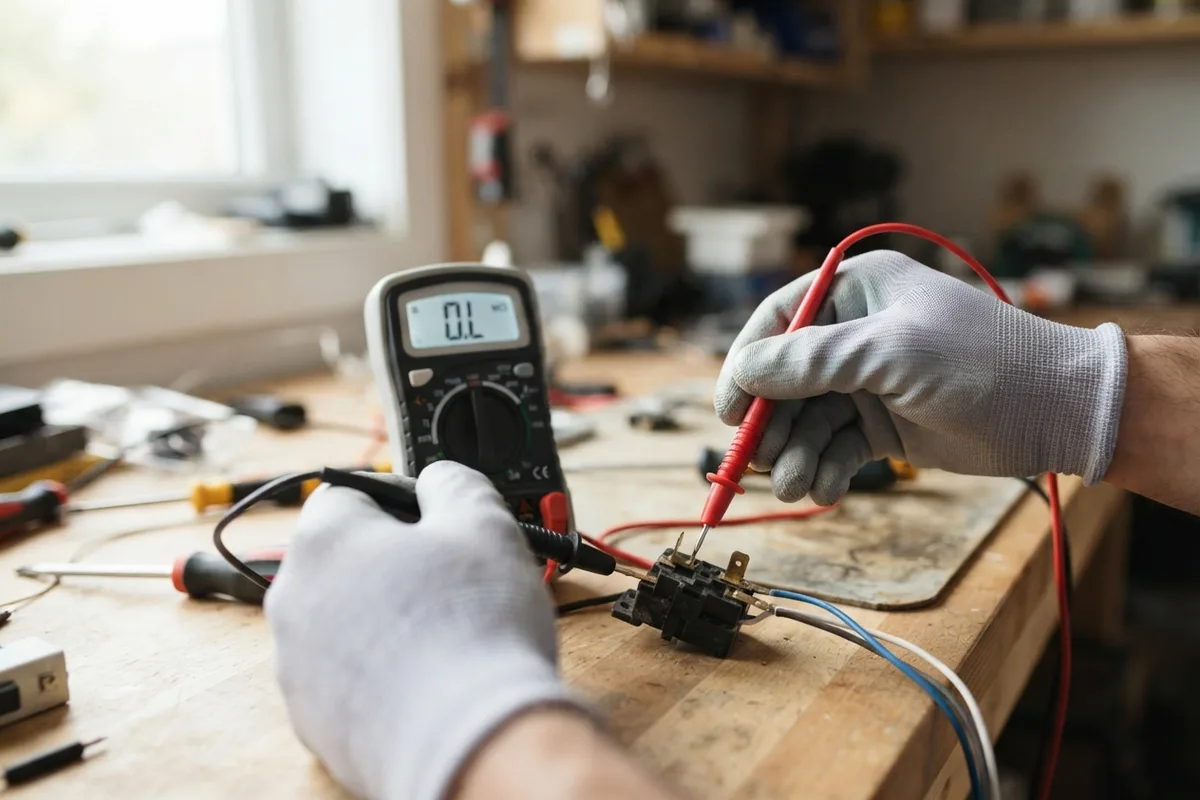
Testing a door switch is straightforward and requires only a basic digital multimeter:
- Unplug the dryer power cord from the wall outlet.
- Locate the switch mechanism near the door opening catch. Remove the retaining screws or pop out the switch housing using a putty knife.
- Disconnect the wire harness leads attached to the switch terminals.
- Set your digital multimeter to the ohms (resistance) setting or continuity mode.
- Place the multimeter probes on the switch terminals. Press the switch plunger manually: the meter should show zero resistance when pressed and infinite resistance (open) when released. If resistance remains zero regardless of button position, replace the door switch.
Inspect and Unstick the Mechanical Timer Dial
If you own a classic dryer with a manual dial timer, a failing internal timer motor or stripped plastic gears can cause the dial to pause, leaving the dryer stuck on a continuous run loop. Alternatively, the plastic control knob itself may crack internally, spinning freely on the metal shaft without actually advancing the timer mechanism.
When a timer motor fails internally, the contacts stay locked, preventing the dryer from advancing to the final cool-down phase and shutoff sequence. This issue often presents alongside other problems, such as a dryer taking two cycles to dry or running past designated timed dry limits.
- Pull the plastic control knob straight off the control console shaft.
- Inspect the rear D-shaped plastic stem of the knob for hairline cracks or rounding. Replace damaged plastic knobs.
- If the knob is intact, unplug the dryer and access the back panel of the control console by removing retaining screws.
- Check the wiring harness leading to the timer for signs of scorching or loose connections.
- If the timer motor fails to advance during timed cycles despite receiving proper power, replace the timer assembly.
Check and Unclog the Dryer Vent Line
Severe airflow restrictions can prevent moisture from escaping the drum, causing auto-dry cycles to run indefinitely. When lint traps, internal blower housings, or exterior vent ducts clog with dense lint, heat builds up inside the cabinet while humidity stays trapped around your clothes.
This lack of proper ventilation tricks sensor cycles into extending runtime, which can eventually lead to dangerous dryer overheating issues.
- Unplug the dryer and pull it away from the wall carefully.
- Disconnect the flexible transition duct from the back of the appliance and the wall wall plate.
- Vacuum accumulated lint from inside the rear dryer exhaust outlet using a long flexible vacuum hose attachment.
- Use a specialized rotary dryer vent brush to sweep lint out of the rigid wall ducting leading to the outside vent hood.
- Inspect the exterior wall cap or roof vent hood to ensure the flapper door opens freely without lint buildup blocking exhaust air.
Test the Heating Element for a Grounded Short Circuit
An electric dryer heating element consists of a coiled nickel-chromium alloy wire suspended inside a metal housing by ceramic insulators. If the wire sags, snaps, or touches the grounded metal frame, it can create a continuous electrical path. This causes the element to stay energized and radiate heat continuously, even after the timer shuts down the drum motor.
If your dryer feels excessively hot to the touch or continues producing heat even when turned to an OFF or Cool Down setting, test the element immediately:
- Ensure the appliance is completely unplugged from its high-voltage outlet.
- Remove the rear cabinet panel or lower front access panel (depending on your model) to locate the heating element housing.
- Disconnect the two power leads connected to the element terminals.
- Set your multimeter to continuity/ohms mode. Touch one probe to a heater terminal and the second probe to the metal outer heater housing.
- The meter should display open circuit (infinite resistance). If the meter beeps or shows a numerical resistance value, the heating element is shorted to ground and must be replaced.
When to Call a Pro
While cleaning sensors, clearing vent lines, and swapping a door switch are accessible weekend projects, complex electrical diagnostics require specialized tools and expert training.
If your dryer continues running non-stop after completing these checks, the main electronic control board may have a shorted relay or damaged micro-controller. High-voltage electronic repairs, gas valve troubleshooting, and main wire harness tracing should always be handled by experienced professionals to keep your household safe.
When DIY troubleshooting reaches its limit, True Appliance Repair can match you with a local appliance pro to diagnose and repair your dryer quickly.
FAQ
Can a bad thermistor cause a dryer to run non-stop?
Yes. An electronic thermistor monitors internal exhaust temperatures and sends signal data to the main control board. If the thermistor fails or sends inaccurate resistance readings, the board may assume the drum has not reached proper temperature, keeping the heating and tumbling cycles active continuously.
Is it safe to leave a dryer running if I open the door to pause it?
No. Relying on opening the door to stop a dryer with a broken switch or faulty relay is a serious safety risk. If the drum or heating element remains energized while you reach inside, it presents an immediate risk of injury or electrical shock. Unplug the appliance until the switch is repaired.
How much does it cost to fix a dryer that won't turn off?
DIY repairs like cleaning sensors or replacing a simple door switch typically cost between $10 and $35 for basic parts. If a professional technician needs to replace a main control board or mechanical timer module, typical repair costs range from $150 to $350, though pricing varies by area and machine model.