
Burnt cookies on the right side of your baking sheet while the left side remains raw dough is a clear signal of an oven temperature distribution problem. When your oven bakes unevenly, the root cause usually ranges from simple rack misplacement to a failing heating element, faulty temperature sensor, or drifting thermostat calibration. Follow this step-by-step troubleshooting guide to diagnose why your oven heat is uneven and learn how to fix it yourself safely.
1. Map Hot Spots with the White Bread Test
Before taking anything apart, determine whether your oven has localized hot spots or an incorrect overall temperature. Turn off the oven and let it cool completely. Lay six to eight slices of plain white sandwich bread across a large baking sheet in a single layer, ensuring they are evenly spaced without overlapping.
Preheat your oven to 350°F (175°C) and place the baking sheet on the center rack. Let the bread bake for 10 to 12 minutes, keeping a close eye on it through the oven window. Carefully pull out the tray using heat-resistant oven mitts once the bread starts browning.
Examine the toast pattern closely. If the slices near the back are dark brown while the front slices remain pale white, your oven has a distinct front-to-back thermal imbalance. If the browning is patchy across individual slices, heat is radiating unevenly from the top or bottom heating elements. Take a photo of the toast grid with your phone as a reference map when placing sensitive baked goods like cakes or soufflés in the future.
2. Test and Recalibrate Your Oven Temperature
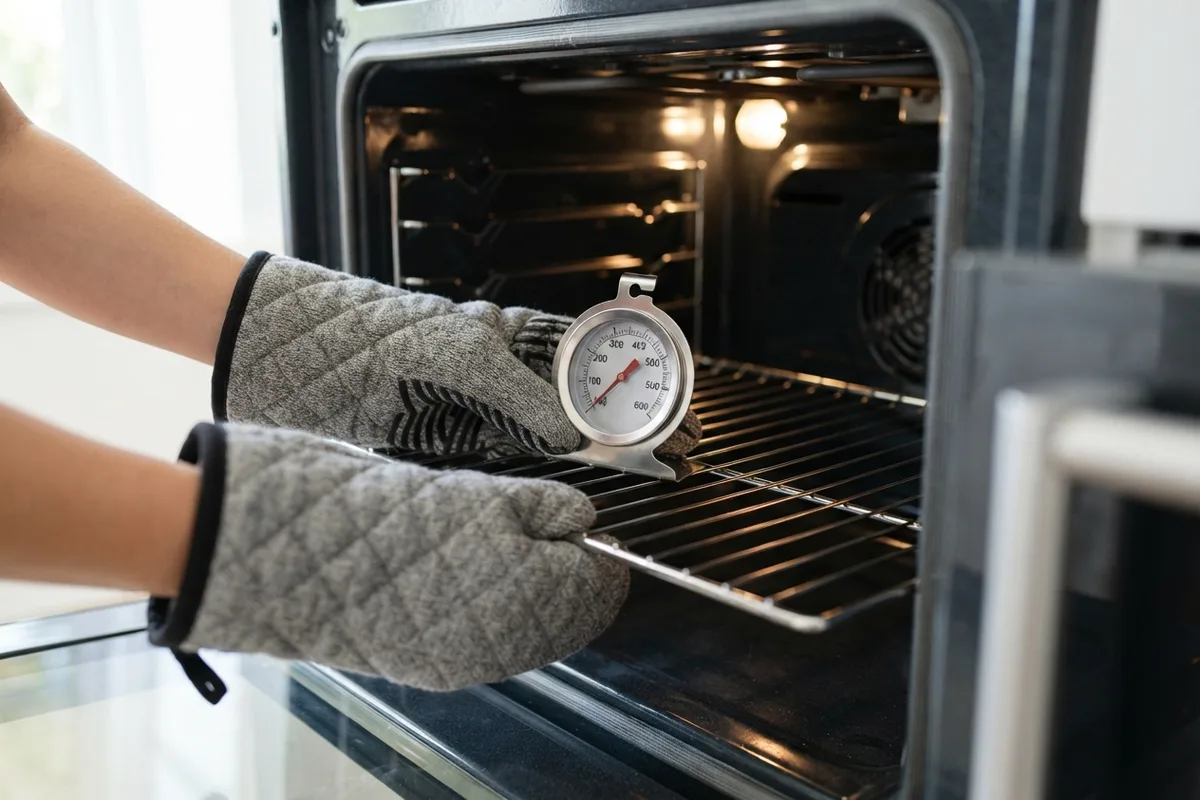
Oven thermostats can drift over time, causing the actual cavity temperature to differ significantly from the digit displayed on the control panel. To test calibration accurately, place an analog oven thermometer in the geometric center of the middle rack. Close the door and set the oven to 350°F.
Allow the oven to preheat fully, then leave it running for an additional 20 minutes so the cavity heat stabilizes. Look through the oven glass window to read the thermometer without opening the door, as opening it lets out heat and skews your reading.
Record the temperature reading, then wait for the heating elements to cycle on and off three times, taking a reading at each cycle peak and valley. Calculate the average of these readings. If the average differs by 15°F to 35°F from your set temperature, you can recalibrate the display yourself:
- Locate the calibration procedure in your owner manual. On most modern electronic range controls, press and hold the Bake button or Options key for 5 seconds until
00orSFappears. - Adjust the offset up or down in 5-degree increments to match your calculated variance.
- Save the setting and re-test with your analog thermometer.
3. Inspect Top and Bottom Heating Elements
For electric ranges, uneven baking frequently occurs when one of the two heating elements fails entirely or breaks partially. Most electric ovens rely on the lower bake element for primary heat and the upper broil element for heat cycling and top browning. Always unplug the oven or turn off the dedicated circuit breaker at your main breaker box before performing hands-on checks.
Visual inspection is your first step. Look at the bake and broil elements for visible cracks, blistering, dark spots, or broken metal coils. Next, restore power temporarily and perform a quick glow test: set the oven to bake at 350°F and look through the window door. Both the lower bake element and upper broil element should glow a uniform bright red along their entire surface. If sections remain dark or show active sparking, turn off power immediately.
A damaged element cannot distribute heat evenly and must be replaced. If your lower element remains completely cold, review our troubleshooting guide on why your oven is not heating up to inspect terminal connections and fuses.
| Cause of Uneven Heat | Primary Symptom | DIY Difficulty | Typical Part Cost Range |
|---|---|---|---|
| Thermostat Drift | Whole batch undercooked or burnt | Easy (No tools) | $0 (Calibration) |
| Damaged Bake Element | Bottom of food remains raw | Moderate | $35 - $90 |
| Faulty Temp Sensor | Wild temperature swings | Moderate | $25 - $60 |
| Clogged Convection Fan | Patchy spots in fan mode | Moderate | $45 - $120 |
| Foil on Racks | Burnt bottoms, uneven top heat | Easy (Removal) | $0 |
4. Test and Clean the Temperature Sensor
The temperature sensor is a thin metal probe protruding from the upper rear corner of the oven cavity. It monitors internal air temperature and signals the control board to cycle the heating elements on or off. Over time, grease buildup, burnt-on food splatters, or physical contact with heavy pots can compromise its accuracy.
Start by safety-proofing your workspace: disconnect main power at the circuit breaker or unplug the appliance. Open the oven door and locate the probe. Wipe away baked-on grease using a damp microfiber cloth soaked in warm water and mild dish soap; avoid abrasive scouring pads that scratch the metallic casing.
Inspect the probe to ensure it is not bent or touching the interior oven wall, which causes false conduction readings. To test the sensor electronically with a digital multimeter:
- Remove the two mounting screws securing the probe to the rear wall.
- Gently pull the wire harness through the hole until the quick-disconnect plug is accessible.
- Unplug the harness and set your multimeter to measure resistance in ohms (Ω).
- Touch the multimeter leads to the two harness terminals. At room temperature (around 70°F), a standard temperature sensor should measure approximately 1,050 to 1,100 ohms.
If your multimeter reads significantly outside this range, or shows zero resistance (shorted circuit) or infinite resistance (open circuit), replace the temperature sensor probe.
5. Clean Convection Fan Vents and Check Airflow
If your range features a convection setting, uneven baking frequently stems from airflow obstructions or fan motor failure. Convection ovens use a rear fan to circulate hot air evenly across all racks. When grease clogs the baffle vents or the fan blade becomes bound with debris, air stagnates, creating intense local hot spots.
Ensure the oven is powered off and completely cold. Unplug the range before cleaning internal components. Open the oven door and inspect the rear fan grille cover. Remove any grease buildup using warm soapy water and a nylon brush.
Shine a flashlight through the grille to verify the fan blades spin freely when nudged gently with a wooden utensil. If the fan squeaks, grinds, or fails to rotate during a convection cycle, the fan motor assembly may need replacement.
Additionally, avoid lining oven racks or the bottom floor pan with aluminum foil. Foil blocks critical airflow channels designed by the manufacturer, reflecting heat back down and causing severe hot spots on lower baking racks.
When to Call a Pro
While basic calibration, rack adjustment, and sensor replacements are manageable DIY projects, certain oven repairs require specialized tools and expert training. If you suspect an issue with gas valve regulation, gas igniters, internal electronic control board relays, or main power supply lines, stop work immediately. Working on live gas lines or high-voltage electric wiring presents serious safety hazards.
If recalibrating and replacing basic sensors does not restore balanced baking performance, True Appliance Repair can match you with a local appliance pro to evaluate internal control circuits or gas pressure regulators. Typical professional repair costs for control board work or gas valve adjustments range from $180 to $350, depending on your region and machine model. Additionally, if your appliance is over a decade old and experiencing multiple heating failures, review the 7 signs your oven is dying to decide if replacement makes better financial sense.
FAQ
Why is my oven burning food on the bottom but undercooking the top?
This problem usually occurs when the upper broil element fails to turn on during its heating cycle, forcing the lower bake element to run continuously to maintain cavity temperature. It can also happen if you place baking sheets on the lowest rack position or use dark non-stick baking pans that absorb radiant heat rapidly. Move racks to the center position and check that the top broil element glows red during preheating.
How often should I calibrate my oven temperature?
It is good practice to test your oven temperature with an analog oven thermometer once a year, or whenever you notice consistent baking problems such as cookies browning too quickly or casseroles taking much longer than recipe guidelines specify. Calibration takes less than 30 minutes and prevents wasted ingredients.
Can using aluminum foil cause uneven baking?
Yes, placing aluminum foil directly on oven racks or lining the bottom floor pan disrupts the airflow designed into your oven. Foil reflects radiant heat upward, creating extreme hot spots on lower racks while starving upper racks of proper convection currents. Always use baking sheets or oven-safe liner mats designed specifically for your model.
How much does it cost to fix an oven that bakes unevenly?
DIY fixes like thermal calibration cost nothing, while replacing a temperature sensor or bake element yourself typically costs between $25 and $90 for parts. If professional service is required for an electronic control board or complex wiring repair, total costs generally range from $150 to $350 depending on part availability and local labor rates.