
Pulling on an oven rack that refuses to budge—especially right before you need to adjust shelves for a big holiday roast or baking batch—is frustrating and can easily scrape your oven walls. Whether your rack is jammed after a high-heat self-cleaning cycle, crusted with burnt-on grease, or caught off-track, forcing it can bend the metal glides or crack the interior porcelain. Use these six safe, step-by-step fixes to free a stuck oven rack and get your kitchen back in working order.
Safety First: Before reaching inside your oven or applying any liquids, turn the oven off completely, unplug the range (or flip the dedicated circuit breaker off), and shut off the gas supply valve if you have a gas model. Always wait until the oven cavity and racks are completely cool to the touch.
1. Release the Safety Stop Lock by Tilting Up
Every modern oven rack has built-in safety stops near the back corners so a heavy casserole dish cannot accidentally slide all the way out onto the floor. If the rack pulls out partway and hits a hard wall, it is usually caught on these stops rather than broken.
- Open the oven door all the way so it rests flat on its hinges.
- Grip both sides of the cool rack firmly using thick work gloves.
- Push the rack inward about half an inch to take tension off the metal stop tabs.
- Lift the front edge of the rack upward at a 15- to 20-degree angle so the rear stop tabs clear the rail notches.
- Pull the rack straight out toward you while holding that slight upward tilt.
If you are troubleshooting other stiff controls on your range at the same time, check out our guide on why your stove knob is stuck for quick cleaning tips.
2. Lubricate Dry Post-Self-Clean Rails with Cooking Oil
Running a self-cleaning cycle heats the oven cavity to extreme temperatures that burn away food soil—along with every trace of factory lubrication on the rack glides. Worse, leaving the racks inside during a self-clean cycle causes the metal to expand and bind tightly against the porcelain walls.
- Pour a teaspoon of high-smoke-point vegetable, canola, or mineral oil into a small bowl.
- Dip a folded paper towel or cotton swab into the oil so it is damp, not dripping.
- Rub the oiled towel along the top and bottom edges of the side rails where the rack touches the oven walls.
- Wait five minutes for the oil to seep into the tight contact points.
- Gently wiggle the rack left and right while pulling forward to work the oil across the dry metal.
Once the rack is free, wipe away excess oil so it does not smoke during your next bake. If residual grease on the stove is also giving you trouble, read our walkthrough on why your stove burner is smoking.
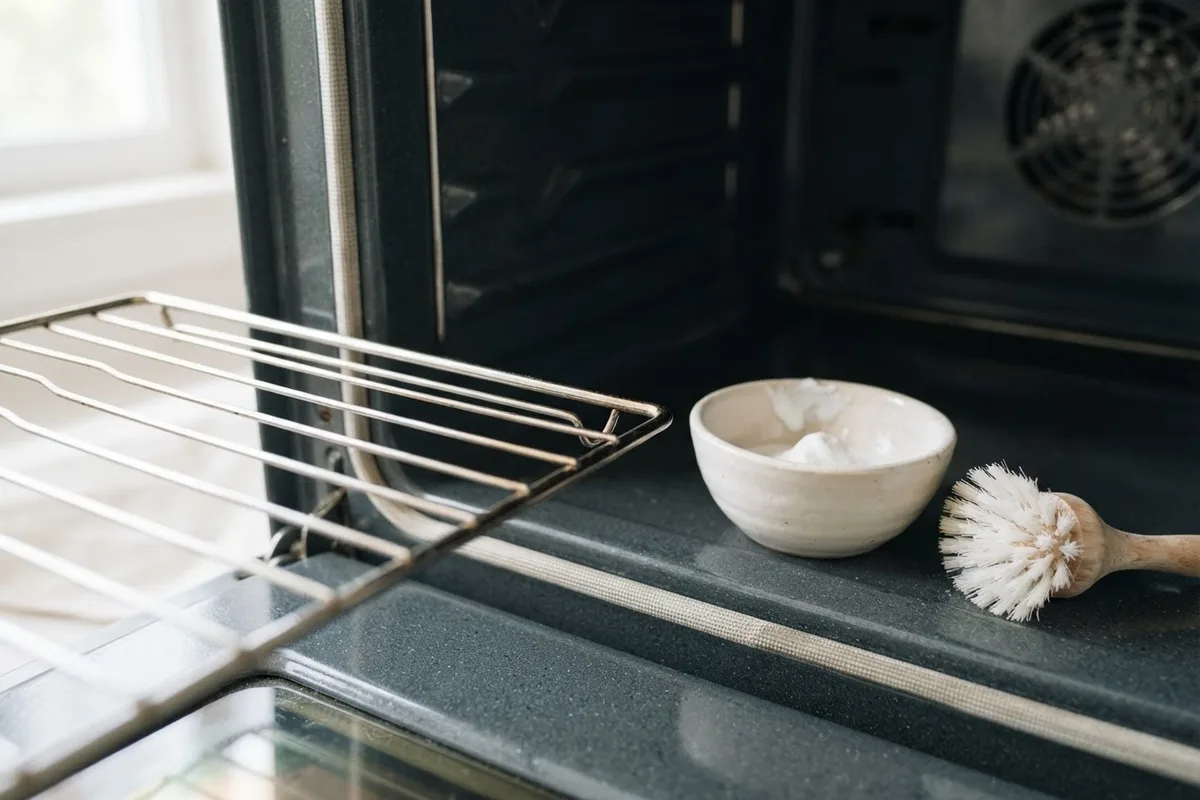
3. Dissolve Burnt-On Grease with Baking Soda Paste
Over months of roasting and baking, splatters of grease and sugary marinades polymerize into a hard, glue-like resin right where the rack rests on the oven rails. Pulling harder will only chip the porcelain enamel.
- Mix three parts baking soda with one part warm water in a bowl until it forms a spreadable paste.
- Pack the paste generously onto the jammed contact points along both left and right rails.
- Fill a spray bottle with plain white vinegar and lightly mist the paste until it foams.
- Let the mixture sit for 30 to 45 minutes so it can soften the carbonized grease.
- Scrub the joints with a non-scratch nylon brush or damp microfiber cloth.
- Rock the rack gently up and down until the softened bond breaks and the rack slides out.
4. Level a Crooked Rack Wedged in Uneven Tracks
If someone pushed a pan into the oven crookedly or tried to yank the rack out by one corner, the rack can end up wedged diagonally with one side on the upper track and the other caught on the lower track.
- Shine a flashlight into the oven and compare the left side rail to the right side rail to see which side is higher or further forward.
- Do not pull forward; pulling increases the diagonal wedge effect.
- Tap the side that is further forward gently backward with the palm of your gloved hand until both sides are even depth-wise.
- Press down or lift up on the misaligned side while applying slight inward pressure so it pops out of the wrong groove.
- Once both sides sit flat on the same track level, tilt the front up slightly and slide the rack out.
5. Free Jammed Telescoping Ball-Bearing Glides
Many mid-range and high-end ovens use heavy-duty gliding or telescoping racks that roll on internal stainless steel ball bearings. When fine ash from a self-clean cycle or spilled pie filling gets inside the telescoping channel, the bearings lock up.
- Locate the small release levers or locking clips underneath the front left and right corners of the gliding rack frame.
- Squeeze both release clips inward while lifting the front of the rack frame off the side wall mounts.
- If the extendable slides themselves are frozen shut, place a warm, wet dishcloth over both side tracks for 20 minutes to steam-loosen dried sugars.
- Gently tap the side of the metal glide housing with a rubber mallet to free stuck bearings.
- Once removed, rinse the glides with warm soapy water, dry thoroughly, and apply a tiny dab of food-grade high-temperature graphite or vegetable oil to the ball-bearing raceways. Never submerge telescoping glides in water or put them in the dishwasher.
6. Loosen Heat-Warped Racks with Warm Steam Towels
When heavy cast-iron Dutch ovens or baking stones sit on a single rack at high heat for hours, the steel rods can slightly bow or warp outward, creating intense friction against the side walls.
- Verify the oven is completely off and disconnected from power.
- Soak two thick bath towels in hot tap water and wring them out so they are steaming damp.
- Drape one hot towel along the left rack rail and the second along the right rail.
- Close the oven door for 15 minutes to let the trapped moisture and gentle warmth relax the gunk and slicken the porcelain.
- Remove the towels, put on leather work gloves, and pull both sides of the rack evenly at the exact same speed.
- Once removed, lay the rack on a flat kitchen counter to check if it rocks. If the rack is severely bent, replacing it is safer than risking a tipped roasting pan.
Quick Reference: Stuck Oven Rack Troubleshooting
| Symptom | Most Likely Cause | Best DIY Solution | Typical Part Cost (If Needed) |
|---|---|---|---|
| Rack stops hard halfway out | Rear safety stop tabs catching | Tilt front of rack upward 15 degrees | $0 (No parts needed) |
| Loud screeching after self-clean | Heat stripped lubrication & expanded metal | Rub cooking oil along rail contact points | $0 (Household oil) |
| Sticky, dark buildup on corners | Baked-on grease and sugar resin | 30-minute baking soda and vinegar soak | $5 (Cleaning supplies) |
| Rack sits at a diagonal slant | Wedged between two different rail levels | Push inward first to square up, then lift | $0 (Manual realignment) |
| Gliding rack won't roll smoothly | Fouled ball bearings in telescoping track | Warm damp towel steam + release clips | $80–$180 per gliding rack* |
| Rack scrapes walls tightly | Heat-warped steel frame | Steam towels + replace if bowed | $35–$90 per standard rack* |
Note: Replacement rack prices are broad US ranges and vary by oven brand, width, and model.
When to Call a Pro
Most stuck oven racks come loose with patience, a little vegetable oil, and the right lifting angle. However, you should stop pulling and call a technician if the metal rack is wedged into a damaged heating element, if the porcelain side wall has cracked and exposed raw metal or insulation, or if the oven door latch is also jammed shut after a self-cleaning cycle.
Forcing a rack that is caught near the bake or broil element can snap the element brackets or damage wiring behind the cavity wall. If you need help freeing a jammed rack assembly, replacing damaged interior supports, or addressing heating issues before the holidays, True Appliance Repair can connect you with an experienced local technician for professional oven and stove repair.
FAQ
Why did my oven racks get stuck after the self-cleaning cycle?
Self-cleaning cycles reach temperatures around 800°F to 900°F, which causes the metal oven racks to expand and burns off the thin layer of lubricant on the porcelain glides. Always remove standard chrome racks and telescoping ball-bearing racks before starting a self-clean cycle unless your owner's manual specifically states they are porcelain-coated, stay-in racks.
Can I use WD-40 to unstick an oven rack?
No, never spray WD-40 or standard hardware lubricants inside an oven. Petroleum-based sprays leave behind flammable chemical residues and toxic fumes that will bake into your food the next time you preheat the oven. Stick strictly to vegetable oil, canola oil, or food-grade high-temperature lubricant.
How do I keep my oven racks sliding smoothly in the future?
Every few months—and after every deep cleaning—dip the corner of a paper towel in a few drops of vegetable or canola oil and wipe a paper-thin layer along the side edges of each rack. This takes less than a minute and keeps metal-on-porcelain friction to a minimum.
What does it cost to replace a warped or rusted oven rack?
A standard wire replacement oven rack typically costs between $35 and $90 depending on your oven brand and width, while a heavy-duty telescoping ball-bearing glide rack usually runs between $80 and $180 (prices vary by model and region). Always match your oven's exact model number, which is usually printed on a sticker along the door frame, before ordering a new rack.