
Noticing water droplets pooling on the shelves or dripping down the interior walls of your fridge is frustrating and concerning. Excess moisture not only ruins fresh produce faster, but it can also lead to mold growth and higher energy bills. Fortunately, interior condensation is usually caused by simple airflow or sealing issues that you can resolve yourself in an afternoon.
Before undertaking any hands-on inspection or maintenance, safety always comes first. Always unplug your refrigerator from the wall outlet and turn off the water supply line if you are working near electrical components or ice maker connections. Never attempt to service the sealed refrigerant system, gas connections, or main electrical panels yourself; stop and contact a qualified technician for those complex jobs.
Here are 5 straightforward DIY fixes to stop your refrigerator from sweating inside and keep your kitchen running efficiently.
Inspect and Clean the Door Gasket Seal
A worn, dirty, or torn door gasket is the single most common cause of interior refrigerator condensation. When warm, humid kitchen air leaks past a damaged rubber seal, it hits the cold interior air, immediately turning into moisture droplets along the ceiling and walls. Over time, this constant air exchange forces the compressor to work twice as hard, leading to premature wear and higher electric bills.
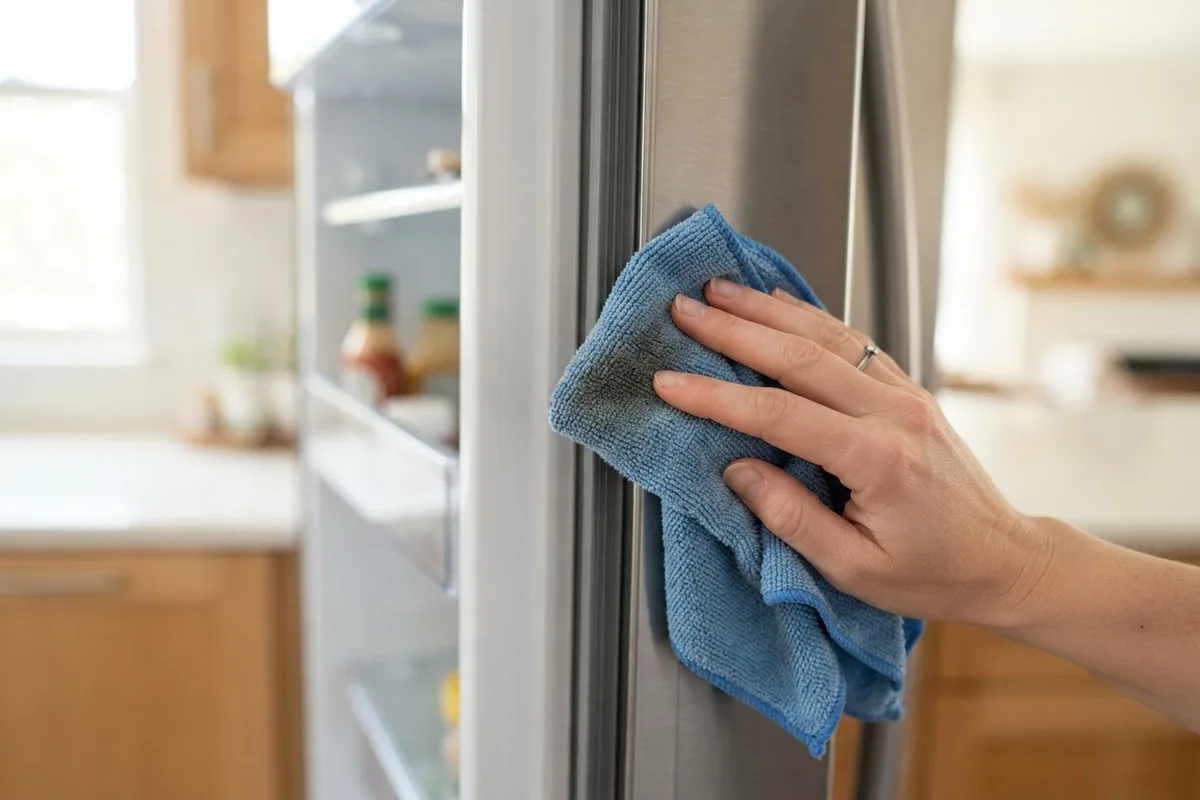
Start by inspecting the rubber gasket along the entire perimeter of both the refrigerator and freezer doors. Look for visible cracks, tears, flattened sections, or sticky food residue. Clean the gasket thoroughly using a soft sponge, warm water, and mild dish soap. Avoid harsh chemical cleaners or bleach, which can dry out and ruin the flexible vinyl.
To test the seal tightness, perform the dollar bill test:
- Open the refrigerator door and place a crisp dollar bill across the rubber gasket.
- Close the door firmly on the bill.
- Tug gently on the bill. If it slides out easily without resistance, your gasket is not sealing properly.
- Repeat this test every six inches along the top, sides, and bottom of the door.
If the gasket is dirty or coated in residue, a good cleaning often restores the seal. However, if the seal is cracked, warped, or permanently hardened, you will need to replace the gasket. If you suspect the door itself is misaligned, reviewing why your refrigerator door is not closing can help you adjust the hinges before buying new parts.
Clear the Clogged Drain Hole and Defrost Tube
During normal operation, frost melts off the evaporator coils during auto-defrost cycles and flows down a small drain hole into a pan beneath the refrigerator. If food crumbs, ice buildup, or algae plug this drain hole, meltwater has nowhere to go. It backs up inside the compartment, pooling under crisper drawers and dripping down internal walls.
To safely clear a clogged defrost drain:
- Unplug the refrigerator to ensure complete electrical safety.
- Locate the drain hole along the lower back wall of the fresh food compartment or freezer section, depending on your model.
- Remove any visible ice or food debris using a plastic scraper or warm cloth.
- Flush the drain tube using a turkey baster filled with warm water mixed with a tablespoon of baking soda. Repeat until you hear water freely draining into the pan below.
- If a stubborn ice plug remains inside the tube, use a hair dryer on low heat to gently thaw it, taking care not to melt internal plastic liners.
Keeping your drain line clear is a vital maintenance step that prevents water damage. Check out our guide on 7 forgotten appliance maintenance tasks to prevent repairs to keep all your kitchen appliances in peak condition.
Adjust Interior Temperature and Humidity Settings
Setting your refrigerator temperature too low can actually create excess condensation rather than preventing it. When the internal cabinet becomes excessively cold, air cannot hold moisture as effectively, causing rapid condensation whenever the door opens and warm room air enters.
Ideal temperature targets for optimal food preservation and moisture control are:
- Fresh food compartment: 37°F to 40°F (3°C to 4°C)
- Freezer compartment: 0°F (-18°C)
- Crisper drawer humidity sliders: High humidity for leafy greens; low humidity for fruits that rot easily.
Use an inexpensive appliance thermometer placed in a glass of water on the middle shelf to verify actual temperatures, as built-in digital dials can drift over time. Additionally, check your refrigerator's moisture control switch or "energy saver" switch if equipped. In humid summer months, turning OFF the energy saver feature activates small internal door heaters designed specifically to prevent exterior sweat and frame condensation.
Check and Level the Refrigerator Cabinet
If your refrigerator is not sitting level on the floor, the doors may not swing fully shut under their own weight. Even an invisible, millimeter-wide gap allows humid ambient air to trickle inside constantly, producing continuous sweating on shelves and walls.
Refrigerators are designed to tilt slightly backward—about 1/4 inch from front to back—so gravity helps push the doors tightly closed against the cabinet frame.
How to check and level your fridge:
- Place a bubble level flat against the top front edge of the refrigerator cabinet.
- Remove the plastic toe grille or kick plate at the base of the appliance.
- Use an adjustable wrench or screwdriver to lower or raise the front leveling legs or roller screws.
- Adjust the legs until the cabinet sits perfectly level from side to side, and leans slightly back from front to back.
- Test the door by opening it 45 degrees; it should smoothly self-close without stopping halfway.
Avoid Overcrowding and Storing Warm Foods
How you store food inside your refrigerator directly impacts interior humidity. Storing uncovered liquids, hot leftovers, or damp produce introduces pints of moisture directly into the sealed cabinet air.
Follow these food storage rules to stop condensation:
- Cool cooked meals to room temperature before placing them in the fridge; putting steaming dishes inside causes instant heavy sweating across upper shelves.
- Cover all liquids, soups, cut fruits, and leftovers with airtight lids or tight plastic wrap.
- Avoid blocking internal air vents along the back wall; cold air must circulate freely between shelves to keep humidity balanced.
- Wipe down damp grocery packaging or freshly washed produce before storing.
Quick Condensation Troubleshooting Reference
Use this quick-reference guide to identify the root cause of moisture issues based on where sweat appears in your appliance:
| Location of Moisture | Primary Cause | Recommended Action |
|---|---|---|
| Droplets along door frame & gasket | Leaky or dirty door seal | Clean gasket with warm soapy water; replace if cracked |
| Water pooling under crisper drawers | Clogged defrost drain tube | Flush drain hole with warm water and baking soda |
| Sweating on upper shelves & ceiling | Hot food added / open door | Cover all foods; limit door opening time |
| Heavy frost mixed with water drops | Faulty door hinges / level | Level appliance so door self-closes completely |
| Beads of moisture on food containers | Internal temp set too low | Adjust thermostat to 37°F–40°F range |
When to Call a Pro
While most refrigerator sweating issues stem from simple door seals or clogged drains, persistent condensation paired with warm internal temperatures can point to severe component failures. Defrost timer failures, faulty evaporator fan motors, or malfunctioning damper controls disrupt proper airflow and temperature regulation.
If you have cleaned your gaskets, cleared the drain line, set the correct temperature, and leveled the unit, but moisture still accumulates continuously, professional diagnosis is recommended. Never attempt to open sealed refrigerant lines or work on complex internal electrical boards, as these repairs carry electrical hazards and safety risks.
Typical professional repair costs for moisture and defrost system repairs generally range between $150 and $400, depending on parts and local labor rates. When you need expert help, True Appliance Repair can match you with a local appliance pro to diagnose and resolve your refrigerator troubles quickly.
FAQ
Why is my refrigerator sweating on the outside frame?
Exterior sweating usually happens when humid room air meets a cold spot on the cabinet frame. This often occurs in hot summer months if the door gasket is leaking cold air outward or if the internal energy-saver switch is turned on, disabling the built-in cabinet frame heaters.
Is condensation inside the fridge normal?
Minor moisture droplets immediately after stocking a large batch of room-temperature groceries can happen, but persistent dripping, puddles under drawers, or wet walls are not normal. Continuous condensation indicates warm air infiltration or a blocked defrost drain.
How do I know if my defrost drain is frozen?
If your defrost drain is frozen solid, you will typically find standing water under the bottom vegetable drawers or a thick sheet of ice covering the freezer floor. You may also hear water dripping onto internal heater coils during the auto-defrost cycle.
Can high room humidity make my fridge sweat inside?
Yes. Opening the refrigerator door frequently during warm, humid weather introduces moisture-laden air into the cabinet. The internal cooling coils condense this humidity rapidly, creating visible water droplets on internal plastic surfaces.