
Pouring a cold glass of water from your fridge door only to get a mouthful of plastic, chlorine, or stale odor is an unpleasant surprise. Fortunately, a foul-tasting dispenser rarely means a major breakdown. In most cases, you can get crisp, clean drinking water flowing again in under an hour by tackling six simple maintenance points inside and behind your refrigerator.
Safety First: Before inspecting rear water lines or removing any access panels, always unplug your refrigerator from the wall outlet and turn off the dedicated shutoff valve for the water supply line.
1. Replace an Overdue Water Filter
An exhausted carbon filter is the number one reason for refrigerator water tasting bad. Carbon cartridges trap chlorine, sediment, and lead, but once the charcoal becomes saturated—typically every six months or 200 gallons—contaminants and trapped bacteria start leaching back into your glass. Even if the filter indicator light on your control panel has not turned red, mineral-heavy tap water can clog the media early.
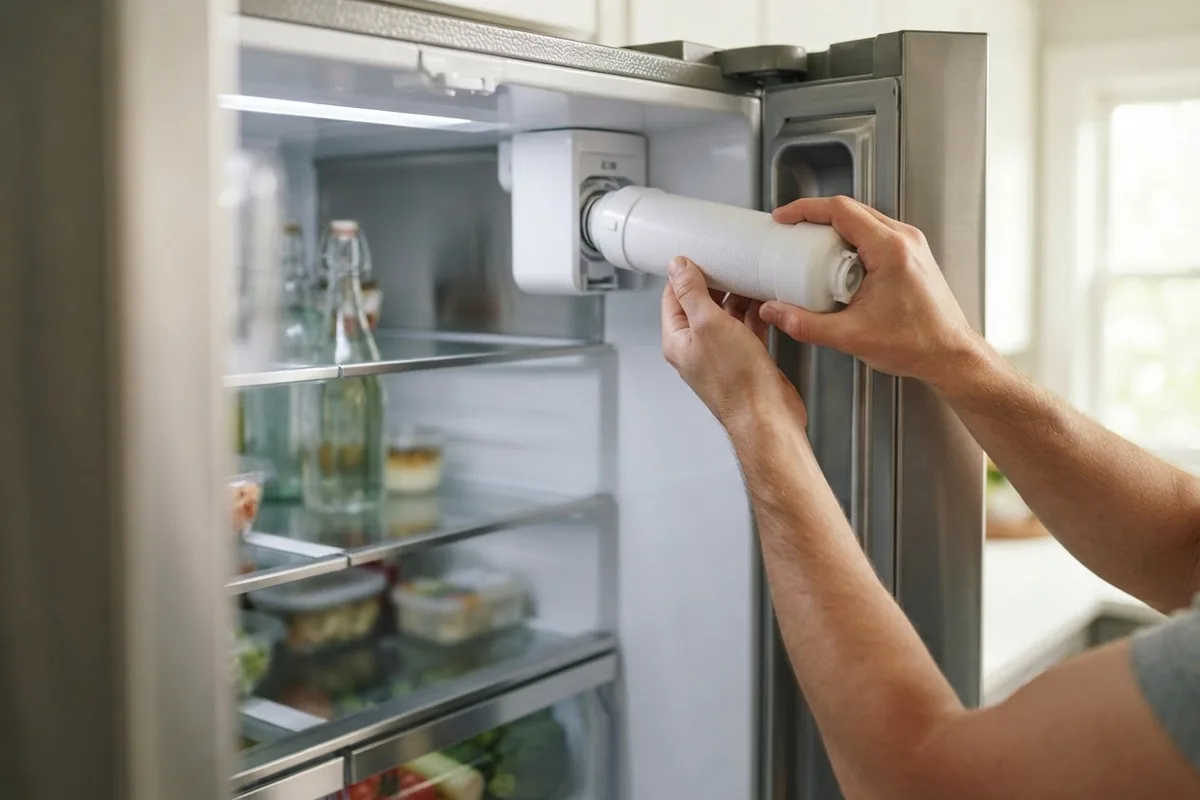
- Locate your filter housing, usually in the upper-right corner of the fresh food compartment or in the bottom base grille.
- Place a hand towel underneath to catch drips.
- Twist the old cartridge a quarter-turn counterclockwise (or push the release button on push-to-unlock models) and pull it straight out.
- Remove the protective cap from the new OEM filter, align the locking tabs, and push or twist it firmly into place.
- Dispense two to three gallons of water through the door to purge trapped air and loose carbon dust before drinking.
2. Flush a Stagnant Water Tank
Behind your crisper drawers sits a coiled plastic tubing reservoir or small tank that chills water before it reaches your glass. If you rarely use the dispenser or recently returned from vacation, water sits in this reservoir and absorbs odors from the plastic lining and surrounding air. Flushing the entire system clears out stale water.
- Grab a large pitcher and press it against the dispenser paddle for 60 seconds at a time.
- Pause for 30 seconds between pitchers so the dispenser solenoid valve does not overheat.
- Run at least two to three full gallons through the line until the water runs noticeably colder and smells completely neutral.
- If your ice cubes also carry an off flavor, dump the entire ice bin and wash the plastic bucket with warm water and mild dish soap, then let it air-dry before reinstalling.
3. Clean the Dispenser Nozzle and Tray
Airborne kitchen grease, coffee splashes, and hard water minerals build up right on the tip of the water dispenser spout. Every time water shoots out of the nozzle, it washes over that hidden biofilm and carries a musty or sour taste straight into your cup. Sanitizing the spigot takes five minutes and makes an immediate difference.
- Mix equal parts white distilled vinegar and warm water in a small cup.
- Dip a clean cotton swab or a narrow straw-cleaning brush into the vinegar solution.
- Scrub the inside rim and exterior tip of the small dispenser tube thoroughly.
- Hold the cup of vinegar solution up so the nozzle is submerged, then press the dispenser paddle for two seconds to release any loosened debris into the cup.
- Wipe the recessed dispenser cavity and removable drip tray with warm, soapy water, then dispense two cups of fresh water to rinse away the vinegar.
4. Upgrade a Plastic Supply Line to Copper or Braided Steel
If your refrigerator water tastes distinctly like a garden hose or cheap plastic, check the supply line behind the unit. Many installers use inexpensive translucent polyethylene tubing to connect the household plumbing to the fridge. Over time, plastic tubing degrades and imparts a strong chemical flavor into the standing water inside the pipe.
- Pull the refrigerator straight out from the wall carefully to avoid scratching your flooring.
- Unplug the power cord and turn the saddle valve or wall shutoff valve clockwise until it stops.
- Place a shallow pan under the connection at the back of the fridge and use an adjustable wrench to unthread the compression nut.
- Replace the plastic line with a food-grade braided stainless steel supply line or flexible copper tubing.
- Hand-tighten the new compression fittings, then give them a quarter-turn with a wrench. Turn the water back on, check closely for drips, and plug the fridge back in.
Notice water pooling underneath the unit when you pull it out? Check out our guide on why your bottom freezer is leaking water before pushing the fridge back into place.
5. Eliminate Odors Inside the Fridge Compartment
Your refrigerator and freezer share airflow through internal dampers, and odors from uncovered food or spoiled produce can permeate plastic water lines and ice bins. If your kitchen cooling unit struggles to keep temperatures steady in unconditioned spaces, our guide on why your garage refrigerator is not cooling explains how airflow and ambient heat affect internal components.
- Remove all shelves, crisper drawers, and spoiled or expired food items.
- Dissolve two tablespoons of baking soda in one quart of warm water.
- Wipe down the interior walls, door gaskets, and shelf tracks with a microfiber cloth dipped in the baking soda solution.
- Wash removable drawers in the sink with mild dish soap and warm water—never put cold glass shelves under hot water, or they may shatter.
- Place a fresh, open box of baking soda or an activated charcoal deodorizer packet on the middle shelf to absorb lingering smells.
6. Check Your Household Tap Water Quality
Sometimes the appliance is not to blame at all. Seasonal algae blooms in municipal reservoirs, water main flushing by your city utility, or a failing home water softener can suddenly change how your tap water tastes. Standard refrigerator carbon filters improve taste and chlorine odor, but they cannot strip out high concentrations of iron, sulfur, or dissolved salts.
- Pour a glass of cold water from your kitchen sink faucet and compare it side-by-side with a glass from the refrigerator dispenser.
- If both glasses taste metallic, earthy, or rotten, the issue originates in your home plumbing or local water supply.
- Unscrew and clean the aerator screen on your kitchen faucet to see if rust or sediment flakes are collecting in the pipes.
- Check your whole-house filtration system or water softener salt levels if your home uses well water.
Quick Reference: Taste Symptoms and Causes
| Water Taste or Odor | Most Likely Culprit | Recommended DIY Fix | Typical DIY Cost (US) |
|---|---|---|---|
| Chlorine or chemical | Saturated carbon water filter | Replace filter and flush 3 gallons | $25 – $60 (varies by model) |
| Plastic or rubbery | Polyethylene rear supply tubing | Swap for braided stainless steel line | $15 – $30 |
| Musty, earthy, or sour | Moldy dispenser nozzle or stagnant tank | Scrub spout with vinegar; flush tank | Under $5 |
| Stale or garlicky | Food odors permeating the ice bin | Deep clean interior and dump old ice | Under $5 |
| Metallic or salty | Municipal supply shift or worn anode/softener | Test kitchen tap; check home filtration | $0 – $40 for test kit |
When to Call a Pro
If you have replaced the filter, swapped out the rear supply tubing, and flushed several gallons of water through the system, yet the foul taste or low pressure persists, an internal component may be deteriorating. A corroding water inlet valve, a cracked internal reservoir tank, or a stuck filter bypass plug inside the filter head can all contaminate water or restrict flow. Replacing internal water tanks and multi-solenoid valves typically costs between $150 and $350 across the US, though pricing varies by area and refrigerator model.
Because disassembling internal dispenser housings and electrical valve harnesses risks water damage or shock, stop DIY work if the issue goes beyond basic tubing and filters. True Appliance Repair can connect you with a local refrigerator repair pro who can inspect the internal water system and replace faulty valves safely. For help with other kitchen or laundry equipment, you can also explore our general appliance repair referral page.
FAQ
Why does my refrigerator water still taste bad after changing the filter?
New carbon filters contain loose charcoal dust and trapped air that give the first several glasses a bitter, metallic, or gray appearance. You need to flush at least two to three gallons of water through the dispenser immediately after installation to activate the carbon bed and clear the internal reservoir. Also verify that you purchased a genuine manufacturer filter rather than a counterfeit knockoff that lacks proper filtration media.
Can mold grow inside a refrigerator water dispenser line?
While the cold water tank inside the fridge stays chilly enough to slow microbial growth, the final few inches of tubing and the dispenser spout sit near room temperature. Moisture lingering at the tip of the nozzle mixes with airborne dust and yeast to form slimy biofilm. Cleaning the spout monthly with a vinegar-dipped swab keeps mold and mildew from tainting your drinking water.
How often should I flush my refrigerator water line?
If you use your water dispenser daily, you only need to flush the line every six months when you install a new filter. However, if the dispenser goes unused for more than a week—such as during a family vacation—you should run one to two gallons of water through the spout and discard the first batch of ice cubes to clear out stagnant water.
Why does my fridge water taste like onions or garlic?
Odors from pungent foods stored in loose wrappers travel through the shared air vents between the refrigerator and freezer compartments. While the sealed water reservoir is mostly protected, the open ice bin absorbs these smells quickly, and melting ice or residue near the chute transfers that flavor into your glass. Keep pungent foods in airtight glass containers and place fresh baking soda on your fridge shelves.