
Discovering a rip or gap in your rubber fridge seal means cold air is constantly escaping into your kitchen. That hidden air leak forces the compressor to work overtime, creating frost buildup, moisture puddles, and spoiled groceries. Below, you will learn how to test your seal, patch minor tears with household supplies, reshape warped rubber, and install a brand-new gasket yourself.
1. Run the Dollar Bill Test to Spot Hidden Gaps
Before ordering parts or grabbing adhesive, inspect the entire perimeter of the door to see whether the tear goes all the way through the air pocket or if the magnetic strip has simply lost its grip. Sometimes a dirty or sticky seal pulls on the rubber every time you open the door, causing the tear to worsen.
- Open the refrigerator door and wipe the entire rubber gasket and the metal door frame with warm, soapy water to remove sticky food residue.
- Dry the gasket completely with a microfiber cloth.
- Place a crisp dollar bill against the doorframe and close the door on it.
- Pull the bill straight out. If it slides out with zero resistance, the magnetic seal is failing in that spot.
- Repeat this test every six inches around all four sides of both the fridge and freezer doors to map out every weak or torn section.
2. Patch Small Surface Tears with Food-Safe Silicone
If the rubber gasket has a small split or corner tear under two inches long—and the internal magnet is still intact—you do not need to buy a whole new gasket right away. You can seal the air channel using flexible, food-safe silicone caulk or specialized RTV (room temperature vulcanizing) silicone adhesive.
- Unplug the refrigerator so the door can remain open without running the compressor or overheating the interior bulb. (If your bulb stays dark even with the power on, see our guide on why your refrigerator light is not working.)
- Clean the torn area with rubbing alcohol on a cotton swab to strip away grease and oils, then let it dry for five minutes.
- Squeeze a thin bead of 100% food-grade silicone adhesive inside the lip of the tear.
- Press the torn edges firmly together for 60 seconds and wipe away any excess squeeze-out with a damp paper towel.
- Place a piece of painter's tape across the seam to hold it closed while the silicone cures for at least two hours before closing the door.
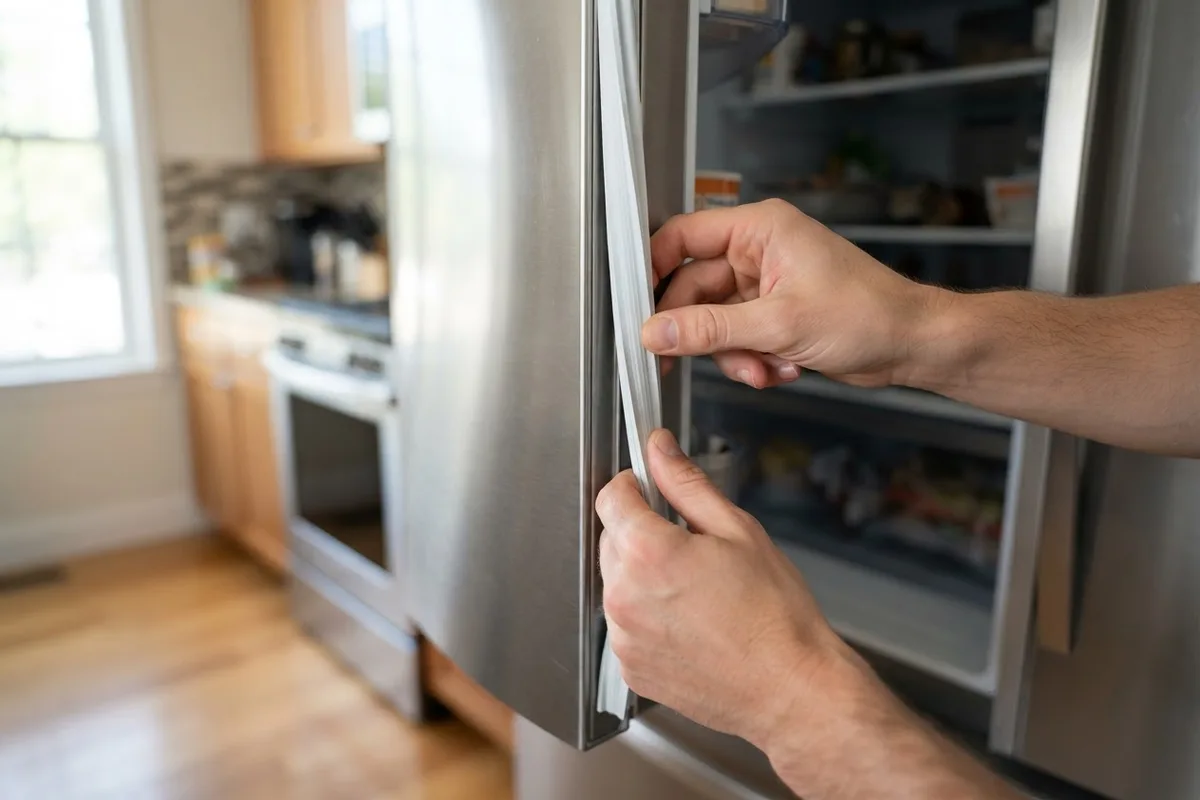
3. Reshape a Warped orSagging Gasket with a Hair Dryer
Often a gasket looks torn or pulled away from the frame simply because the vinyl has hardened and curled out of shape, especially during dry autumn and winter months. Applying gentle heat softens the vinyl so it can mold back against the cabinet.
- Keep the refrigerator plugged in and close the door so you can see exactly where the gasket bows outward.
- Set a standard household hair dryer to its low or medium heat setting—never use a commercial heat gun, which will melt the vinyl.
- Hold the nozzle four to six inches away from the warped section and sweep it back and forth continuously for 30 to 45 seconds.
- Once the rubber feels warm and pliable to the touch, press the gasket flat against the metal cabinet with your fingers.
- If the inner channel has popped out of the door groove, firmly press the barbed backing straight back into the retainer track until it clicks.
- Hold the door shut for two minutes while the rubber cools and locks into its new shape.
4. Coat the Seal with Petroleum Jelly to Stop Sticking
Most refrigerator door gasket tears happen at the bottom corner or along the hinge side because sticky spills glue the rubber to the frame, or friction causes the dry rubber to fold over itself when closing. Conditioning the gasket prevents small cracks from ripping further. Adding this quick step to your annual appliance maintenance routine can add years to the life of your fridge seal.
- Wipe down the outer face of the gasket and the clean metal contact surface on the fridge body with a damp cloth.
- Dip a soft cloth or your fingertip into a jar of plain petroleum jelly (or food-grade mineral oil).
- Rub a paper-thin layer along the hinge-side edge of the gasket and over any patched areas.
- Open and close the door three times to make sure the rubber glides smoothly into place without catching, folding, or squeaking.
- Wipe off any visible globs so dust and pet hair do not collect on the seal.
5. Replace a Badly Torn Refrigerator Gasket Yourself
When a gasket has a tear longer than two inches, missing chunks of rubber, black mold eating into the vinyl, or an exposed magnetic strip, adhesives will not hold. Replacing the entire gasket takes about 30 minutes and requires minimal tools.
- Locate your refrigerator's model number sticker inside the fresh food compartment and order an exact OEM replacement gasket.
- Soak the new gasket in a bathtub filled with warm water for 15 minutes before installation to relax the shipping folds.
- Unplug the refrigerator to save energy while the door stands open.
- Starting at the top corner, pull the old gasket lip back. If it is a push-in style, firmly tug the barbed ridge out of the door channel. If you see hex screws under the lip, loosen them slightly with a nut driver (do not remove them completely) until the old gasket slides out.
- Dry the new gasket thoroughly and press its four corners into the door channel first.
- Work from the corners toward the center on all four sides, pressing the barbed edge into the groove or sliding it behind the metal retainer strip.
- Tighten any hex screws evenly, plug the fridge back in, and leave the door closed for several hours so the magnet seats against the cabinet.
Repair vs. Replace: Fridge Gasket Quick Guide
Use this table to decide whether a quick patch will hold or if it is time to order a replacement part. Typical US part costs vary by area and refrigerator model.
| Gasket Condition | Best DIY Action | Typical DIY Cost | Time Needed |
|---|---|---|---|
| Sticky seal failing the dollar bill test | Clean with warm soapy water and condition | $0 – $5 | 10 minutes |
| Curled or bowed gap with no rips | Soften and reshape with a hair dryer | $0 | 15 minutes |
| Clean tear or split under 2 inches | Seal with food-safe RTV silicone adhesive | $8 – $15 | 15 mins + 2 hr cure |
| Tear over 2 inches or magnet exposed | Replace the entire door gasket | $60 – $180 (part only) | 30 – 45 minutes |
| Bent door hinge causing gasket tearing | Adjust hinge shims or call a pro | $120 – $250 (pro service) | 1 hour |
When to Call a Pro
Replacing a push-in or screw-in gasket is a beginner-friendly project, but sometimes a torn gasket is a symptom of a deeper mechanical issue. If your refrigerator door is sagging on its hinges, the bottom of the door will drag and rip a brand-new gasket within weeks. Likewise, on certain built-in or French door models, the gasket is foamed directly into the door liner at the factory, requiring the entire door assembly or mullion flap to be replaced.
If you install a new seal and still notice heavy condensation, warm temperatures, or a compressor that never shuts off, stop and have a technician inspect the door alignment and cooling system. True Appliance Repair can match you with a local pro for fast, dependable refrigerator repair so you do not lose a fridge full of groceries.
FAQ
Can I use super glue or duct tape on a torn refrigerator gasket?
Avoid using standard cyanoacrylate super glue, as it dries rock-hard and brittle, causing the flexible rubber around it to crack and tear further when the door slams shut. Duct tape is too thick and prevents the magnetic strip from making flat contact with the cabinet. Always use flexible 100% silicone adhesive for temporary repairs.
How much does a replacement refrigerator gasket cost?
A replacement gasket typically costs between $60 and $180 for the part alone, depending on your refrigerator brand and whether it is a standard top-freezer or a large French door model. If you hire an appliance technician to supply and install the gasket, total costs generally range from $150 to $300, though prices vary by area and model.
Why does my new refrigerator gasket not seal tightly right away?
New gaskets sit folded in a box for months and often feel stiff when first installed. Soften the installed gasket gently with a hair dryer on low heat, rub a tiny amount of petroleum jelly along the hinge side, and give the internal magnet 24 to 48 hours to pull itself flat against the metal cabinet.
How long do refrigerator door gaskets usually last?
With regular cleaning every few months, a refrigerator door gasket usually lasts 8 to 12 years. Grabbing the door by the rubber seal instead of the handle or letting sticky beverage spills build up along the bottom edge can cut that lifespan in half.