
Major household appliances handle demanding workloads every single day, but invisible lint accumulation, mineral scaling, and loose leveling legs quietly degrade performance over time. Dedicating one afternoon each year to a systematic tune-up eliminates hidden wear and prevents disruptive, expensive breakdowns. Follow this seven-step annual appliance maintenance checklist to keep your kitchen and laundry machines operating safely, efficiently, and quietly all year long.
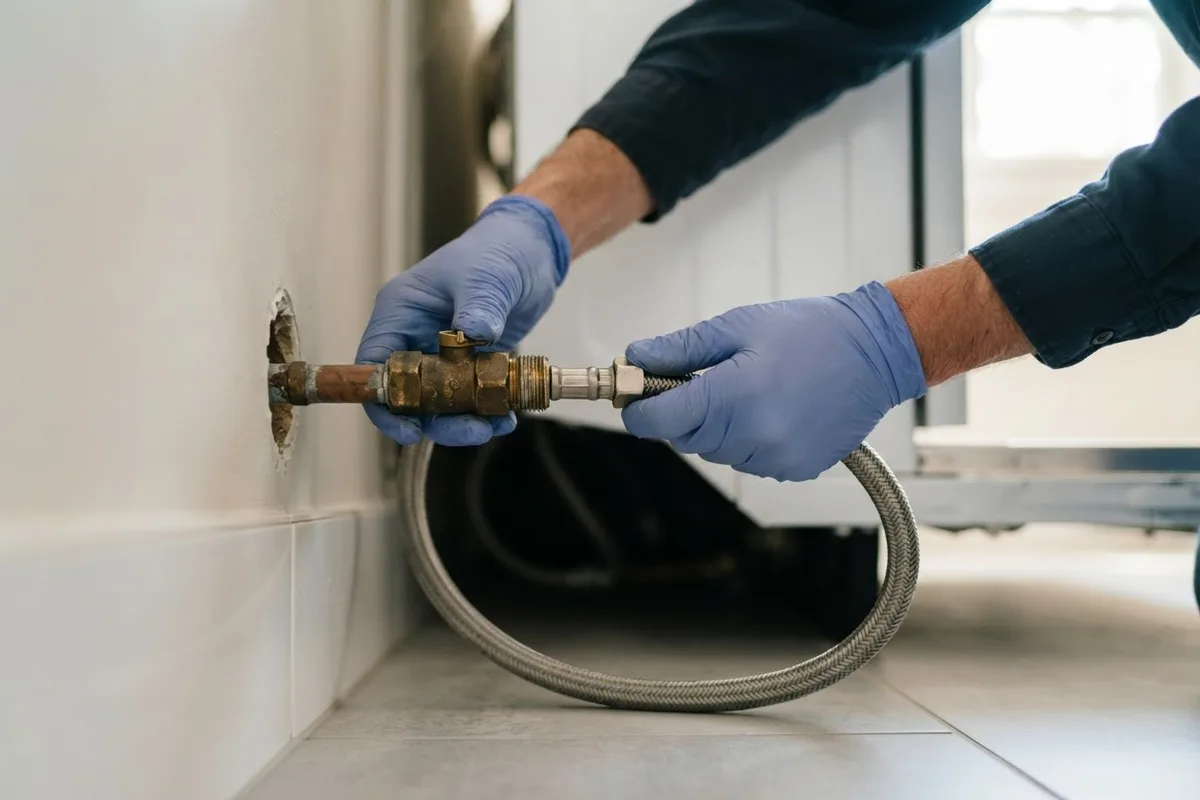
1. Inspect and Replace Flexible Water Supply Lines
Appliance water supply lines endure continuous municipal water pressure, making them vulnerable to sudden ruptures that cause thousands of dollars in water damage.
- Always shut off the dedicated water shut-off valves and unplug the washing machine and refrigerator before inspecting their rear connections.
- Carefully pull each unit away from the wall to examine the inlet hoses for bulges, cracked rubber, kinked metal, or greenish corrosion around the threaded brass or plastic couplings.
- Wipe your fingers underneath each connection point to detect slow seepage or weeping moisture.
- Replace standard black rubber washing machine hoses with braided stainless steel supply lines every three to five years, even if no visible flaws appear on the surface.
- Verify that refrigerator ice maker lines have sufficient slack so the tubing does not pinch or crimp when you roll the appliance back into its cabinet cavity.
2. Clear Dryer Exhaust Ducts to the Exterior Wall Cap
Lint that bypasses your clothes dryer screen accumulates inside the internal exhaust transition tube and the rigid ductwork routed through your home's walls or attic.
- Disconnect the electrical cord from the wall receptacle (or shut off the gas valve if servicing a gas dryer) before disconnecting the vent pipe.
- Detach the flexible transition duct from the back of the dryer and use a narrow vacuum crevice tool to clear lint from the internal blower housing.
- Feed a rotary duct-cleaning brush attached to a cordless drill through the wall pipe toward the outdoor exhaust termination hood.
- Head outside to check the exterior wall or roof vent cap, confirming that the flapper door opens freely and remains clear of bird nests, dried lint mats, or outdoor vegetation.
- Reattach the ductwork using metal foil tape rather than standard duct tape or sheet metal screws, which catch flying lint and create future clogs.
3. Deep Clean and Vacuum Refrigerator Condenser Coils
Your refrigerator compressor and condenser coils shed heat continuously to keep the interior cool; coating them in pet hair and household dust forces the compressor to run twice as long.
- Unplug the refrigerator power cord to protect electrical components while working near the motor compartment.
- Remove the lower front toe-kick grille by gently popping its retaining clips, or unscrew the lower rear protective cardboard or sheet-metal panel.
- Thread a long, flexible condenser coil brush between the metal winding loops to dislodge caked dust and pet fur.
- Follow directly behind the brush with a narrow vacuum attachment to pull airborne debris out of the housing without scattering it across your kitchen floor.
- Inspect the plastic drain pan seated beside the compressor; wipe out standing residue or mildew with warm water and a splash of dish soap, then reinstall the protective panel securely.
4. Descale Washer and Dishwasher Internal Pumps
Hard water deposits and detergent residues form calcified crusts around pump impellers, internal heating elements, and water inlet screens, which often triggers drainage faults or poor cleaning cycles.
- Clear out the bottom of your dishwasher by removing the lower rack, untwisting the cylindrical fine-mesh filter, and scrubbing it under warm running water with a soft nylon brush.
- Pour two cups of distilled white vinegar or two tablespoons of food-grade citric acid crystals into a shallow bowl placed right-side up on the top rack, then run the hottest sanitize cycle available.
- Inspect your front-load washing machine drain pump filter—typically located behind a small access door at the bottom front corner—by placing a shallow towel on the floor, unscrewing the filter cap, and clearing out trapped coins, hairpins, and lint.
- Run an empty, high-temperature cleaning cycle with a cup of washing soda or commercial descaler to dissolve soap scum from the outer wash tub. Addressing calcified water inlet valves early also prevents sudden pipe banging; if your kitchen plumbing shuddered during fill cycles, review our guide to fixing dishwasher water hammer noises for valve troubleshooting.
5. Test Door Gaskets and Reseat Loose Rubber Seals
Worn or deformed rubber door gaskets allow cool air to escape refrigerators and freezers while allowing hot moisture to leak out of dishwashers and front-load laundry tubs.
- Close a crisp dollar bill halfway into the refrigerator door, then pull it out gently; if it slips through with zero drag, the gasket has lost its magnetic contact or physical flexibility.
- Repeat the test around the entire perimeter of both the fresh food and freezer compartments, paying close attention to lower corners.
- Clean sticky food residue and mildew from gasket folds using a clean microfiber cloth moistened with warm water and mild dishwashing liquid, avoiding harsh bleach that dries out flexible vinyl.
- If you discover a flattened section, warm the rubber gently with a handheld hair dryer set to low heat, massaging the fold outward with your fingers so it seals against the metal face frame.
- Examine front-load washer door bellows for tears, pinholes, or bunched folds that let water escape onto your floor during high-speed spinning.
6. Exercise and Lubricate Under-Sink Shut-Off Valves
Emergency water shut-off valves underneath kitchen sinks and laundry utility boxes frequently seize up due to mineral corrosion when left untouched for years.
- Locate the dedicated quarter-turn ball valves or multi-turn compression valves supplying your dishwasher, ice maker, and clothes washer.
- Rotate each valve clockwise into the closed position, checking that the handle moves smoothly without requiring excessive brute force.
- Turn on the connected appliance briefly to verify that water flow ceases completely, confirming that the internal seat washer still holds a watertight seal.
- Turn the valve counter-clockwise back to the fully open position; if dealing with an older multi-turn stem valve, back it off a quarter-turn from the hard stop to prevent internal binding.
- Dry the stem nut with a paper towel and check for minute drops of moisture; if water seeps around the stem, tighten the packing nut one-eighth of a turn with an adjustable wrench.
7. Recalibrate and Level Your Major Appliance Bases
Appliances that sit unevenly vibrate excessively, place uneven strain on internal suspension springs, and fail to drain or distribute water evenly.
- Place a 24-inch carpenter's bubble level across the top edges of your washing machine, clothes dryer, and cooking range, checking both side-to-side and front-to-back orientations.
- Locate the threaded leveling legs underneath the front and rear corners of each machine.
- Use an adjustable wrench to loosen the upper locking jam nut, then screw the rubber foot down or up until the bubble centers precisely.
- Lean firmly against opposing diagonal corners of the appliance; if the cabinet rocks or clicks against the floor, extend the low leg until all four points share equal weight.
- Tighten the jam nuts upward against the cabinet base to lock the adjustment firmly in place. Keeping your washing machine perfectly level eliminates violent cabinet rocking and prevents a loose washer drum caused by worn dampers.
| Appliance | Core Annual Task | Recommended Tools | Average DIY Time | | :--- | :--- | :--- | :--- | :--- | :--- | :--- | | Refrigerator | Clean condenser coils & vacuum drain pan | Coil brush, crevice vacuum | 25 minutes | | Clothes Dryer | Clear exhaust duct to exterior hood | Rotary duct brush, drill, foil tape | 45 minutes | | Washing Machine | Clear pump filter & inspect water hoses | Channel locks, bucket, rag | 30 minutes | | Dishwasher | Descale wash arm jets & scrub filter | Citric acid, soft toothbrush | 20 minutes | | Range / Oven | Inspect door gasket & calibrate level | Bubble level, wrench, dollar bill | 15 minutes | | Shut-Off Valves| Exercise stems & check packing nuts | Adjustable wrench, dry rag | 15 minutes |
When to Call a Pro
While annual surface cleaning, filter clearing, leveling, and hose replacements make great DIY weekend projects, certain diagnostic discoveries demand skilled intervention. If you spot active water leaking from an internal dishwasher tub seam, smell raw gas behind your cooking range, or find burned terminal blocks near your dryer heating element, stop work immediately. Never attempt internal electrical panel work, gas manifold modifications, or sealed-system refrigerant repairs yourself.
Similarly, if an appliance produces persistent grinding or buzzing that remains unresolved after cleaning, consult an appliance noise guide to narrow down mechanical motor failures. Professional appliance maintenance tune-ups typically range from $100 to $250, though overall service pricing varies by area and appliance model. When an annual inspection uncovers internal component wear beyond routine maintenance, True Appliance Repair can match you with a local appliance pro to diagnose and repair your unit quickly.
FAQ
How often should I complete this whole-house maintenance checklist?
Going through this comprehensive checklist once every twelve months is sufficient for most typical households. However, if your home includes shedding pets, your clothes dryer duct and refrigerator condenser coils should be vacuumed every six months to prevent overheating. Similarly, homes with severe hard well water benefit from running descaling cycles through dishwashers and washers three to four times annually.
Do flexible stainless steel hoses eliminate all water leak risks?
Braided stainless steel hoses dramatically reduce the risk of catastrophic ruptures because the steel mesh outer sleeve prevents the inner rubber tube from expanding into a balloon under high pressure. However, the rubber sealing washers inside the hose ends still deteriorate, harden, and compress over time. You should replace braided hoses every five to seven years and inspect connections annually for minor seepage.
What is the safest way to clean greasy range hood filters during maintenance?
Submerge aluminum mesh range hood filters in a sink filled with boiling water, half a cup of baking soda, and a generous squirt of grease-cutting liquid dish soap. Allow them to soak for 15 to 20 minutes to dissolve sticky cooking grease without scrubbing. Rinse thoroughly with hot tap water and ensure the metal filters air dry completely before popping them back into the range hood housing.
Why does my refrigerator make clicking noises after cleaning the coils?
A refrigerator compressor that clicks and shuts off right after you power the unit back up often signals a failing start relay or an overheated motor. If the unit does not start cooling within thirty minutes after clearing the coils, unplug the appliance and seek a professional evaluation. For complex issues, True Appliance Repair connects you with independent technicians who service all major kitchen and laundry brands.