
Opening your fridge to grab a late-night snack only to stare into a pitch-black cabinet is an instant headache, especially when you are prepping for big family meals. Before you panic about spoiled groceries, check if the air inside feels cold and the fan is still humming. If the fridge is cooling normally, a dark interior usually points to a burnt bulb, a sticky door switch, or a faulty socket that you can troubleshoot yourself in under twenty minutes.
Safety First: Before inspecting light sockets, prying out switches, or touching any internal wiring, always unplug your refrigerator from the wall outlet or flip the dedicated kitchen circuit breaker to the off position. Never stick metal tools into a live bulb socket.
1. Rule Out a Full Power Outage or Sabbath Mode
When a refrigerator light is not working, your very first step is determining whether the bulb circuit failed alone or the entire appliance lost power. Sometimes a tripped breaker or an accidental button press mimics a broken light.
- Listen and feel for cooling: Open the door and feel the air vents. If the cabinet is warm and dead silent, check your home's electrical panel for a tripped breaker and make sure the power cord is plugged tightly into the wall outlet.
- Check the control panel display: If the digital temperature screen is dark or unresponsive, the main power supply is interrupted.
- Disable Sabbath or Vacation Mode: Many modern refrigerators have a Sabbath Mode designed for religious observances that disables all interior lights, tones, and displays while keeping the compressor running. Press and hold the designated button combination on your control panel—often labeled "Sabbath" or "Door Alarm + Water" held for three to five seconds—to restore normal lighting.
- Inspect the freezer light: Open the freezer compartment. If the freezer light shines brightly while the fresh food section stays dark, your home power supply is fine and the issue is isolated to the fridge lighting assembly.
2. Replace a Burnt-Out Appliance Bulb
If your refrigerator uses a traditional screw-in incandescent bulb or a replaceable LED lamp, a simple burnout is the most common culprit. Standard household bulbs cannot handle the extreme cold and humidity inside a fridge, so always use an appliance-rated replacement.
- Unplug the refrigerator: Pull the plug from the wall so there is zero electrical current flowing to the socket.
- Remove the plastic light shield: Locate the clear plastic cover on the ceiling or back wall of the fridge. Squeeze the sides gently or press the release tab and slide it backward to unhook the tabs without snapping the brittle cold plastic.
- Inspect the old bulb: Unscrew the bulb counterclockwise. Look for a broken tungsten filament, black scorch marks inside the glass, or rattling pieces when you shake it gently.
- Check the wattage and base size: Read the tiny print on the metal base of the old bulb or check the sticker inside the fridge wall. Most models require a 40-watt appliance bulb with a standard medium base (E26) or a smaller intermediate base (E17).
- Screw in the new appliance bulb: Thread the replacement bulb in snugly until it seats against the bottom contact, snap the plastic lens cover back into place, and restore power.
3. Clean and Unstick the Door Light Switch
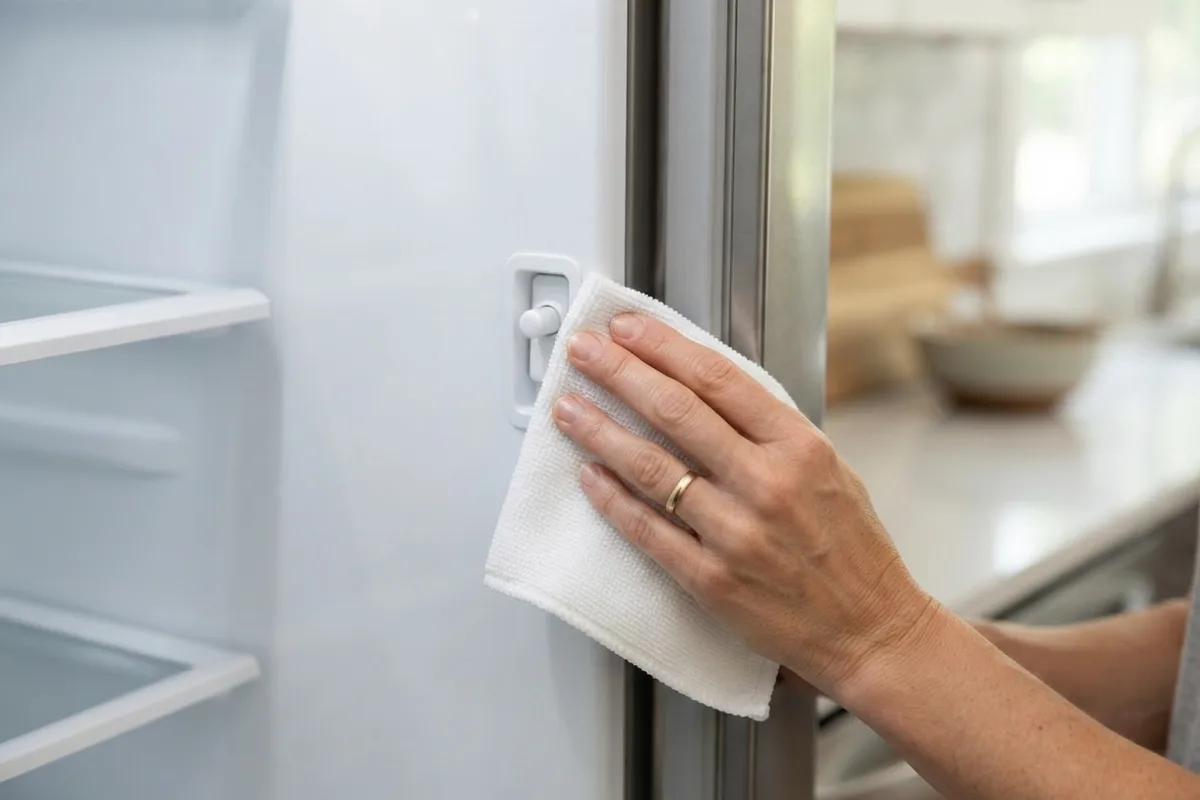
Every refrigerator has a spring-loaded plunger switch—or a hidden magnetic reed switch—along the door frame that turns the light off when the door closes and on when it opens. Over time, spilled juice, grease, and food splatter seep into the switch housing and glue the plunger in the "closed door" position.
- Locate the door switch: Look along the top, side, or bottom hinge area of the inner cabinet frame for a small plastic rocker or plunger lever.
- Press and release the plunger: Push the switch in with your finger and let go. It should spring back out crisply with a faint click. If it moves slowly or stays depressed, sticky residue is trapping it.
- Clean the switch perimeter: Unplug the fridge. Dip a cotton swab or microfiber cloth in warm water mixed with a few drops of mild dish soap—or rubbing alcohol for stubborn grease—and scrub around the edges of the button.
- Work the plunger free: Press the button repeatedly while wiping away dissolved grime until the spring action feels smooth and snappy again.
- Test with a multimeter (optional): If cleaning does not help, gently pry the switch out of the frame using a plastic putty knife, disconnect its wire terminals, and test for continuity with a multimeter. If the switch shows no continuity when released, swap in a new replacement switch (typically $15 to $40 depending on the brand).
Keeping door seals, water filters, and switches clean is a great habit to include in your annual appliance maintenance checklist. If you ever run into other stubborn fridge parts while cleaning, check out our guide on how to fix a stuck refrigerator water filter.
4. Inspect and Clean a Corroded Light Socket
Even a brand-new bulb will stay dark if it cannot make solid electrical contact inside the socket. Moisture from humid kitchen air or accidental spills can corrode the brass contact tab at the base of the socket or push the tab too flat to touch the bulb.
- Disconnect power completely: Unplug the refrigerator from the wall outlet before touching anything inside the empty bulb socket.
- Shine a flashlight into the socket: Remove the bulb and look closely at the metal threads and the small brass contact tab sitting at the very bottom center of the socket.
- Scrub away corrosion: If you see white, green, or crusty buildup on the metal, wrap a small piece of fine-grit sandpaper or a dry abrasive pad around the eraser end of a pencil and gently buff the metal contact until it shines.
- Pry up a flattened center tab: Over-tightening bulbs over the years can mash the bottom brass tab flat against the porcelain or plastic base. With the fridge still unplugged, use a small flathead screwdriver or wooden toothpick to gently bend that center tab upward by about an eighth of an inch so it presses firmly against the base of the bulb.
- Check for burnt plastic: If the socket housing looks melted, cracked, or charred black, stop using it and replace the socket harness assembly.
5. Check Built-In LED Modules Connected in Series
Newer refrigerators often skip screw-in bulbs entirely in favor of flat, flush-mounted LED light boards installed in the ceiling and side walls. Many brands wire these LED modules in a series circuit—meaning electricity flows from the main board through the freezer LED or upper ceiling LED before reaching the side LEDs.
- Look for dim, flickering, or partially lit LEDs: Open both the fridge and freezer doors and look at every LED lens. If one module is completely burnt out while two others flicker faintly or glow at ten percent brightness, the failed module is interrupting power to the rest of the chain.
- Identify the primary failed module: In many French-door and side-by-side refrigerators, a burned-out freezer ceiling LED module will cause all the fresh-food refrigerator lights to go dark or dim simultaneously.
- Release the LED cover carefully: Unplug the refrigerator. Use a flat plastic trim tool—never a sharp metal screwdriver that can gouge the liner—to depress the front locking tab of the faulty LED assembly and swing it down out of the ceiling slot.
- Unclip the wire harness: Pinch the small plastic locking clip on the two-pin or four-pin wire connector and pull the old LED board free.
- Plug in a matching replacement board: Connect the new model-specific LED module (usually $35 to $90 depending on your model), snap it flush into the liner cutout, and plug the fridge back in.
Quick Troubleshooting Table: Refrigerator Light Symptoms
| What You See Inside the Fridge | Most Likely Cause | Typical DIY Fix or Part Cost |
|---|---|---|
| Fridge light dark, fan & cooling off | Tripped breaker or unplugged cord | $0 (Reset breaker / check outlet) |
| Cooling works, display & all lights off | Sabbath Mode accidentally activated | $0 (Hold Sabbath button 3–5 seconds) |
| Single screw-in bulb dark or flickering | Burnt-out bulb or flattened socket tab | $5 – $15 (New appliance bulb) |
| Light stays off unless you jiggle switch | Sticky or failed door light switch | $0 to clean; $15 – $40 for new switch |
| Multiple LEDs dim, strobing, or dead | One failed LED module in a series circuit | $35 – $90 (Replace faulty LED board) |
When to Call a Pro
Replacing a screw-in bulb, cleaning a gummy door plunger, or snapping in a plug-and-play LED module are safe, straightforward weekend tasks. However, if you have tested the bulb, switch, and LED modules and the interior remains dark, the issue likely lies deeper in the electrical system. A shorted wire harness buried inside the insulated cabinet door or a failed low-voltage transformer on the main electronic control board requires specialized diagnostic testing. Main control board replacements typically range from $200 to $450 including parts and labor, depending on your refrigerator model and local rates.
Never cut into cabinet insulation or attempt high-voltage control board repairs if you are uncomfortable working with electrical schematics. If you notice burning smells, scorched wiring, or cooling issues alongside the dead light—such as those covered in our guide on why your freezer ice cream is soft—stop troubleshooting and get professional help. True Appliance Repair can connect you with an experienced local technician through our refrigerator repair service page to safely diagnose and restore your fridge.
FAQ
Can I put a regular household LED bulb in my refrigerator?
It is best to use a bulb specifically labeled as an "appliance bulb" or "shatter-resistant refrigerator LED." Standard household bulbs are not sealed against high humidity and sudden sub-forty-degree temperature drops, which can cause their internal electronics to fail prematurely or the glass to crack.
Why is my refrigerator light off, yet the fridge is still cold?
The interior lighting circuit and the compressor cooling circuit operate independently after power enters the refrigerator. If a bulb burns out, a door switch sticks closed, or Sabbath Mode is turned on, the compressor and evaporator fans will continue keeping your food cold even though the cabinet stays dark.
Why are my refrigerator LED lights flickering or very dim?
Dim or strobing LED lights in a modern refrigerator almost always point to a failed LED module wired in series or a failing LED driver on the main control board. Check all ceiling and freezer LED lights first; replacing the single burnt-out or flickering board in the chain usually restores full brightness to all the other lights.
Will a broken refrigerator light switch affect cooling?
Yes, depending on how the switch fails. If the switch breaks in the "closed door" position, the light simply stays off and cooling continues normally. However, if the switch fails in the "open door" position, the bulb may stay on constantly behind closed doors, generating heat that melts nearby food, triggers the door alarm, and disables the door ice and water dispenser.