
Opening your freezer door only to find a solid brick of fused ice cubes in the storage bin is an irritating kitchen surprise. When refrigerator ice clumping occurs, your dispenser jams, motor gears strain, and you are left chipping away at frozen chunks with a butter knife. Fortunately, you can fix this frustrating problem using basic household tools and a few targeted adjustments.
Quick Troubleshooting Guide: Ice Clumping Causes
| Primary Symptom | Most Likely Cause | Quick Fix |
|---|---|---|
| Solid mass in back of bin | Infrequent ice usage during auto-defrost | Agitate bin weekly; discard stale blocks |
| Frost coating loose cubes | Damaged or dirty door gasket | Clean seal with warm water; test with paper bill |
| Icicles hanging from chute | Leaky water inlet valve or fill tube | Thaw fill line; replace dripping inlet valve |
| Uneven, lopsided frozen sheet | Cabinet leaning forward or sideways | Adjust front leveling legs with a bubble level |
| Soft, wet cubes sticking together | Freezer running above 5°F (-15°C) | Lower thermostat setting to exactly 0°F (-18°C) |
Discard Stale Ice and Agitate the Storage Bin Regularly
The most common reason for ice clumping is simply leaving cubes in the bin for too long. Modern frost-free refrigerators run an automatic defrost cycle every 8 to 12 hours, warming the evaporator coils to melt frost buildup. While the air temperature inside the compartment remains below freezing, the surface of each individual cube slightly softens and releases moisture. When the cooling cycle kicks back on, the resting cubes freeze together at their contact points.
- Pull the ice bucket completely out of the freezer and dump the solid clump into the sink.
- Wash the bin thoroughly with warm water and a splash of mild dish soap to remove stale odor films.
- Dry the plastic bin completely with a lint-free microfiber cloth. Any residual droplets will immediately trigger new clumping.
- Reinstall the dry bucket and discard the first two fresh batches of ice.
- If your household uses minimal ice, stir or shake the bin every two to three days to break up light surface bonds before they fuse into a heavy block.
Dial the Freezer Temperature Down to Exactly 0°F
When your freezer runs too warm, ice cubes hover right on the threshold of melting. Temperatures between 5°F and 15°F allow ice to develop surface sweating, which fuses neighboring cubes into dense clusters. On the other hand, setting the temperature below -5°F forces the compressor to run excessively without solving clumping if moisture is present. For proper freezing dynamics and food preservation, maintain your freezer at precisely 0°F (-18°C).
- Place an analog appliance thermometer directly in the center of the ice storage bin.
- Leave the freezer door shut for at least four hours to get an accurate baseline reading.
- If the reading sits above 2°F, adjust your digital panel or manual dial down one increment.
- Wait 12 to 24 hours between adjustments so the internal airflow can stabilize.
- Keep food boxes at least two inches away from the internal evaporator vents so cold air flows freely over the ice maker mold.
If you also notice undersized or hollow crescent shapes along with clumping, check our troubleshooting steps for why refrigerator ice is hollow to see if water volume is playing a role.
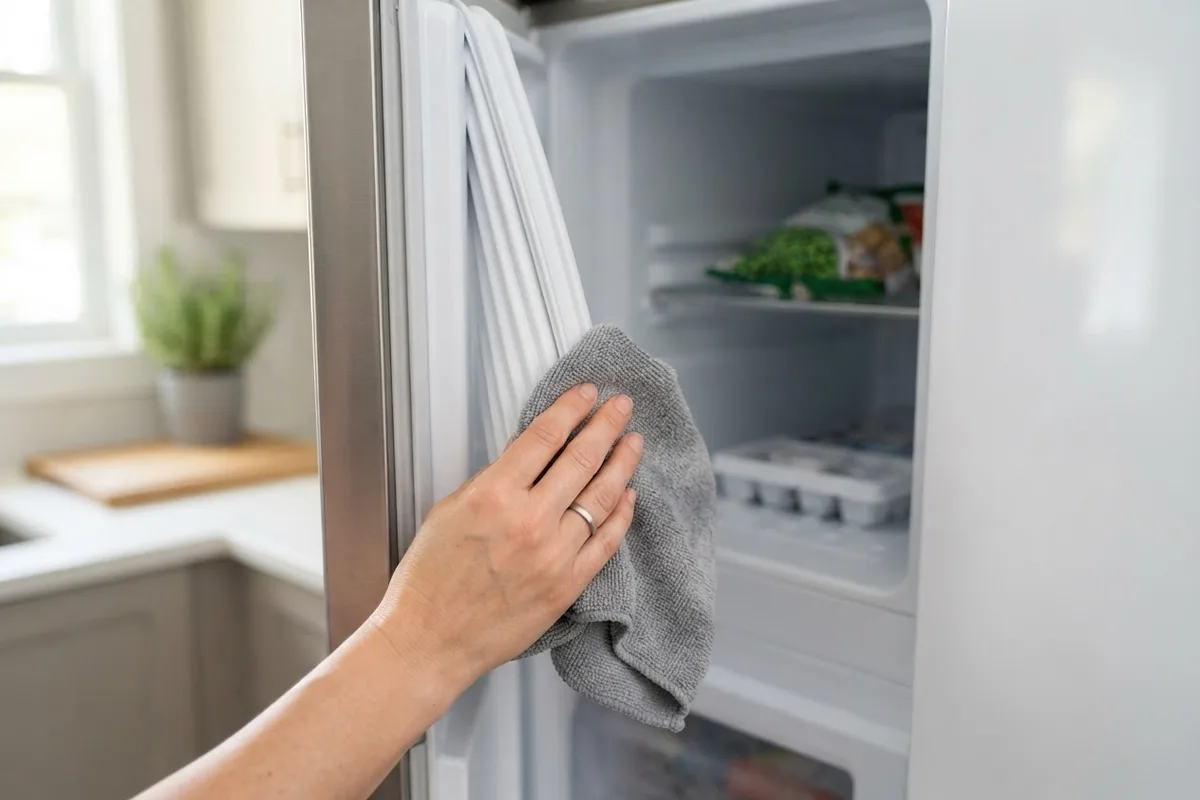
Clean and Realign the Door Gasket to Block Humid Air
Every time humid room air slips past your freezer door, moisture condenses on the coldest surfaces in the compartment—chiefly your ice maker and storage bucket. Over a few days, this continuous moisture influx glazes your ice cubes in frost and welds them into a single lump. A warped, dirty, or torn rubber gasket is often the hidden culprit.
- Inspect the entire perimeter of the flexible rubber gasket for food spills, crumbs, or sticky residue.
- Clean the folds with a warm washcloth dipped in a 50/50 mix of warm water and white vinegar.
- Conduct the dollar bill test: close the door on a crisp dollar bill and pull. If it slides out with zero resistance, your gasket is not sealing.
- Reseat any loose gasket sections by pressing the rubber lip firmly back into its mounting channel with your thumb.
- For minor ripples, warm the rubber gently with a hair dryer on low heat while smoothing the vinyl outward to restore its shape.
If you feel strong suction when opening the compartment or notice heavy frost buildup along the edges, learn more about why freezer doors are hard to open to resolve air pressure and gasket issues.
Inspect the Ice Maker Fill Tube for Slow Water Drips
A malfunctioning water inlet valve can fail to shut off cleanly after filling the ice mold. When water seeps past the internal valve diaphragm, small droplets slowly drip down the fill spout and splash into the storage bin below. That continuous trickle acts like mortar between bricks, cementing your fresh cubes into an impenetrable mass.
- Unplug the refrigerator and slide it away from the wall, then turn off the dedicated water shut-off valve.
- Shine a flashlight up at the plastic fill tube entering the top-rear corner of the ice maker assembly.
- Check for icicles, frost buildup inside the spout opening, or frozen drips running down the mold frame.
- If the tube is blocked with solid ice, melt it using a turkey baster filled with warm water, catching runoff with a folded towel.
- Turn the water supply back on and observe the spout for 10 minutes. If water beads up or trickles without the ice maker cycling, the dual water inlet valve behind the lower back panel requires replacement.
Level the Refrigerator Cabinet to Keep Water in the Molds
Your refrigerator needs a slight backward tilt to function correctly. If the cabinet leans forward or tilts awkwardly to one side, water pumped into the ice mold tray will overflow the mold partitions before it freezes. This excess water drains straight down into the collection bin, drowning the cubes below in a puddle that freezes solid.
- Remove the decorative snap-on grille at the bottom front of the refrigerator.
- Place a small spirit level across the top edge of the refrigerator cabinet.
- Locate the adjustable leveling legs or threaded roller bolts on both front corners.
- Using an adjustable wrench or flathead screwdriver, raise the front feet until the bubble shows the front sitting roughly 1/4 inch higher than the rear.
- Check that the cabinet does not rock diagonally when you lean on the handles.
- Test the tilt by opening the doors halfway; gravity should gently swing them closed on their own.
When to Call a Pro
While clearing an ice bridge or cleaning a dirty gasket takes only minutes of DIY effort, certain ice maker faults require specialized diagnosis. If your ice continues clumping after you have dialed the temperature to 0°F and verified the door seal, the issue may stem from an electronic control board failure, a failing harvest motor that dumps cubes prematurely, or an internal refrigerant leak in the sealed cooling system.
Working with high-voltage control boards or closed refrigerant loops demands professional testing gear and safety practices. Never puncture frost with sharp metal objects or attempt to recharge sealed cooling lines yourself. When straightforward maintenance steps do not solve the problem, True Appliance Repair can match you with an independent local appliance pro to diagnose your ice maker assembly, test inlet valves, and get your ice dispenser operating smoothly again. Most independent refrigerator repair calls across the country range between $150 and $400, depending on your region, machine brand, and required replacement components.
FAQ
Can I use hot water to melt a giant ice clump inside the bin?
Never pour hot water directly into an ice storage container while it sits inside the freezer, as the steam will rapidly freeze onto interior fans and vents. Instead, remove the bucket completely, place it in your kitchen sink, and let lukewarm water break down the mass. Always dry the bucket completely before sliding it back into the appliance.
How often should I empty and clean my refrigerator ice bucket?
Aim to empty and wash your ice storage bin every four to six weeks. Ice absorbs ambient food odors over time, and fine frost dust settles at the bottom of the container, accelerating clumping. A quick rinse with warm, soapy water keeps ice fresh and cubes sliding freely.
Why does my ice dispenser churn but fail to drop any cubes?
When ice clumps inside the bin, the auger screw cannot grab individual cubes to push them through the dispenser chute. Running the dispenser motor against a solid block of ice can strip the plastic drive coupling or burn out the auger motor. Clear the bin manually rather than forcing the dispenser paddle.
Does high indoor humidity cause freezer ice to clump faster?
Yes. In humid summer months or damp climates, warm moisture rushes into the freezer every time the door opens. This ambient humidity condenses directly onto frozen cubes, creating a damp surface film that freezes solid once the door shuts. Keeping kitchen humidity under 50% helps minimize clumping.