
When a major household machine stops working, the biggest stress is rarely the mechanical failure itself—it is the fear of an unpredictable bill. Understanding typical service rates and part prices before you book an appointment puts you in control of your budget and prevents you from pouring money into a machine that is past its prime. This practical appliance repair cost guide gives you seven clear rules to estimate expenses, tackle safe preliminary checks, and decide when a fix is truly worth the investment.
1. Know the 50% Rule Before Approving Any Quote
Before spending a dime on parts or labor, evaluate the machine using the classic 50% threshold. This rule combines the age of the unit with the estimated repair bill to keep you from overspending on an aging machine.
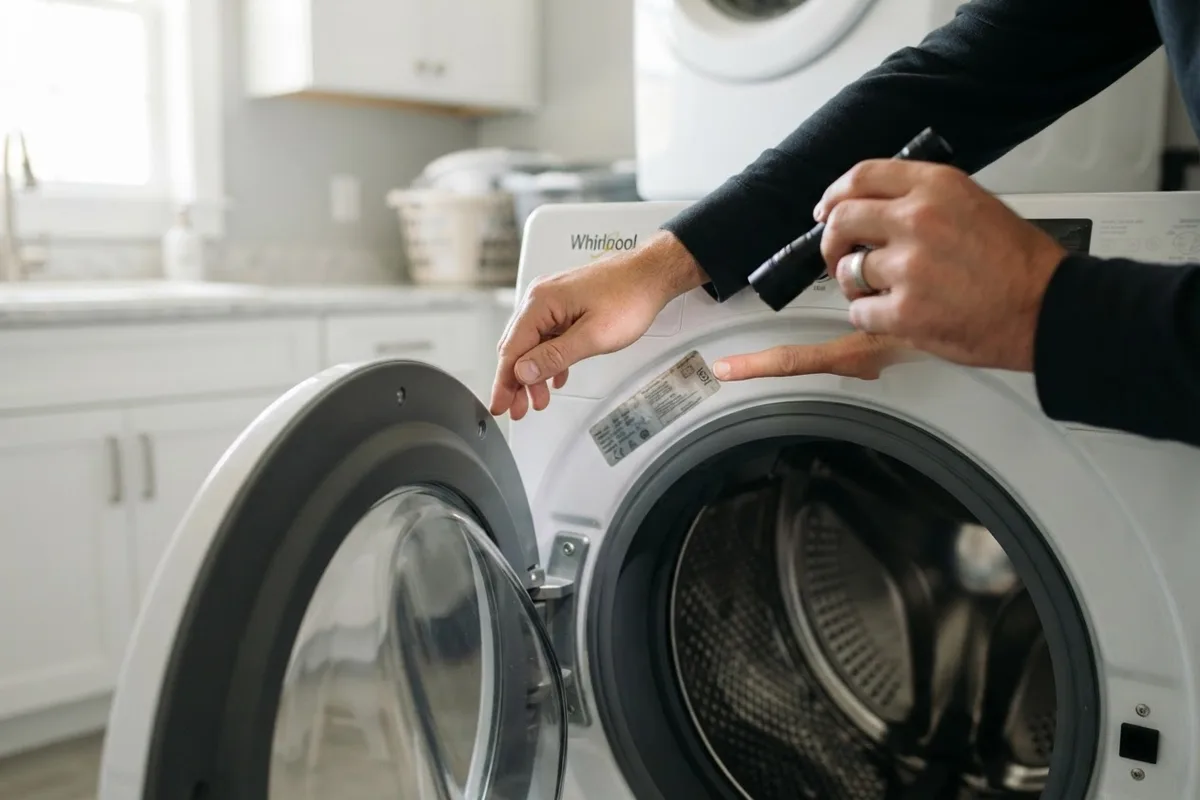
- Check the manufacturing date: Locate the metal serial tag inside the door frame, behind the kickplate, or along the rim of the tub to find the exact age of your unit.
- Compare against average lifespans: Most modern household machines run reliably for 8 to 15 years, depending on the type of unit and how heavily your household uses it.
- Price a comparable new unit: Look up the current retail price of a direct replacement with similar features—do not compare a basic model to a luxury upgrade.
- Do the math: If your machine is more than halfway through its expected lifespan and the repair quote exceeds 50% of the cost of a brand-new replacement, put that money toward a new unit instead.
2. Understand How Service Call and Labor Fees Work
Knowing how independent technicians structure their billing helps you compare quotes fairly and avoid surprise charges on your final invoice.
- Expect a standard diagnostic fee: Most companies charge a flat service call or trip fee, which typically ranges from $75 to $150 across the US (varies by area/model). This covers travel time and a thorough physical inspection.
- Ask if the fee applies to the repair: Many local technicians will waive the diagnostic charge or roll it directly into the final labor balance if you approve their repair quote on the spot.
- Learn the difference in labor billing: Most pros today use flat-rate pricing from a national industry price book rather than charging strictly by the hour. That means a job billed at $180 for labor stays $180 whether it takes the technician 30 minutes or two hours.
- Factor in access surcharges: Expect higher labor estimates for stacked laundry units, built-in cabinetry refrigerators, or double wall ovens that require two people to pull out safely.
3. Check Typical Repair Costs by Appliance Type
Prices vary significantly depending on whether you are replacing a simple mechanical switch or a complex electronic control board. Reviewing average ranges helps you spot a fair quote immediately.
| Appliance Type | Typical Minor Repair Range | Typical Major Repair Range | Common Pricier Culprits |
|---|---|---|---|
| Refrigerator | $150 – $300 | $400 – $900+ | Control boards, evaporator fans, sealed system compressors |
| Dishwasher | $120 – $250 | $300 – $450 | Circulation pumps, electronic touchpads, sump assemblies |
| Washing Machine | $130 – $280 | $350 – $550 | Drain pumps, lid lock switches, spider arms, tub bearings |
| Clothes Dryer | $120 – $250 | $275 – $450 | Heating elements, thermal fuses, drive motors, rollers |
| Oven & Stove | $130 – $260 | $300 – $500 | Igniters, bake elements, temperature sensors, relay boards |
| Garbage Disposal | $100 – $180 | $200 – $325 | Jammed flywheels, leaking seals (often cheaper to replace) |
Note: All price ranges are broad US estimates that include parts and labor; actual costs vary by area, brand, and model.
4. Rule Out Free Power and Water Resets First
Paying a diagnostic fee only to have a technician flip a circuit breaker or open a water valve is a painful waste of money. Always perform these safe, zero-cost checks before picking up the phone.
- Check the electrical panel: Electric dryers and ranges use dual 240-volt breakers. Half of the breaker can trip while the other half stays on, leaving the digital display lit while the heating elements stay dead. Flip the breaker completely off and back on.
- Reset GFCI outlets: Dishwashers, refrigerators, and laundry machines plugged into kitchen or utility room circuits often share a line with a Ground Fault Circuit Interrupter. Press the "Reset" button on every GFCI outlet in the room.
- Inspect water shutoff valves: Before assuming a dishwasher or washer inlet valve has failed, look under the sink or behind the machine to confirm the hot and cold supply valves are turned fully counterclockwise.
- Clear the disposal reset button: If your sink grinder is silent, unplug the unit underneath the cabinet, wait five minutes for the internal motor to cool, and press the small red overload button on the bottom housing. If it still hums or struggles to process scraps, read our guide on why is my garbage disposal not grinding food for safe unjamming steps.
5. Clean Restricted Airflow and Drainage Paths
Blocked air and water passages mimic expensive mechanical failures, causing machines to overheat, shut down mid-cycle, or stop cooling altogether. Before you touch any internal part, unplug the appliance or shut off the breaker, and turn off the water or gas supply.
- Vacuum refrigerator condenser coils: Dust-choked coils trap heat and force the compressor to run nonstop, making a fridge seem like it has a dying cooling system. Follow our step-by-step guide on how to clean refrigerator coils to restore cooling for free.
- Clear the washer drain pump trap: Front-load washers that refuse to spin usually have coins, hairpins, or lint clogging the lower access filter. Place a shallow pan under the lower front access door, slowly unscrew the cap, and pull out the debris.
- Wash the dishwasher filter basket: A dishwasher that leaves dishes gritty often just has a grease-clogged cylindrical filter in the floor of the tub rather than a broken wash motor. Twist it out and scrub it under warm water with a soft brush.
- Brush out the dryer exhaust duct: When a dryer blows cold air, a lint-packed wall vent has often blown a $15 thermal fuse to prevent a fire. Disconnect the foil or rigid transition duct behind the machine and sweep out all packed lint.
6. Prep the Model Number and Workspace Before Booking
You can cut your repair timeline in half—and sometimes save the cost of a second trip—by giving the technician exact data before they arrive at your driveway.
- Write down the exact model and serial number: Never rely on the brand name printed on the front badge alone. Snap a clear, well-lit photo of the metal data sticker inside the door jamb or frame.
- Record the specific symptom and error codes: Write down any flashing alphanumeric codes on the display panel, and note when the problem happens (such as "leaks from the front left corner only during the final spin").
- Clear a three-foot path: Move laundry baskets, pet bowls, and step stools out of the room, and empty the contents of a broken washer drum or oven cavity before the appointment window begins.
- Protect your floors: Lay down a piece of flattened cardboard or an old bath towel in front of the machine so it can be slid out smoothly without scuffing hardwood or tearing vinyl flooring.
7. Know Which Parts Are Safe to Swap Yourself
Labor typically makes up 50% to 70% of a standard repair invoice. If you are comfortable with basic hand tools, swapping non-invasive surface parts can save you $150 or more—provided you always unplug the machine from the wall outlet first.
- Snap-in heating elements and igniters: Electric oven bake elements and slide-in stove burners require only a Phillips screwdriver to replace. If one burner stays cold while the others work, check our guide on why is my electric stove burner not heating to test the receptacle yourself.
- Rubber door gaskets and seals: Torn refrigerator magnetic door seals and crusty dishwasher tub gaskets pull right out of their retaining channels and press back in by hand without specialized tools.
- Plastic racks, rollers, and spray arms: Broken dishwasher wheels, cracked crisper drawers, and clogged spray arms snap in and out in seconds. Buying the OEM part online using your model number saves an entire service call.
- Water filters and external supply hoses: Swapping a braided stainless-steel washer fill hose or a twist-lock refrigerator water filter takes less than ten minutes once the main water valve is shut off.
When to Call a Pro
While surface cleaning and snap-in part replacements are great money savers, knowing where DIY stops will protect both your wallet and your home. Stop immediately and call a professional for any issue involving gas lines or gas valves, refrigerator sealed-system refrigerant leaks and compressors, high-voltage microwave capacitors, or main electrical panel wiring. Guessing with multimeter readings or buying non-returnable electronic control boards on a hunch often ends up costing more than hiring a technician from the start.
If a quick reset and cleaning do not solve the issue, True Appliance Repair can match you with an independent local appliance pro who can diagnose the exact fault and give you an upfront repair quote.
FAQ
Why does an appliance repair technician charge so much for a 20-minute visit?
When you pay for a professional repair, you are paying for diagnostic accuracy, specialized testing equipment, vehicle overhead, and the technician's stocked inventory of common parts—not just the minutes spent turning a wrench. Flat-rate pricing protects homeowners by keeping the price fixed even if a rusted bolt or hidden wire turns a simple swap into a two-hour job.
Is it cheaper to buy my own appliance parts online and hire a tech for labor only?
Most independent technicians prefer to supply their own parts from trusted commercial distributors because retail knockoffs sold online frequently fail out of the box or have subtle wiring differences. Additionally, if a homeowner orders the wrong part or the part is defective, you will still have to pay the technician for their time and a second trip fee to return.
Which household appliances are almost always worth repairing instead of replacing?
Built-in refrigerators, dual-fuel ranges, double wall ovens, and commercial-style cooktops carry high replacement price tags and heavy installation costs, making repairs up to $800 or $1,000 well worth the expense. On the other hand, countertop microwaves and basic builder-grade garbage disposals usually cost less to replace outright than a single service call and part.
How can I lower my overall appliance repair bills over the next five years?
The most effective way to avoid service calls is to spend 15 minutes every change of season cleaning out heat, lint, and mineral buildup. Vacuuming fridge coils, running a descaling cycle with white vinegar in your washer and dishwasher, and using surge protectors on sensitive electronic machines prevent the vast majority of premature component failures.