
Opening your fridge to sticky shelves, mystery spills, and lingering odors makes grocery unloading—especially ahead of holiday hosting—feel stressful. Learning how to deep clean a refrigerator from top to bottom clears out hidden grime, keeps produce fresher longer, and helps your cooling system run efficiently. Set aside about an hour, grab a box of baking soda and white vinegar, and follow these seven safe, straightforward steps.
1. Unplug the Fridge and Clear Every Shelf
Before spraying liquids or pulling out heavy interior parts, protect yourself and your appliance's compressor. Leaving the doors wide open while the motor runs forces the cooling system to work overtime and wastes electricity.
- Pull the refrigerator away from the wall slightly and unplug the power cord from the outlet. If the plug is unreachable, flip the kitchen's dedicated fridge breaker at your electrical panel (never open the panel cover itself—just flip the switch).
- Set a large cooler with ice packs on the counter to hold milk, meats, condiments, and delicate produce.
- Check expiration dates as you empty every shelf and door bin, tossing spoiled jars and wilted greens straight into a trash bag.
- Group surviving items on the counter by category so restocking takes half the time later.
2. Let Glass Shelves Warm Before Washing
One of the most expensive fridge-cleaning mistakes is plunging cold tempered-glass shelves straight into hot tap water. Sudden temperature shock can cause glass shelves to shatter instantly in your sink.
- Lift out all removable shelves, crisper drawers, dairy bins, and gallon door racks.
- Stack them carefully on bath towels laid across your kitchen table or floor for 15 to 20 minutes until they reach room temperature.
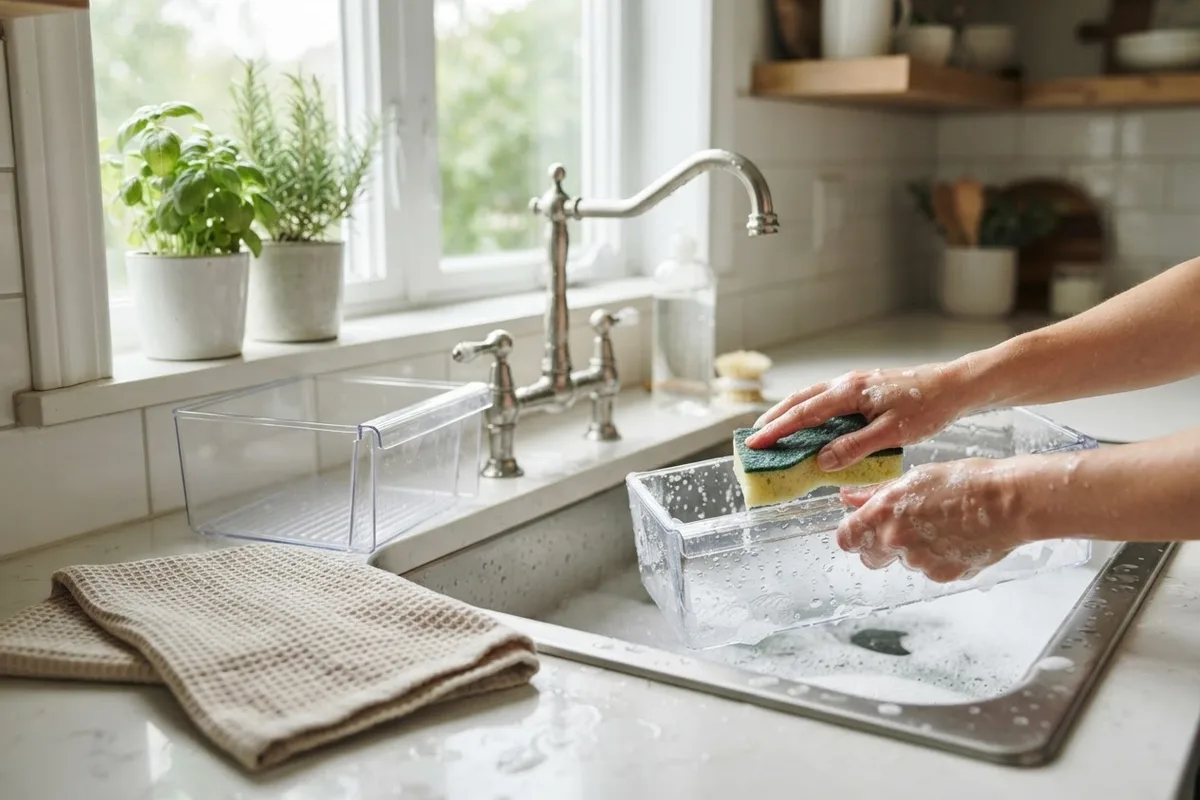
- Fill your sink or bathtub with lukewarm water and a squirt of mild dish soap.
- Scrub each room-temperature shelf and bin with a soft microfiber sponge, paying extra attention to the plastic seams around glass inserts where spilled juice hides.
- Rinse thoroughly with lukewarm water and set everything upright on dry towels to air-dry completely.
3. Scrub Interior Walls With Baking Soda Solution
Harsh bleach cleaners and scented chemical sprays leave overpowering fumes that absorb right into butter, cheese, and uncovered produce. A simple baking soda wash cuts sticky residue and neutralizes trapped food odors naturally.
- Dissolve two tablespoons of baking soda into one quart of warm water in a clean bowl.
- Dip a microfiber cloth into the solution, wring it out until damp, and wipe the fridge ceiling first, then work down the side and back walls.
- Avoid poking sharp tools into air vents or temperature sensor housings along the back panel.
- For hardened syrup or meat juice drips, lay a warm, wet cloth over the spot for five minutes to soften the sugar or protein, then scrub gently with a paste of baking soda and water.
- Wipe every interior surface a second time with a clean, damp water-only cloth, then buff dry with a kitchen towel.
4. Flush the Defrost Drain Hole
On many top-freezer and bottom-freezer models, you will spot a small drain trough at the bottom of the back interior wall—or just beneath the lower crisper drawer—that carries defrost water down to an evaporation pan. Food crumbs and slime often clog this tiny opening, leading to sour smells and puddles.
- Wipe away any standing water or food bits sitting in the shallow drain channel.
- Fill a turkey baster or squeeze bottle with one cup of warm water mixed with a teaspoon of white vinegar.
- Gently flush the warm mixture down the drain hole to dissolve light buildup and clear the line.
- If water backs up instead of draining freely, stop forcing liquid in; you may have ice deeper in the tube or one of the classic issues covered in our guide to preventing household appliance leaks.
5. Clean and Seal the Door Gaskets
The flexible rubber strips framing your refrigerator doors—called gaskets—keep cold air locked inside. Sticky spills glue the rubber folds to the frame, causing the gasket to tear over time and forcing your fridge to struggle with cooling.
- Mix equal parts warm water and white vinegar—or warm water with two drops of mild dish soap, since harsh cleaners dry out rubber.
- Pull back the accordion folds of the gasket gently and run a dipped old toothbrush or cotton swab along the creases to lift crumbs and dark mildew spots.
- Wipe the metal cabinet frame where the magnet makes contact so the seal sits completely flat.
- Dry the entire gasket thoroughly with a lint-free towel.
- Rub a tiny dab of plain petroleum jelly or food-grade mineral oil along the hinge-side edge of the gasket to keep the rubber supple and prevent sticking.
6. Deodorize and Organize Zones Before Reloading
Once the interior is sparkling and bone-dry, plug the refrigerator back in and let it cool for 15 to 20 minutes before loading heavy groceries. Organizing food by temperature zone keeps ingredients safer and prevents future spills.
- Snap dry shelves and drawers back into their tracks, lining crisper bottoms with washable fridge mats or dry paper towels to catch produce moisture.
- Wipe the bottoms of sticky condiment bottles, jam jars, and milk jugs with a damp cloth before putting them back.
- Place an open shallow ramekin of fresh baking soda or activated charcoal on a middle shelf to absorb ongoing odors.
- Check an inexpensive appliance thermometer after a few hours to confirm the fresh-food compartment sits between 35°F and 38°F; if the cabinet stays warm, work through these DIY fixes when a refrigerator is not cooling.
| Fridge Cleaner | Best Used For | Avoid Using On |
|---|---|---|
| Baking soda + warm water | Interior plastic walls, stubborn sticky spills, odor removal | Brushed stainless steel exteriors (can scratch) |
| White vinegar + water (1:1) | Glass inserts, mildew in door gaskets, defrost drain flush | Natural stone counters nearby, unsealed rubber long-term |
| Mild dish soap + lukewarm water | Room-temperature shelves, crisper drawers, exterior handles | Electrical control panels (use barely damp cloth only) |
| Rubbing alcohol on microfiber | Stainless steel fingerprints (wipe with the grain) | Interior food-contact shelves and porous plastics |
7. Vacuum Dust From Exterior Vents and Coils
While the fridge is already pulled slightly forward, spend five minutes clearing external dust so your freshly cleaned interior doesn't strain the motor. Pet hair and kitchen grease blanket the condenser area and trap heat.
- Unplug the fridge again before reaching behind or underneath the cabinet.
- Unsnap the plastic toe-kick grille along the bottom front (or check the lower back panel, depending on your model).
- Use your vacuum's crevice attachment on gentle suction to pull dust bunnies off the grille vents and visible coil fins without bending delicate metal tubing.
- Wipe the top of the refrigerator cabinet and polish exterior doors and handles, wiping with the metal grain on stainless finishes.
- Push the fridge back into place, leaving at least one to two inches of breathing room behind the cabinet before plugging it back in. Pair this habit with a broader weekend home appliance maintenance routine twice a year.
When to Call a Pro
A deep clean solves sour odors, sticky drawers, and minor airflow blockages, while DIY upkeep costs just a few dollars in pantry staples. However, cleaning won't cure mechanical failures. Stop DIY troubleshooting and bring in an experienced technician if you discover cracked interior liners exposing foam insulation, torn door gaskets that won't hold a dollar bill snug, heavy frost sheets covering the back interior panel, loud clicking from the rear compressor compartment, or sealed-system cooling failures. Professional fridge diagnostics and common part repairs—such as replacing worn gaskets, evaporator fans, or defrost components—typically range from $150 to $450 across the US, though pricing varies widely by area and model. If your unit needs expert attention beyond a good scrub, True Appliance Repair can connect you with a local pro for refrigerator repair.
FAQ
How often should you deep clean a refrigerator?
Aim to deep clean your refrigerator every three to four months—roughly once per season, and especially right before major grocery holidays like Thanksgiving. Between deep cleans, wipe up fresh spills right away and do a quick five-minute purge of expired leftovers once a week before trash day.
Is vinegar or baking soda better for cleaning inside a fridge?
Baking soda dissolved in warm water is the safest all-around cleaner for plastic fridge walls because it cuts grease and neutralizes odors without leaving behind a strong scent. Diluted white vinegar works great on glass shelf inserts and stubborn mildew spots along door gaskets, followed by a plain-water wipe.
How do I get rid of a rotten food smell that won't go away?
If you already scrubbed the shelves and walls, check three hidden odor traps: the rubber door gasket folds, the defrost drain hole at the back wall, and the drip pan underneath the refrigerator. After cleaning those spots, leave a shallow tray of fresh baking soda, dry coffee grounds, or activated charcoal inside for 48 hours.
Can I put refrigerator drawers and bins in the dishwasher?
Skip the dishwasher for refrigerator shelves and crisper drawers. High heat from the wash and heated-dry cycles can warp clear plastic bins, crack trim pieces, and shatter tempered glass; hand-washing in lukewarm soapy water keeps every part intact.