
Trying to check on a holiday roast or delicate batch of cookies through a dark oven window is an immediate kitchen headache. Opening the door every ten minutes to peek inside lets heat escape, which ruins rise times and causes uneven baking. Fortunately, an oven light not working is usually caused by a burnt-out specialty bulb, a baked-on glass lens cover, or a sticky door switch—all of which you can troubleshoot safely at home in under thirty minutes.
Before you touch any part of the light assembly, unplug your oven from the wall outlet or flip the dedicated circuit breaker to the OFF position at your home electrical panel. Simply turning the oven knobs or control panel off does not cut power to the light socket, and working on a live socket carries a serious shock risk. Make sure the oven cavity is completely cool to the touch before starting.
1. Remove a Stuck or Baked-On Lens Cover
Before you can check the bulb, you have to remove the protective glass cover (also called a globe or lens). Over months of roasting and broiling, airborne cooking grease polymerizes onto the threads or wire clip, gluing the cover in place. Forcing it with bare hands or metal pliers can shatter the glass inside your oven.
- Identify your cover style: Look inside the upper back corner or side wall of your oven. Globe covers twist off counterclockwise, while flat or dome lenses are held in place by a small wire retaining clip.
- Soften baked-on grease: Mix equal parts white vinegar and warm water, or use a dab of dish soap and baking soda paste. Press a damp cloth soaked in the solution around the seam of the cold glass cover for 15 minutes to dissolve the sticky grease ring.
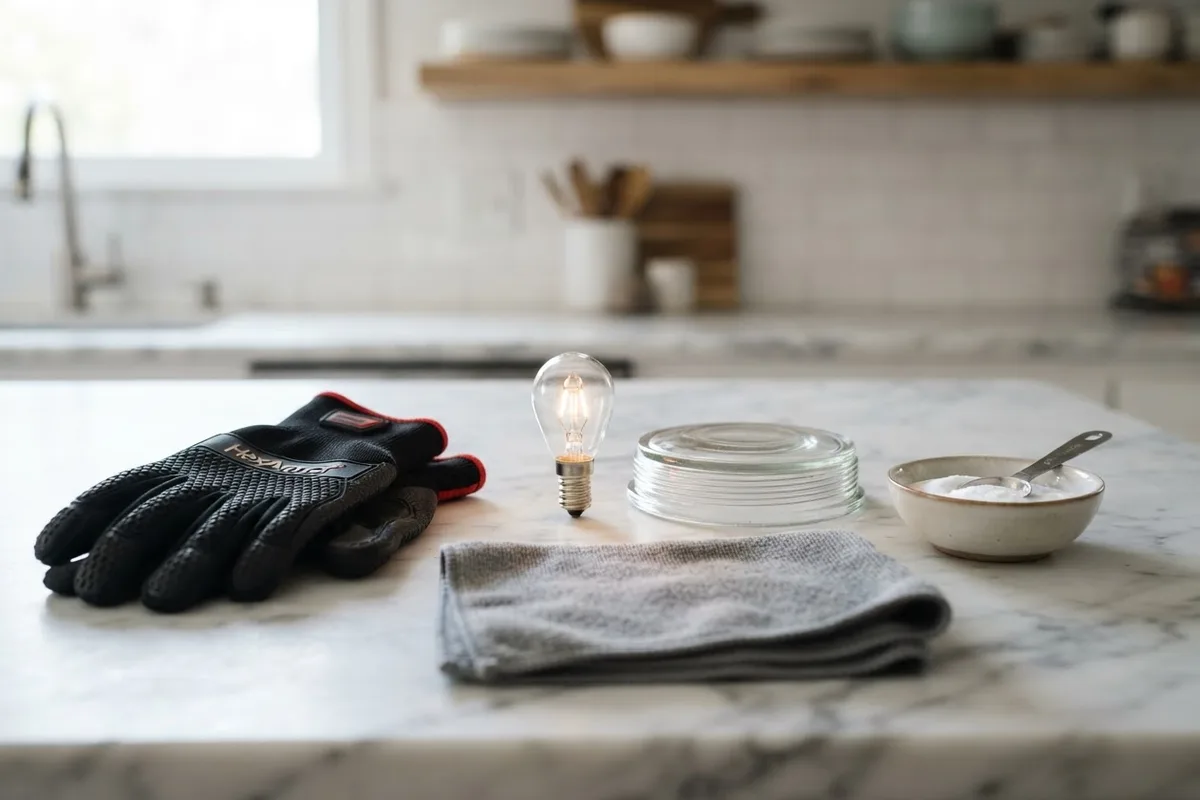
- Put on cut-resistant or rubber dish gloves: Rubber gloves give you double the grip and protect your fingers if the glass is cracked.
- Lay a thick towel across the bottom rack: If the cover slips from your fingers, the towel prevents it from shattering on the porcelain floor.
- Release the cover gently: For twist-off globes, turn firmly counterclockwise while wiggling slightly. For clip-style covers, press the wire tab inward with a flathead screwdriver while supporting the glass with your other hand.
2. Replace a Burnt-Out Appliance Bulb
Once the cover is off, the culprit is usually a blown filament. Never install a standard household LED or regular incandescent light bulb in an oven; the plastic base will melt and the glass can burst under 450°F heat. Always purchase a dedicated high-temp appliance bulb rated up to 500°F.
- Inspect the old bulb: Look for a broken tungsten wire inside a standard incandescent bulb, or dark gray scorch marks inside a compact halogen G9 bulb.
- Unscrew or pull the old bulb: Standard brass-base appliance bulbs unscrew counterclockwise. Two-pin halogen bulbs pull straight out of the ceramic block—do not twist halogen pins, or they will snap off inside the socket.
- Handle halogen bulbs with a paper towel: If your oven uses a small halogen bulb, never touch the new glass capsule with bare fingers. Natural skin oils create a hot spot on the quartz glass when heated, causing the new bulb to burn out in just a few uses.
- Install the exact wattage match: Check the sticker inside your oven door frame for the exact wattage (usually 25W or 40W). Push or screw the new bulb firmly into place and wipe down the glass lens cover before reattaching it.
3. Clean a Corroded or Broken Bulb Socket
If a brand-new appliance bulb still will not turn on, inspect the ceramic socket itself. Years of steam, high-heat self-cleaning cycles, and grease vapors can leave carbon buildup on the metal contact tab inside the socket, blocking electrical flow.
- Double-check that the breaker is OFF: Never poke inside a light socket without verifying the power to the range is completely disconnected.
- Inspect the center contact tab: Shine a flashlight into the empty socket. At the very bottom, you will see a small brass or copper metal tongue. If it looks black, green, or crusted with burnt grease, it cannot make clean contact with the bottom of the bulb.
- Scrub the contacts: Wrap a small piece of fine-grit sandpaper around a wooden pencil eraser, or use a dry cotton swab dipped in rubbing alcohol. Gently buff the center tab and the side threads until the bare metal shines.
- Pry up a flattened center tab: Over-tightening bulbs pushes the bottom contact tab flat against the ceramic base. Using a wooden toothpick or a small flathead screwdriver (with the power strictly off), gently bend the metal tab outward by about 1/8 inch so it presses firmly against the new bulb.
- Check for cracked porcelain: If the white ceramic housing is cracked, loose in the oven wall, or shows black electrical arcing marks, the entire socket assembly needs to be replaced. If a bruised socket has been causing larger electrical issues, check our guide on an oven tripping the breaker.
4. Free Up a Sticky Oven Door Plunger Switch
Most ovens turn the interior light on automatically when you open the door and shut it off when the door closes. This is controlled by a spring-loaded plunger switch mounted on the front frame of the oven cavity. If the switch gets jammed inward by spilled casserole drips, the oven thinks the door is permanently closed.
- Locate the door switch: Open the oven door and inspect the front frame around the perimeter of the opening. Look for a small black or metal pin sticking out near the top corner or latch area.
- Test the spring action: Press the pin in with your finger and release it. It should click crisply and spring right back out. If it feels gummy, stays depressed, or makes no clicking sound, grease has gummed up the shaft.
- Clean the plunger shaft: Dip a microfiber cloth or cotton swab in warm soapy water or rubbing alcohol. Rub around the base of the pin while pressing it in and out repeatedly until it moves freely.
- Test the manual rocker switch: If your oven uses a manual light button or toggle switch on the upper control panel instead of an automatic door switch, press it several times. If a mechanical rocker switch feels floppy and has no resistance, the internal spring has snapped and the switch will need a straightforward swap.
5. Check Control Board Relay and Internal Wiring
On modern digital ranges where the light is controlled by a touchpad button rather than a physical toggle switch, power is routed through the main electronic control board. If the bulb, socket, and door switch are all in working order, a burned wire harness or failed relay on the control board may be stopping voltage from reaching the light.
- Listen for the relay click: Restore power briefly and press the oven light button on the touchpad. In a quiet kitchen, you should hear a faint metallic click from the control panel as the low-voltage relay closes. Silence often points to a unresponsive touchpad or control board relay.
- Turn the breaker back OFF before inspecting the back panel: If you are comfortable doing basic visual checks, pull the range away from the wall—being extremely careful not to kink or strain the rigid gas line on a gas range—and remove the upper rear access cover.
- Look for heat-damaged wires: Trace the two wires leading from the back of the ceramic light socket to the control board and door switch. Oven insulation can settle over time, exposing wires to radiant heat that melts the plastic coating or loosens spade connectors.
- Know your limits with control boards: If you spot scorched circuit board components or melted wire harnesses, stop right there. High-voltage range wiring and main control boards are best left to an experienced technician. Keep your kitchen running smoothly all year by adding light and gasket checks to your annual appliance maintenance steps.
Oven Light Troubleshooting Quick-Reference Guide
Use this table to match your symptom to the right fix and see typical US part and repair costs (prices vary by region, brand, and oven model).
| Symptom | Most Likely Cause | DIY Difficulty | Typical US Cost Range |
|---|---|---|---|
| Bulb is dark or filament is rattling | Burnt-out appliance or halogen bulb | Easy (5 mins) | $5 – $15 (DIY bulb) |
| Glass lens won't twist or budge | Polymerized cooking grease on threads | Easy (20 mins) | $0 (Vinegar/baking soda) |
| Light flickers when door moves | Corroded socket tab or sticky door pin | Easy (15 mins) | $0 – $35 (Cleaning or switch) |
| Socket ceramic is cracked or charred | Heat damage or electrical short | Moderate | $90 – $180 (Pro socket swap) |
| Touchpad button beeps, light stays off | Failed control board relay or wiring | Pro Recommended | $180 – $350 (Pro board repair) |
When to Call a Pro
Swapping a bulb, unsticking a greasy glass globe, and cleaning a door plunger are quick, rewarding DIY jobs. However, you should put down the tools and call a professional if the glass bulb shatters and leaves the metal base seized inside the socket, if the ceramic socket housing is cracked and receding into the oven wall, or if you see burnt wiring behind the control panel. Furthermore, if you own a gas range and pulling the unit out from the wall requires disconnecting the gas supply line, never attempt gas work yourself.
Instead of risking an electrical shock or damaging an expensive digital control panel, let an experienced technician handle the wiring. True Appliance Repair can connect you with a reliable local specialist for fast, safe oven and stove repair so your kitchen is ready for your next big meal.
FAQ
Can I put a regular LED bulb in my oven?
No, never put a standard household LED or regular incandescent bulb inside an oven. Standard bulbs are built with plastic bases and adhesives that melt, emit toxic fumes, or shatter when exposed to baking temperatures. Always buy a dedicated glass-and-brass appliance bulb or G9 halogen bulb specifically rated for 500°F.
Is it safe to use my oven if the light is not working?
Yes, as long as the glass cover is intact and there is no broken glass or loose wiring exposed inside the cavity, the oven is safe to bake with. However, if a bulb has shattered inside the socket, keep the circuit breaker off until the broken base is safely removed so exposed filament wires do not cause a short circuit.
Why did my oven light blow and trip the breaker at the same time?
Occasionally, when an incandescent or halogen filament snaps, it creates a tiny internal electrical arc inside the bulb base that trips your home circuit breaker to protect the wiring. Unplug the oven or leave the breaker off, inspect the socket for black scorch marks, install a fresh appliance bulb, and flip the breaker back on. If it trips again immediately, the socket wiring is shorted and needs professional attention.
Why does my oven light stay on even when the door is closed?
If the oven light refuses to turn off, first check the manual light switch or touchpad button on your control panel to make sure you did not accidentally leave it in the "On" position. If the switch is off, the door plunger pin is likely broken or the oven door hinges are bent, preventing the door from pressing the plunger switch all the way in. Read our guide on why a refrigerator light is not working for similar door-switch troubleshooting tips in the kitchen.